Consent Manager
After a certain period, bank customers may need to view, update, or revoke consents they have granted to API consumer applications to access account data. Consent Manager is an application in WSO2 Open Banking that supports all these requirements and manages consents.
Tip
You can use the /admin endpoint in Consent REST API to retrieve consent details and customize Consent Manager. For example,
curl -X GET "https://localhost:9446/api/fs/consent/admin/search?consentIDs=12345&clientIDs=5678&consentTypes=accounts&consentStatuses=authorized&userIDs=user1&fromTime=12012020&toTime=12012021&limit=10&offset=0" -H "accept: application/json" -H "Authorization Basic <TOKEN>>"Note
- Bank officers with the
CustomerCareOfficerRolerole and bank customers can access the Consent Manager. - Customer Care Officers have privileges such as Advanced Search options and the ability to view the consents of all bank customers.
Setting up Consent manager app
Create API Resource
-
Go to IS admin console
https://<IS_HOST>:9446/console -
Log into the IS admin console using IS admin credentials.
-
Go to the Api Resources tab in the left pane.
-
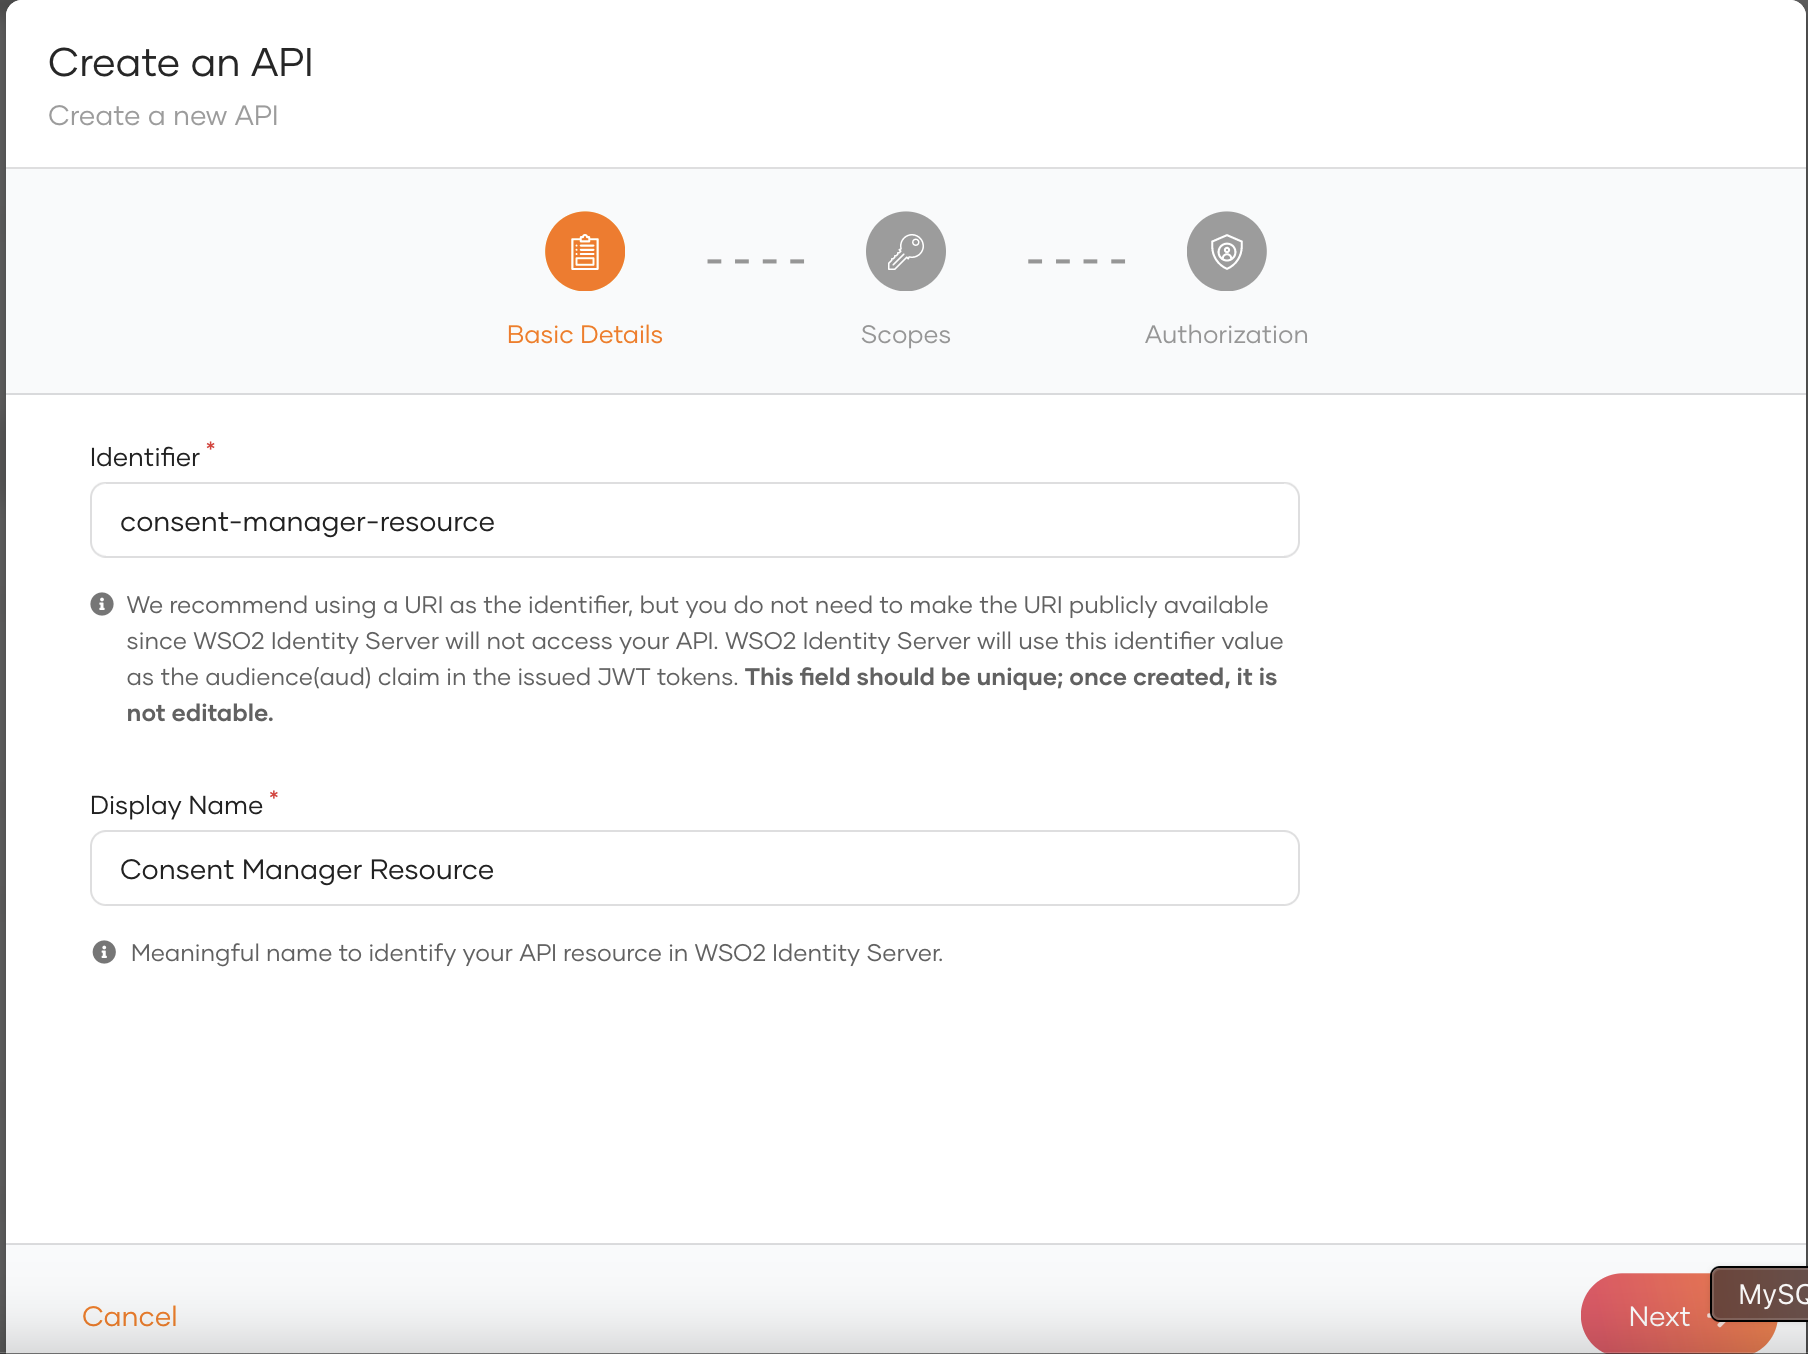
Create a new API Resource. Eg: consent-manager-resource
-
Fill Identifier and Display Names.
-
Click the Next button.
-
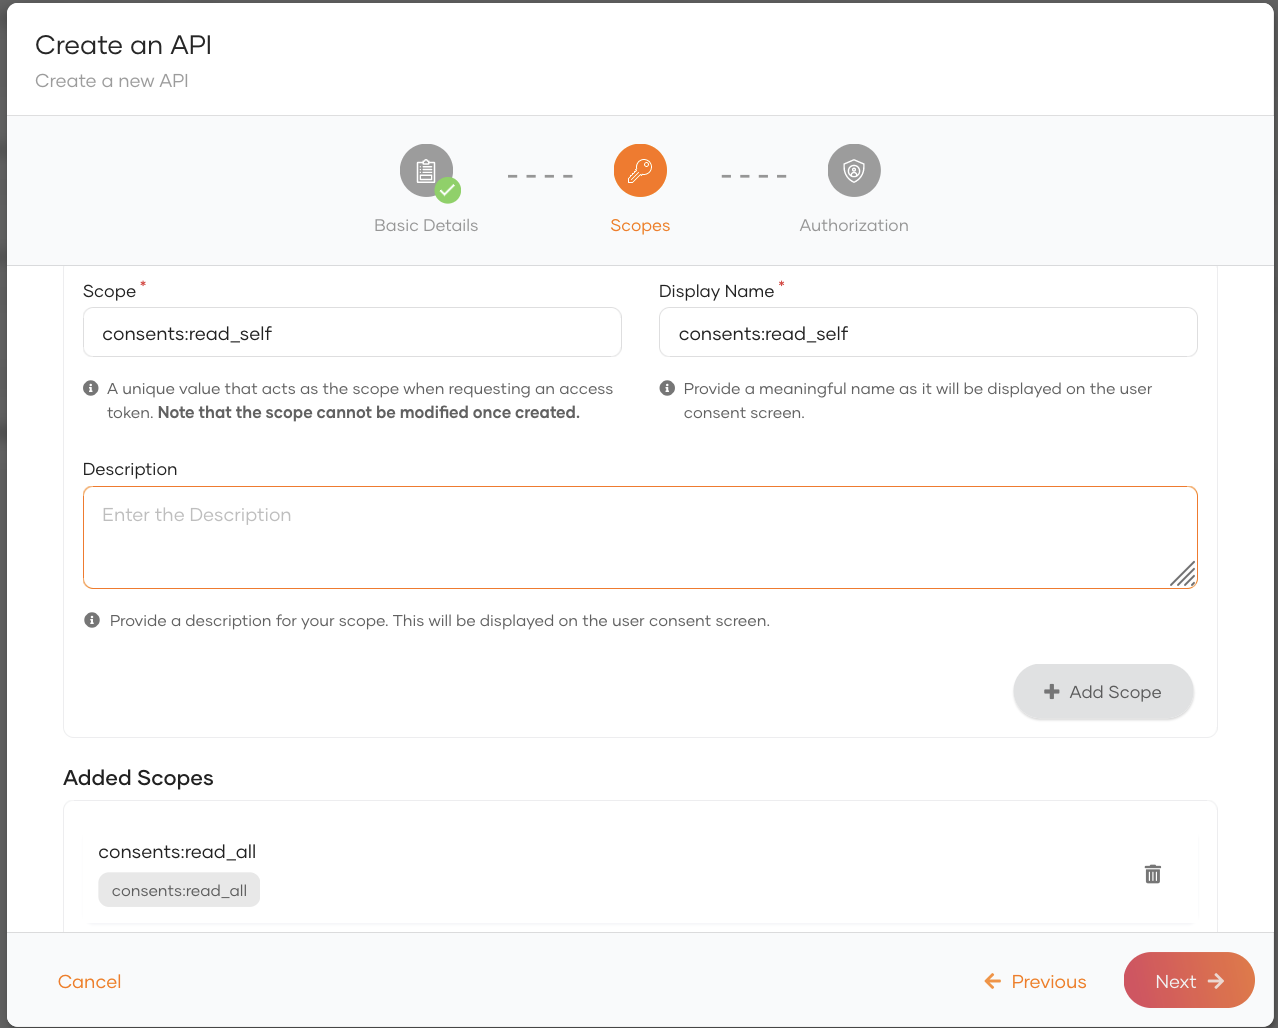
Add the scopes consents:read_self and consents:read_all one by one. Enter scope and Display name as below.
-
Click the Next button.
-
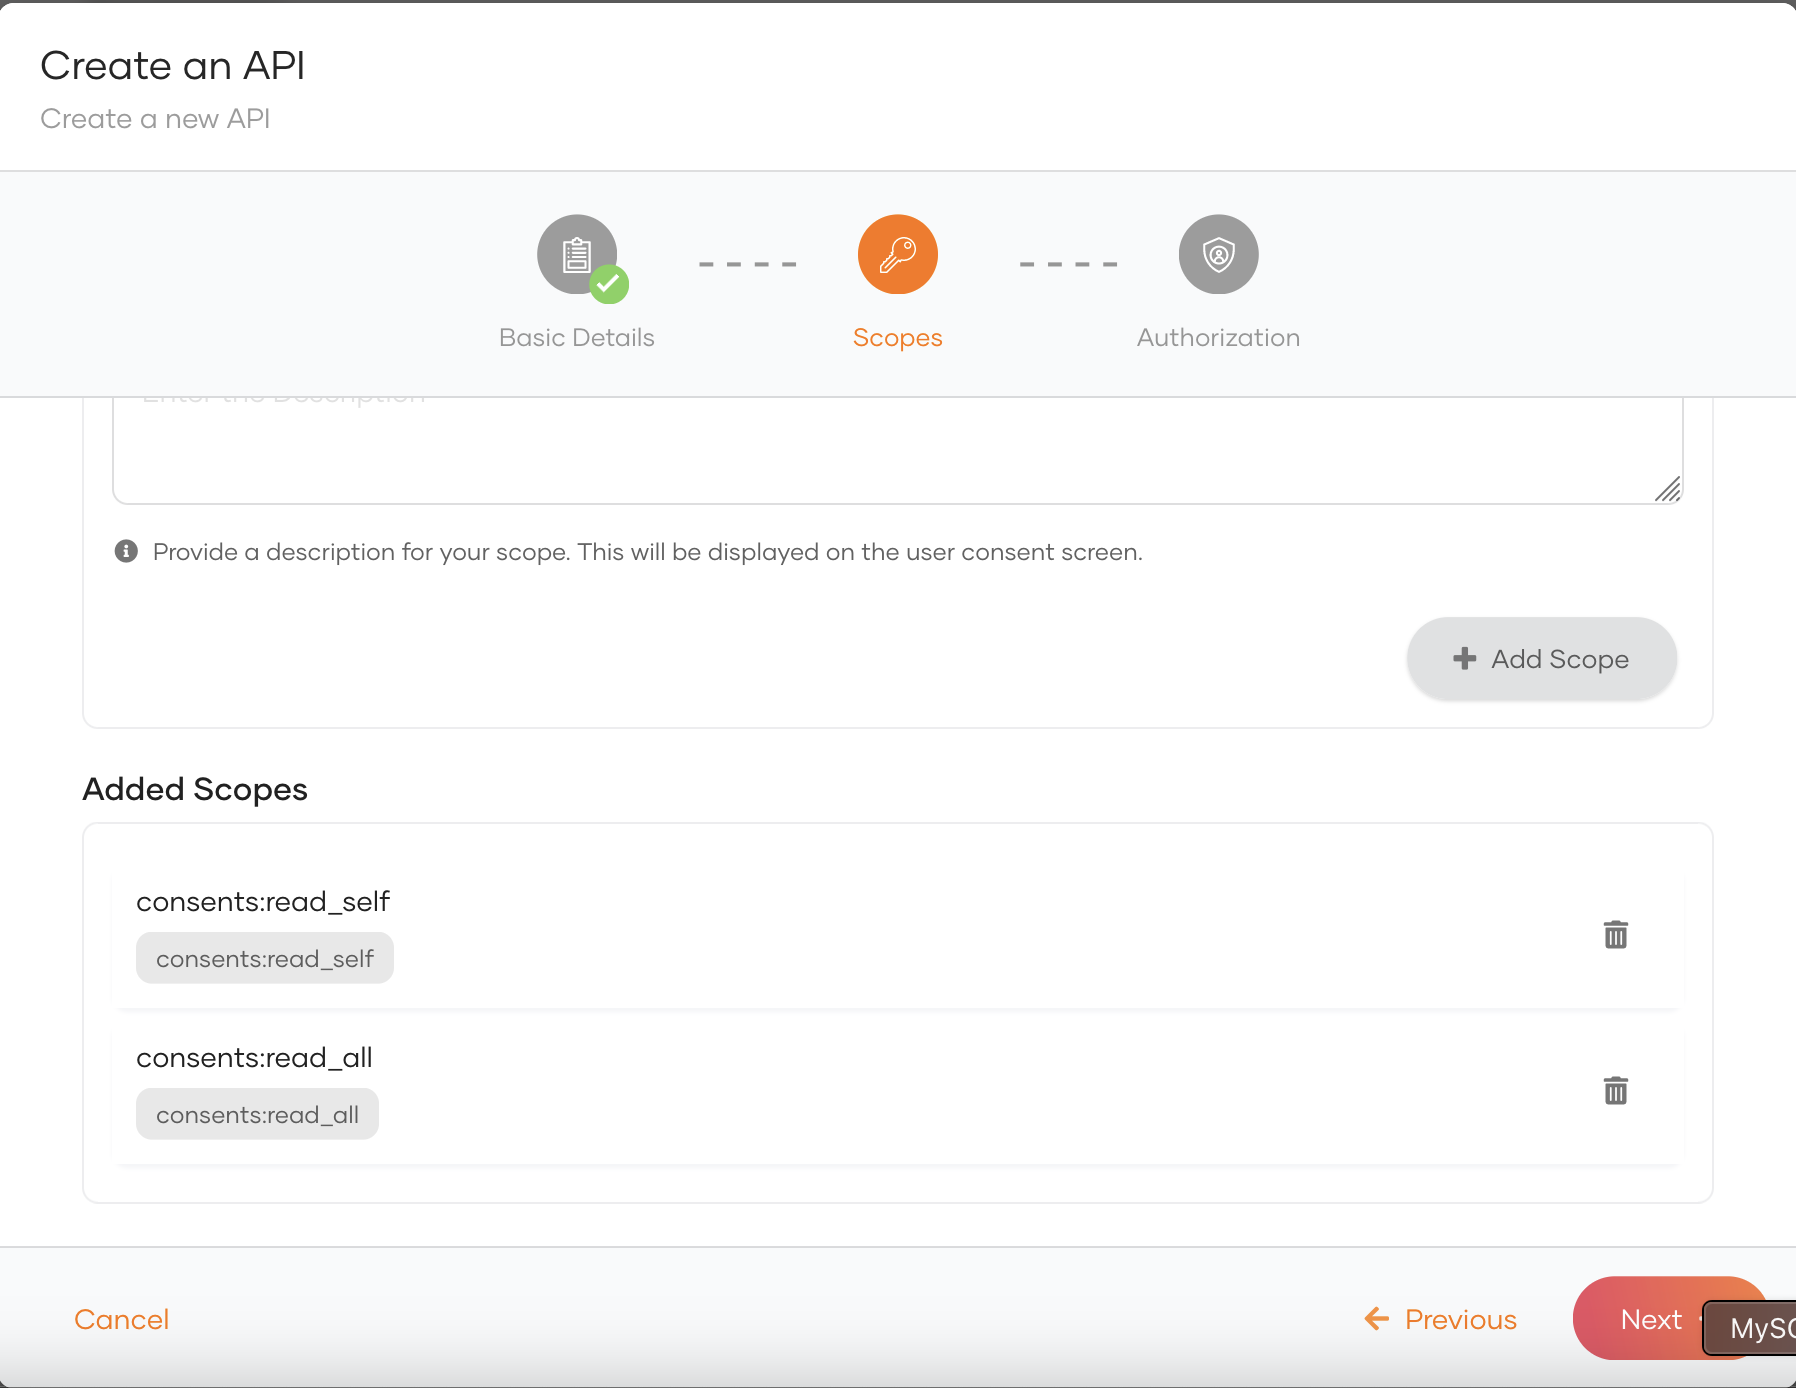
Scopes will be displayed as below once you add all the scopes.
-
Click the Next button and Click on Create button.
Configure Users and Roles
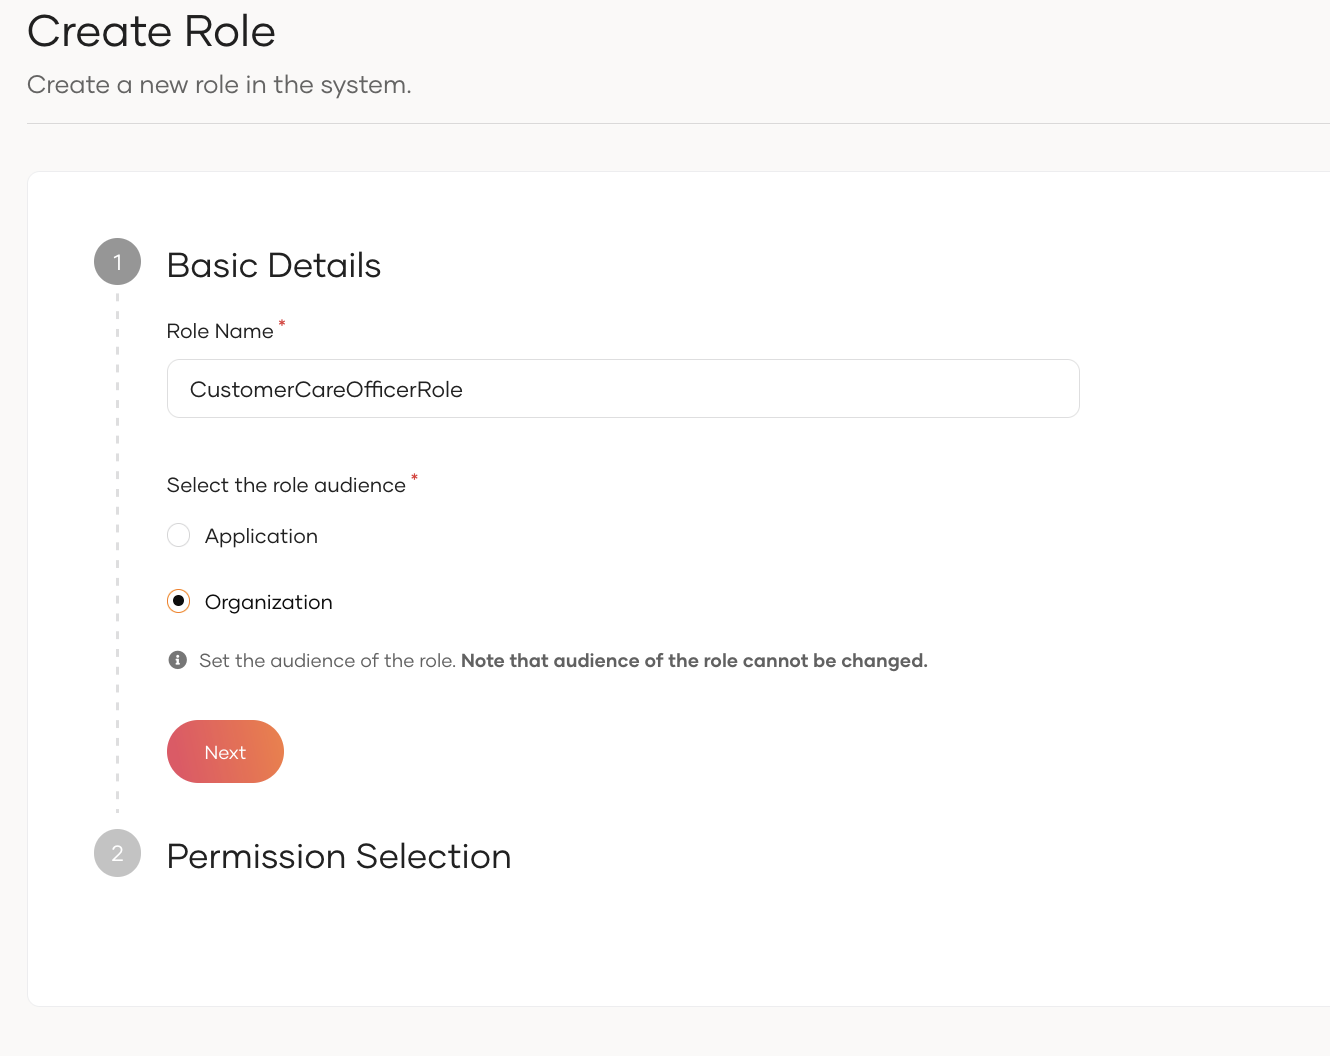
Add CustomerCareOfficerRole Role
CustomerCareOfficerRole is required for bank users to log into the Consent Manager Portal and search for the consents granted by any user.
-
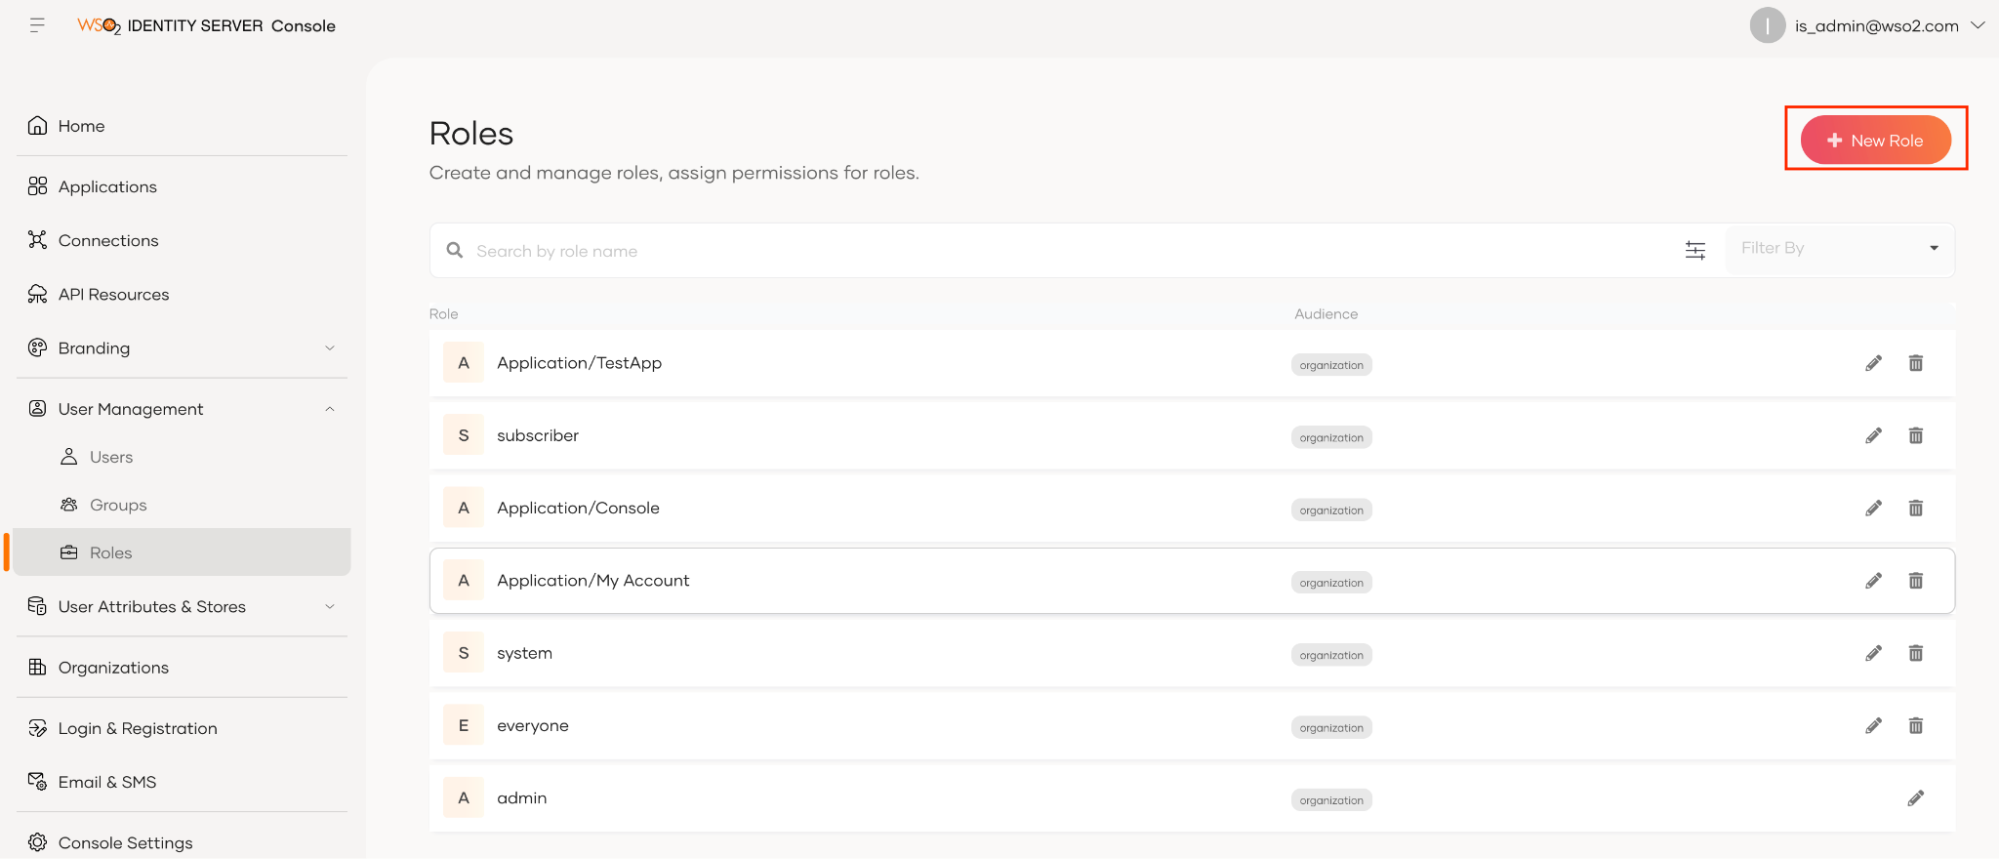
Go to Roles under the User Management tab in the left pane.
-
Click on + New Role.
-
Enter following details and click on Next button.
- Role Name: CustomerCareOfficerRole
- Role audience: Organization
-
Select the created API Resource under the Permission Selection section.
-
Add the consents:read_all permission from the API resource separately.
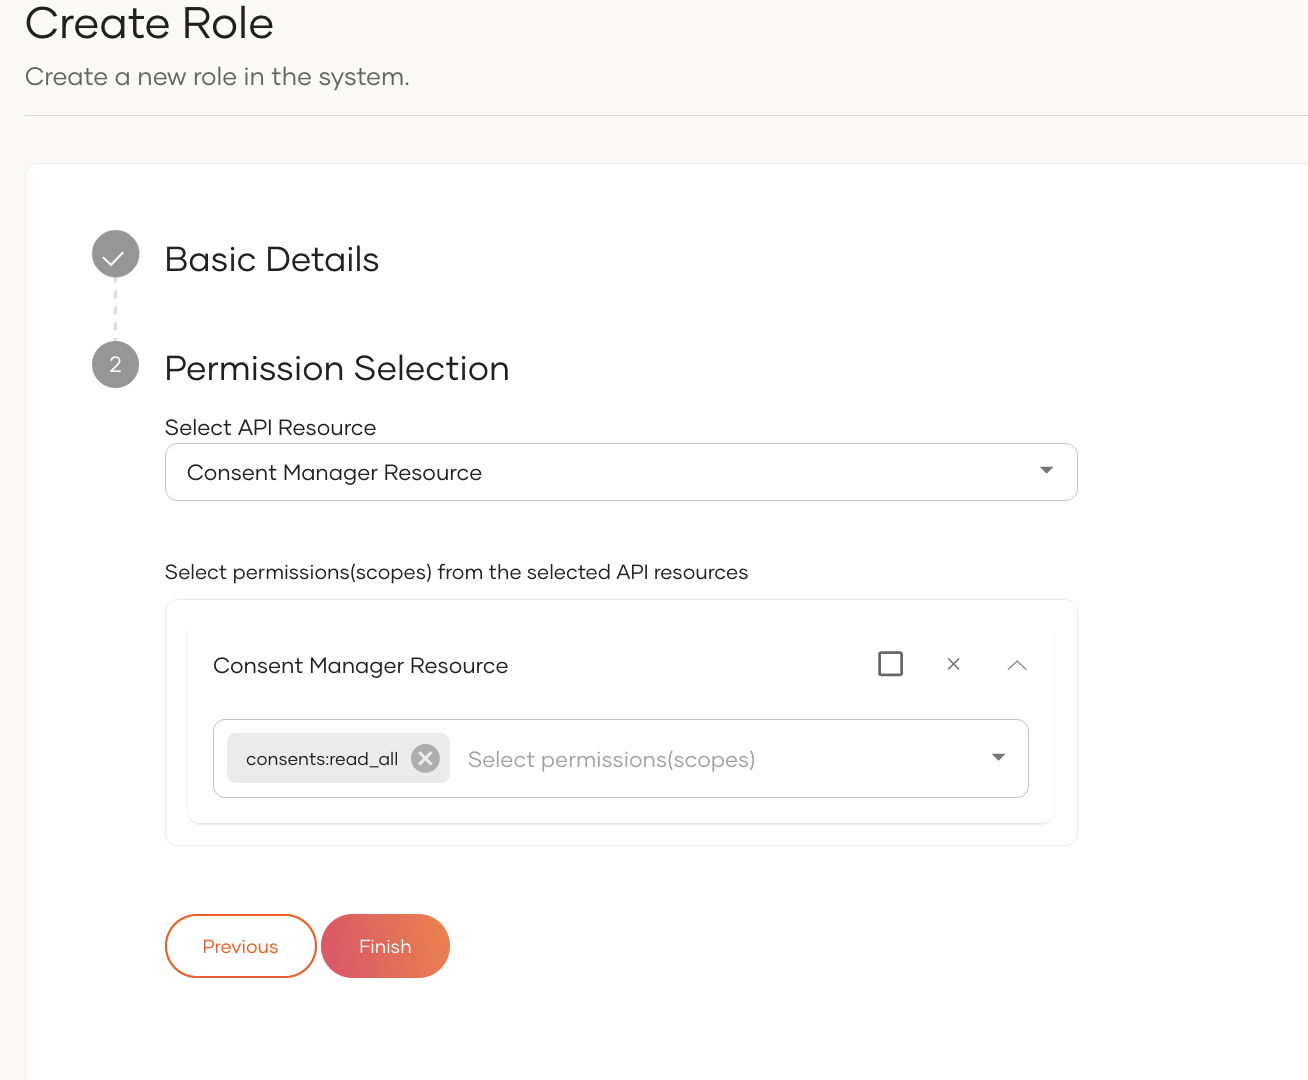
-
Click on the Finish button.
Add ConsentPortalRole Role
ConsentPortalRole is required for users to log into the Consent Manager Portal and search for the consents granted by them.
Similarly create another role named as ConsentPortalRole and assign consents:read_self scope to the role.
Add New User
-
Go to Users under the User Management tab in the left pane.
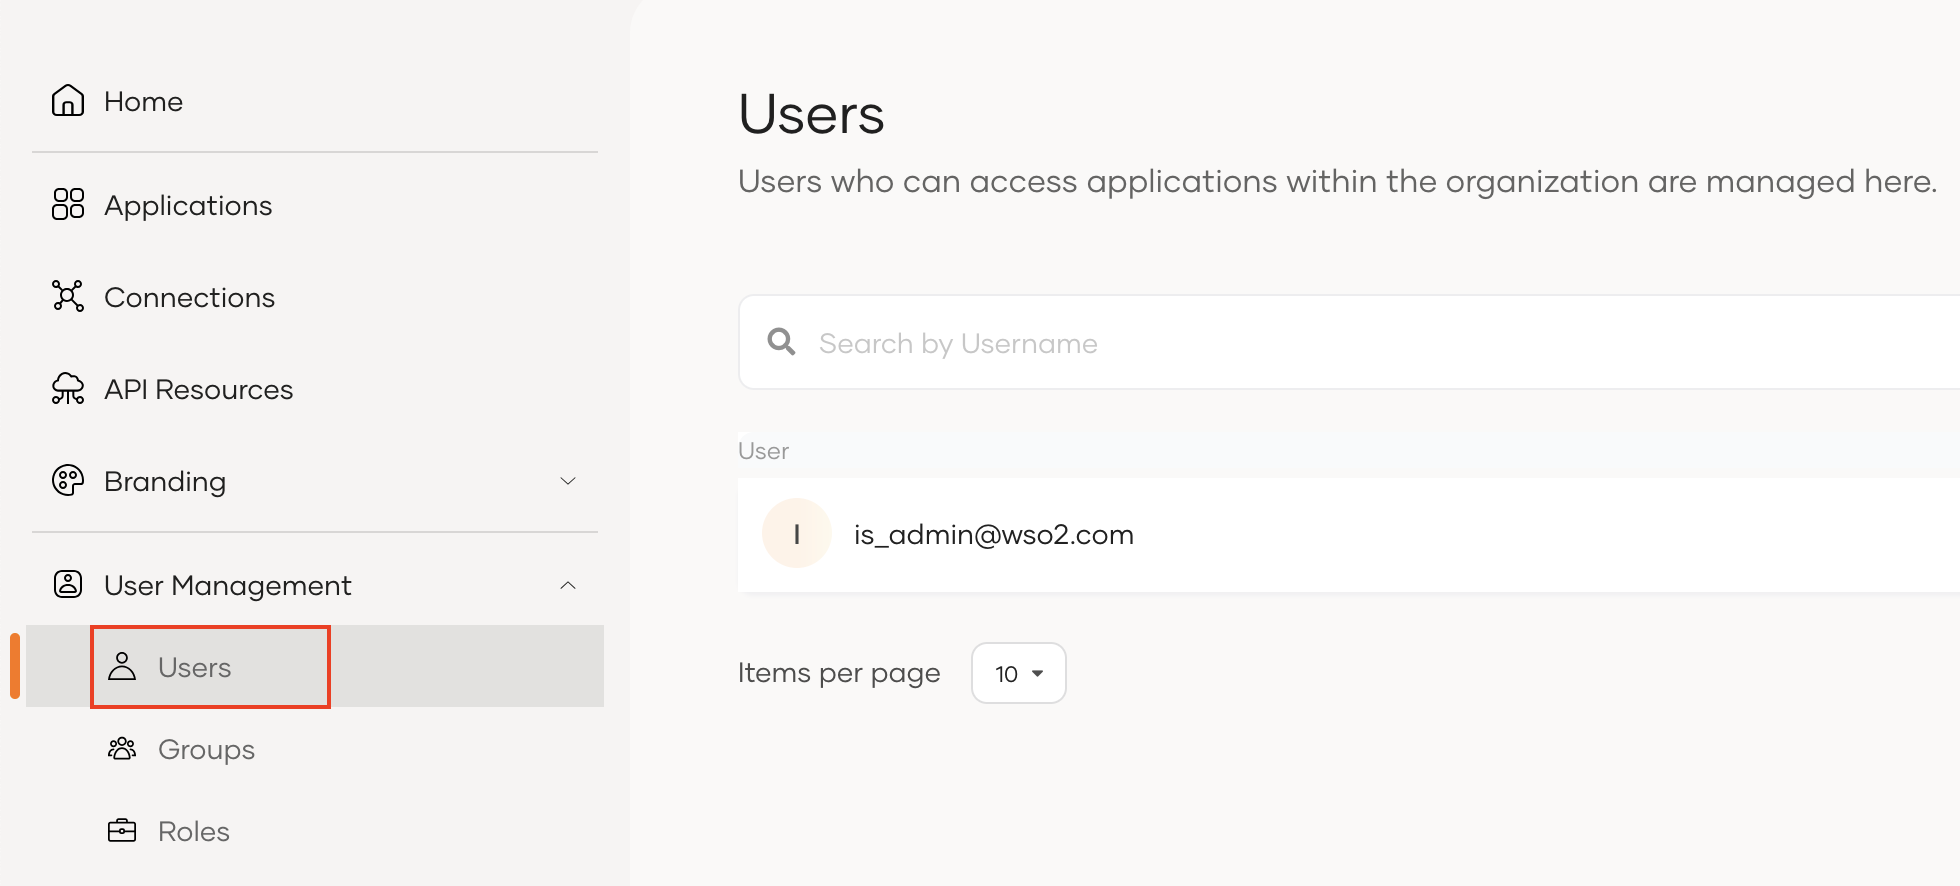
-
Click on Add User → Single User.
-
Create the user by providing necessary details.
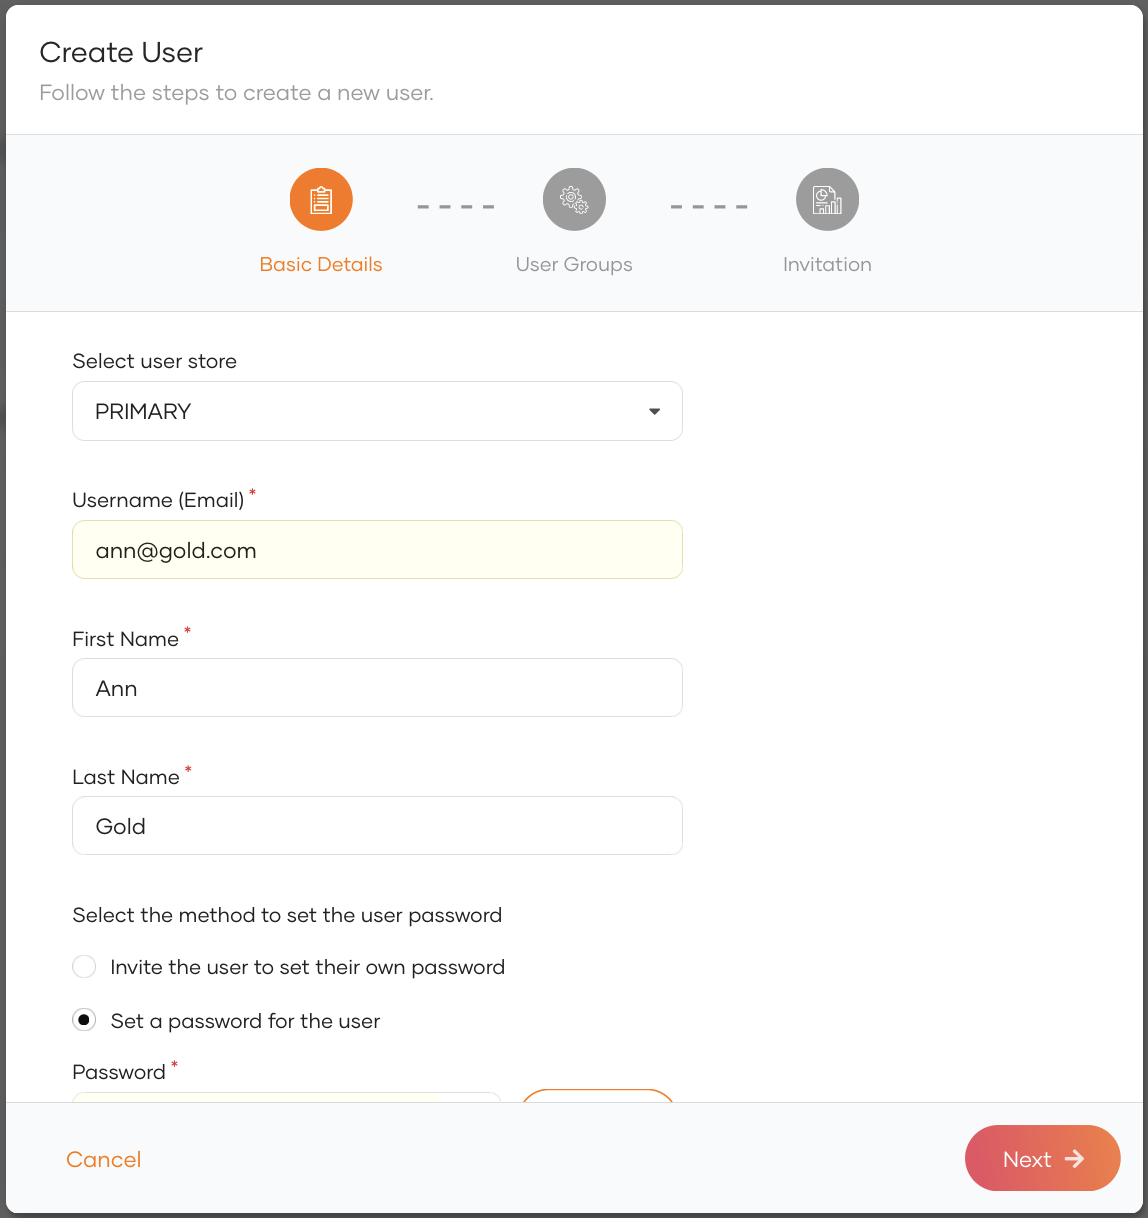
-
Click on the Next button.
Note
Select the admin group, If you want to add the user to the admin group. Otherwise proceed the step without selecting the admin group.
-
Then click on the Close button.
-
Go to the Roles under the User Management tab in the left pane.
-
Select CustomerCareOfficerRole role.
-
Go to Users tab and assign the created user to the CustomerCareOfficerRole role.
Similarly assign the ConsentPortalRole to the users who have a consumer role.
Create an Application
-
Go to IS admin console
https://<IS_HOST>:9446/console -
Log into the IS admin console using IS admin credentials.
-
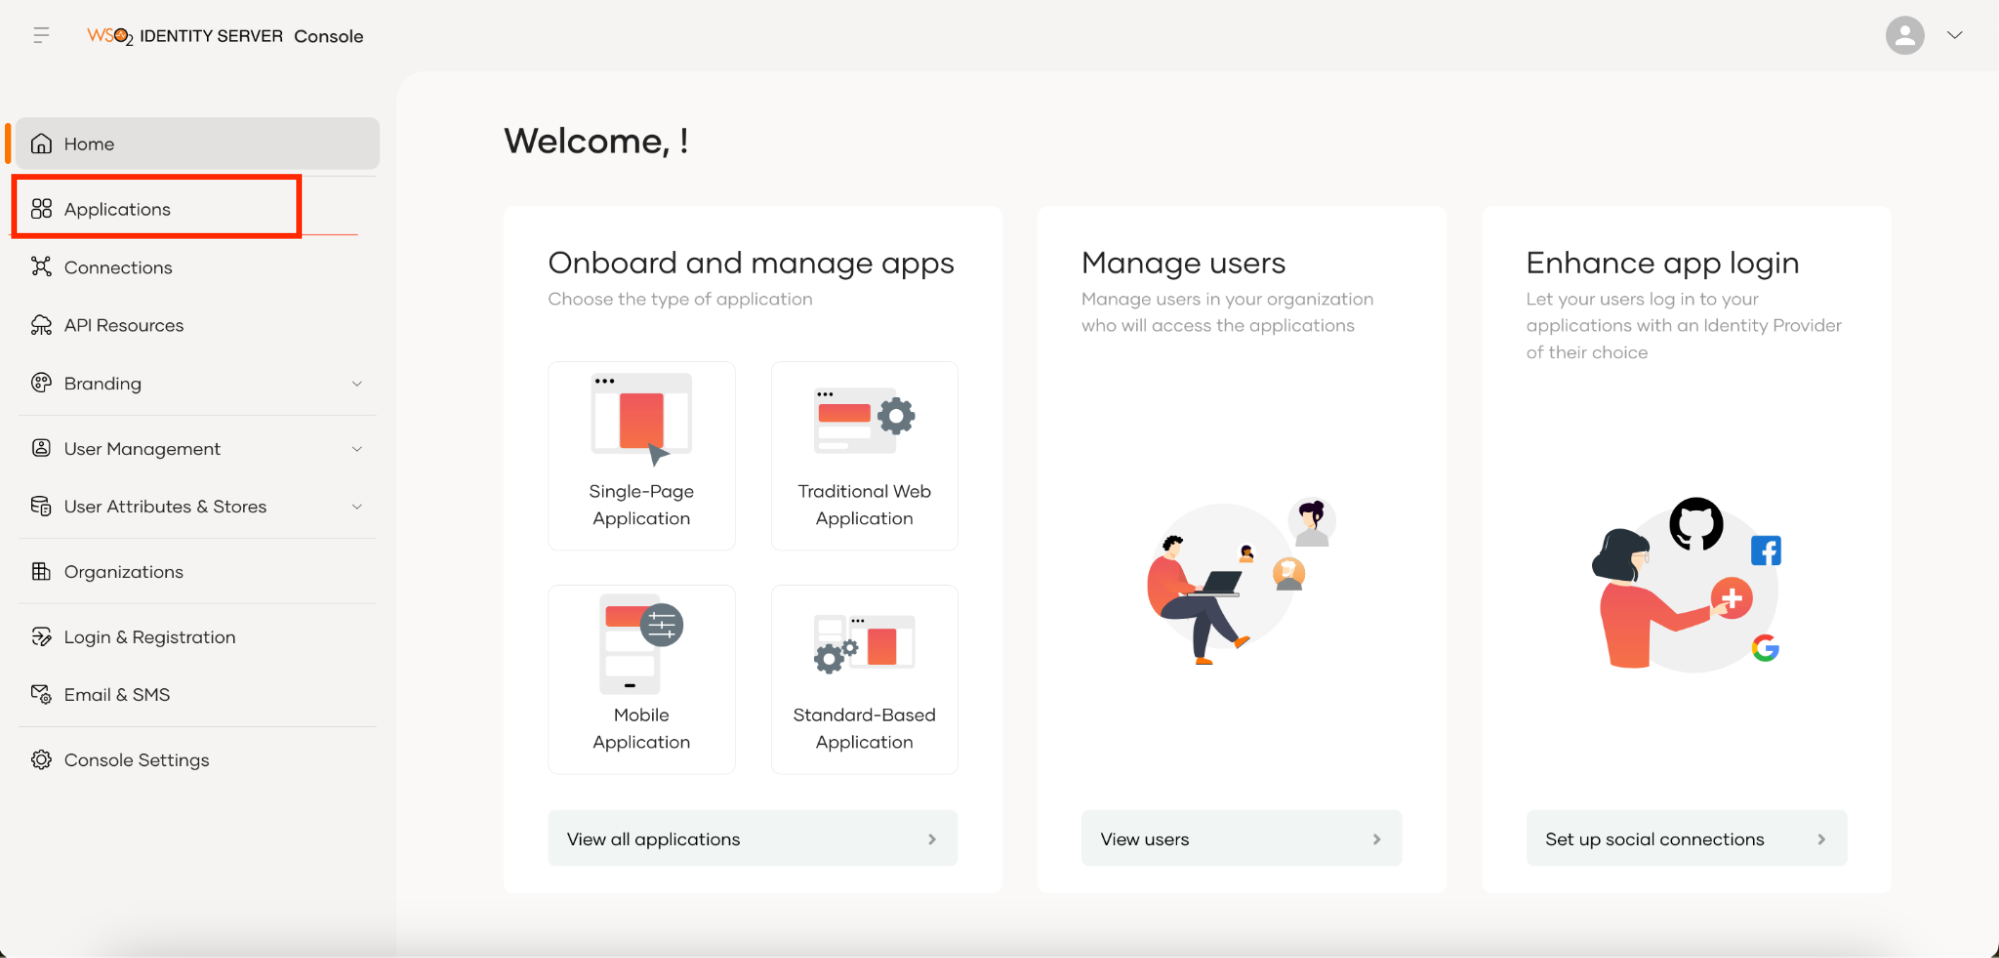
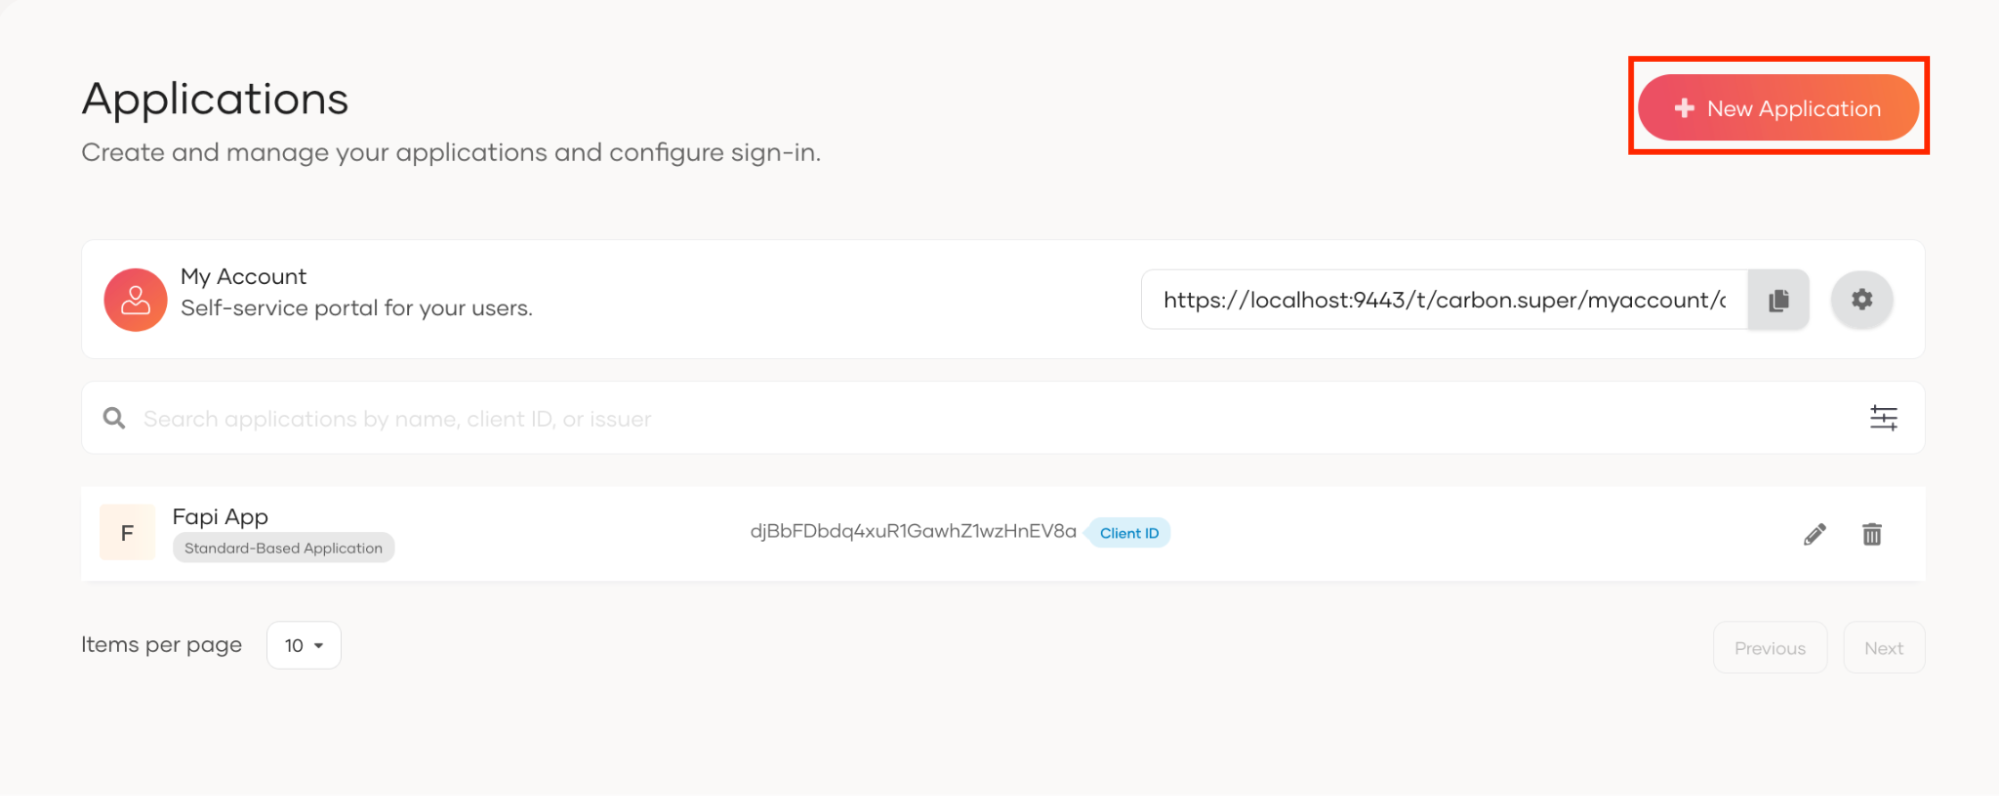
Go to Applications from the left sidebar.
-
Click on + New Application.
-
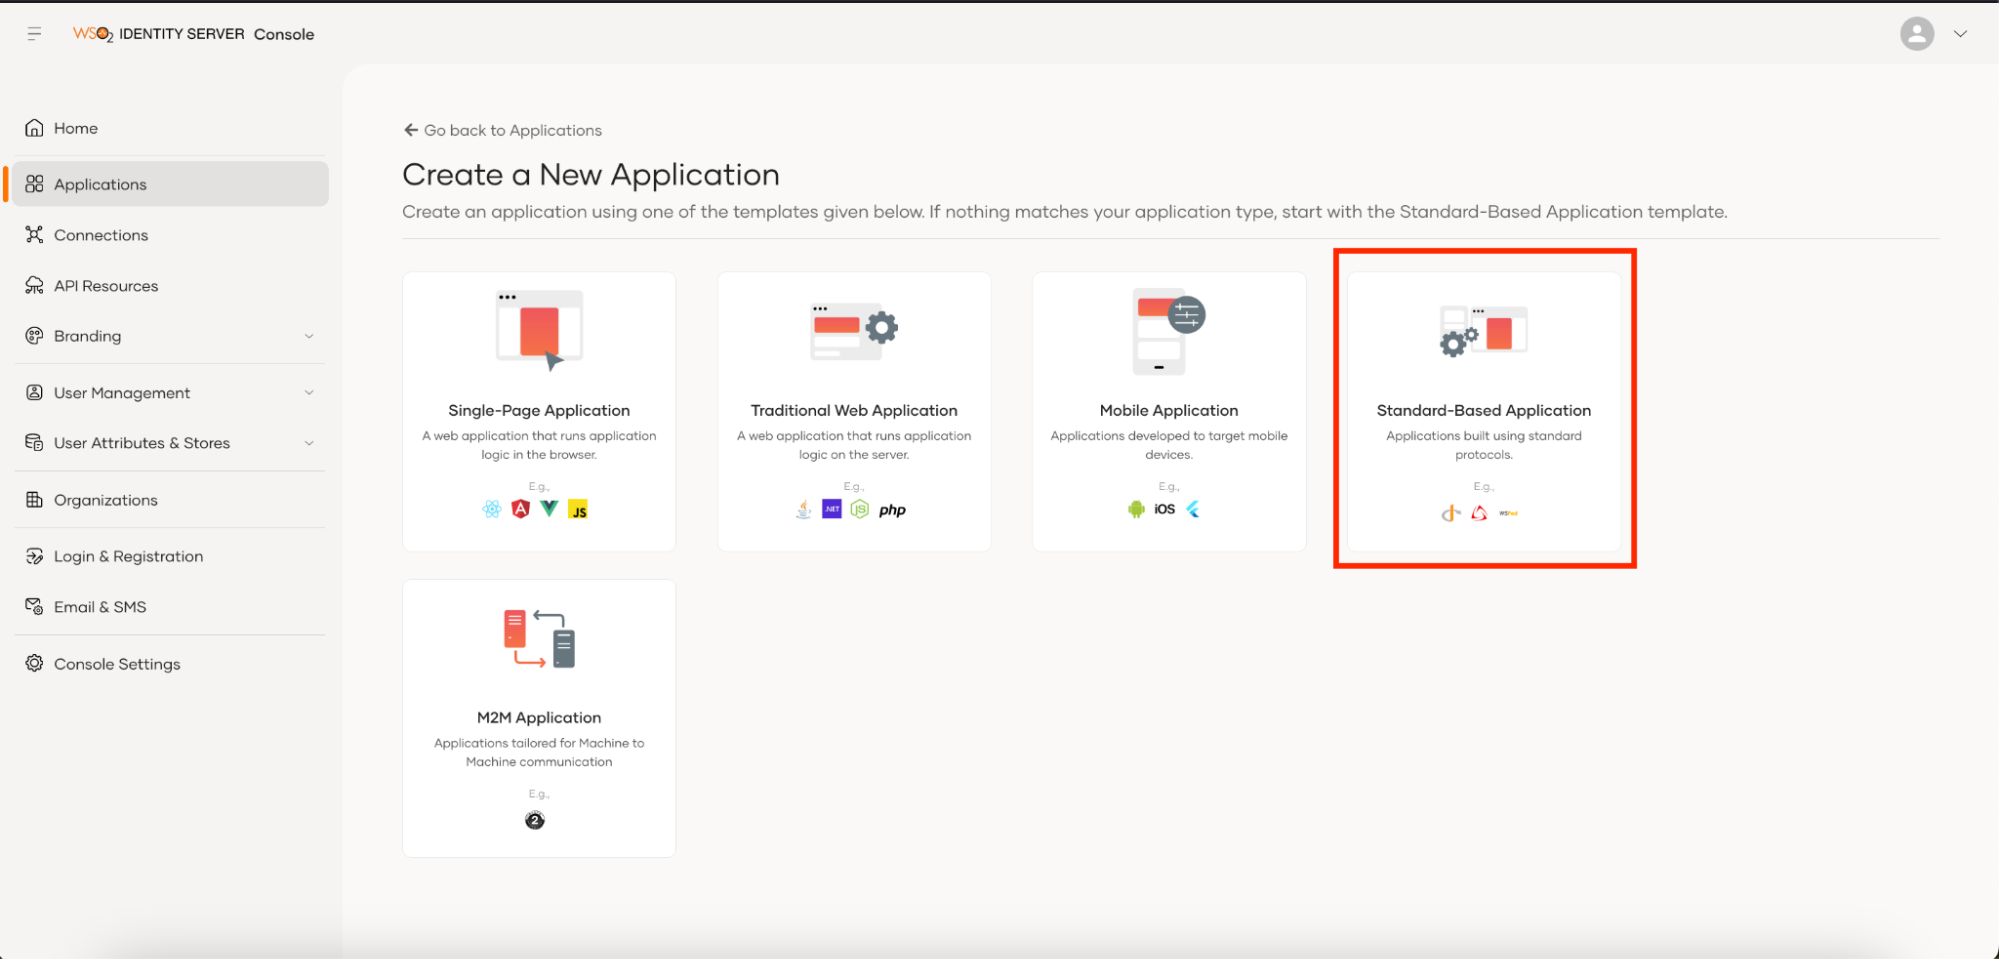
Select Standard Base Application.
-
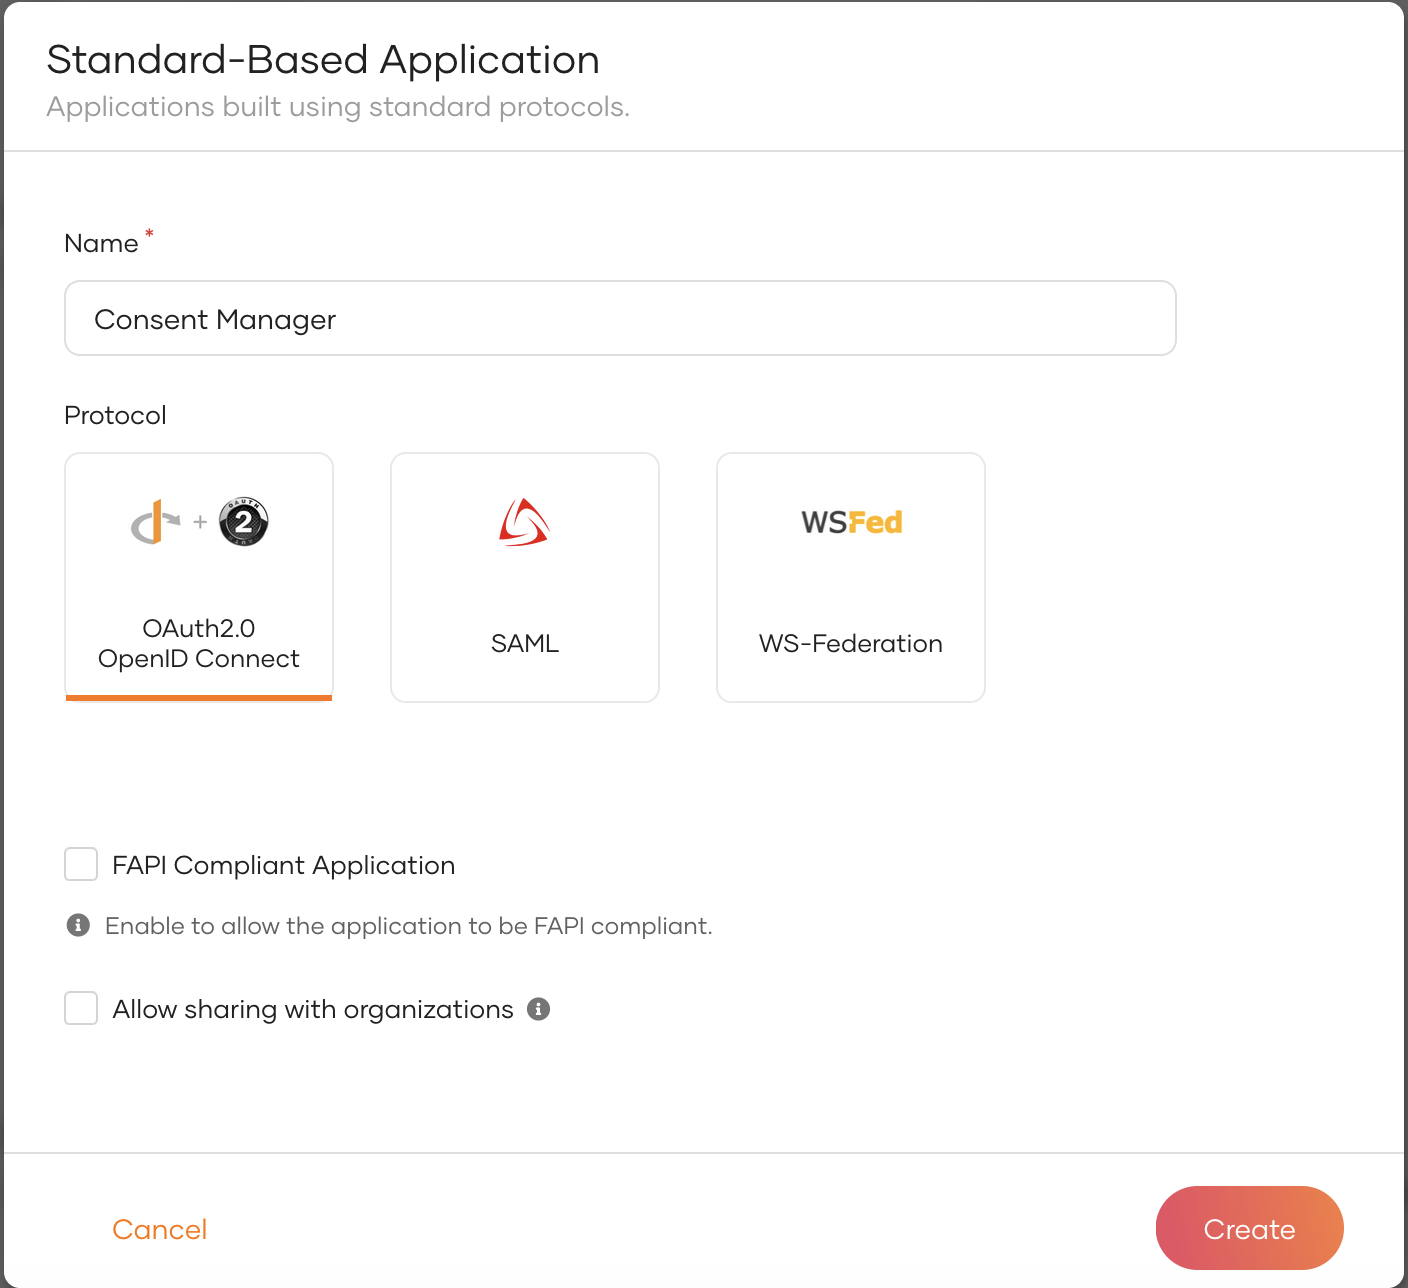
Create an application providing the following details.
-
Click Create, and the service provider will be created.
-
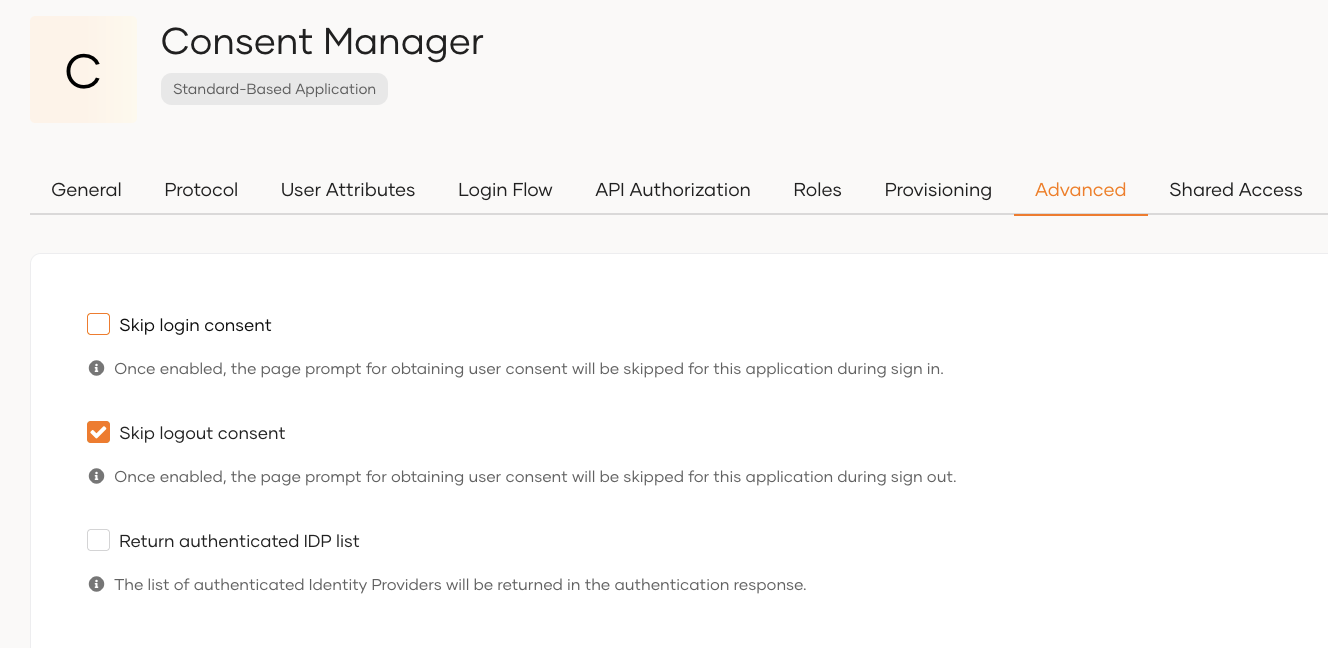
Once the application is created, do the following modifications to the application Protocol tab. Configure the below details under the OAuth2.0/OpenID Connect section.
Section Configuration Value OAuth2.0/OpenID Allowed grant types Select code, refresh token Authorized redirect URLs Add a redirect url Value should be https://<IS_HOST>:9446/consentmgr/scp_oauth2_callbackAccess Token Token type JWT Access Token Token binding type None Certificate Type None -
Then goto the Advance tab. Un- tick Skip Login Consent and click update.
-
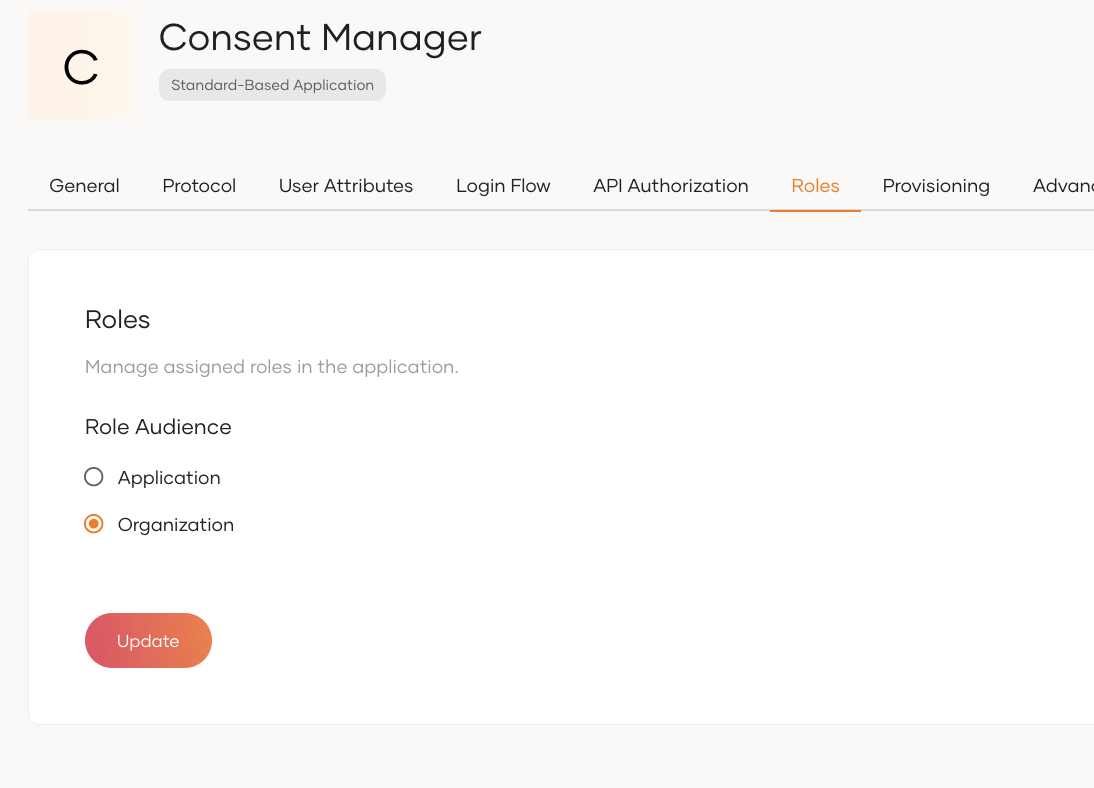
Go to the Roles tab and select Organization as the Role Audience.
-
Click on Update Button.
-
Go to the API Authorization tab.
-
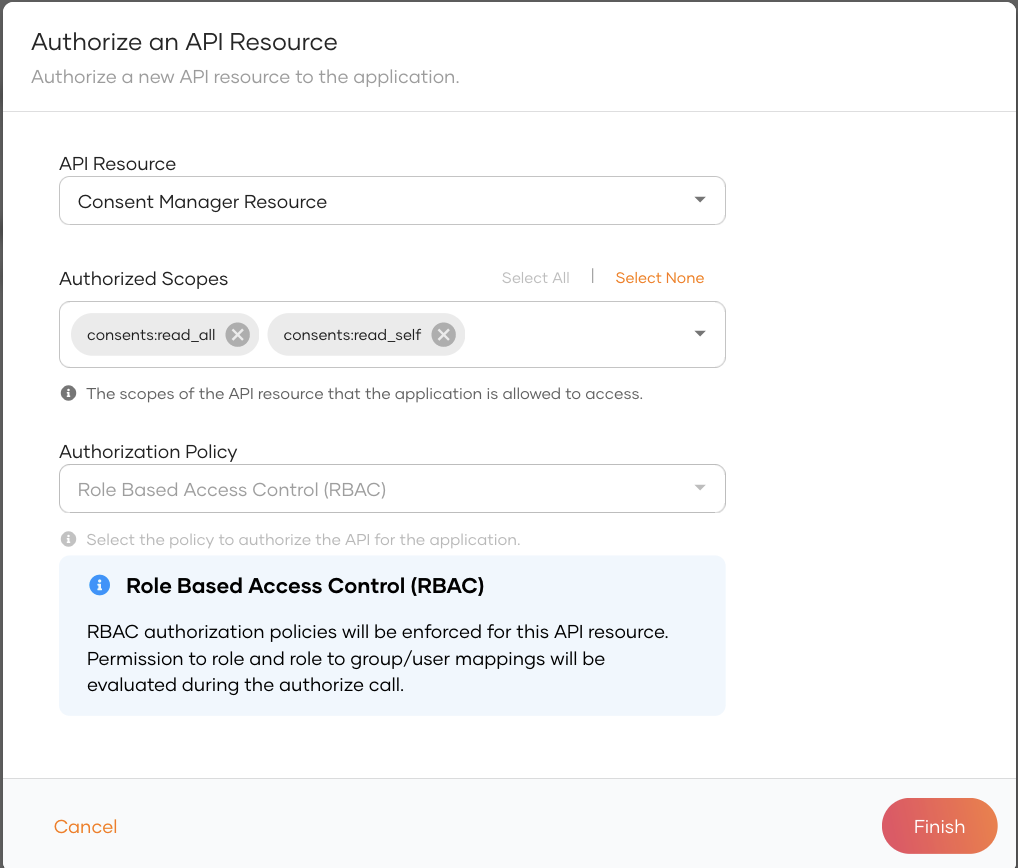
Click on the Authorize an API Resource button.

-
Select the API resource created in earlier from the API Resource drop down.
-
Add consents:read_self and consents:read_all scopes to the Authorized Scopes.
-
Click on Finish Button.
-
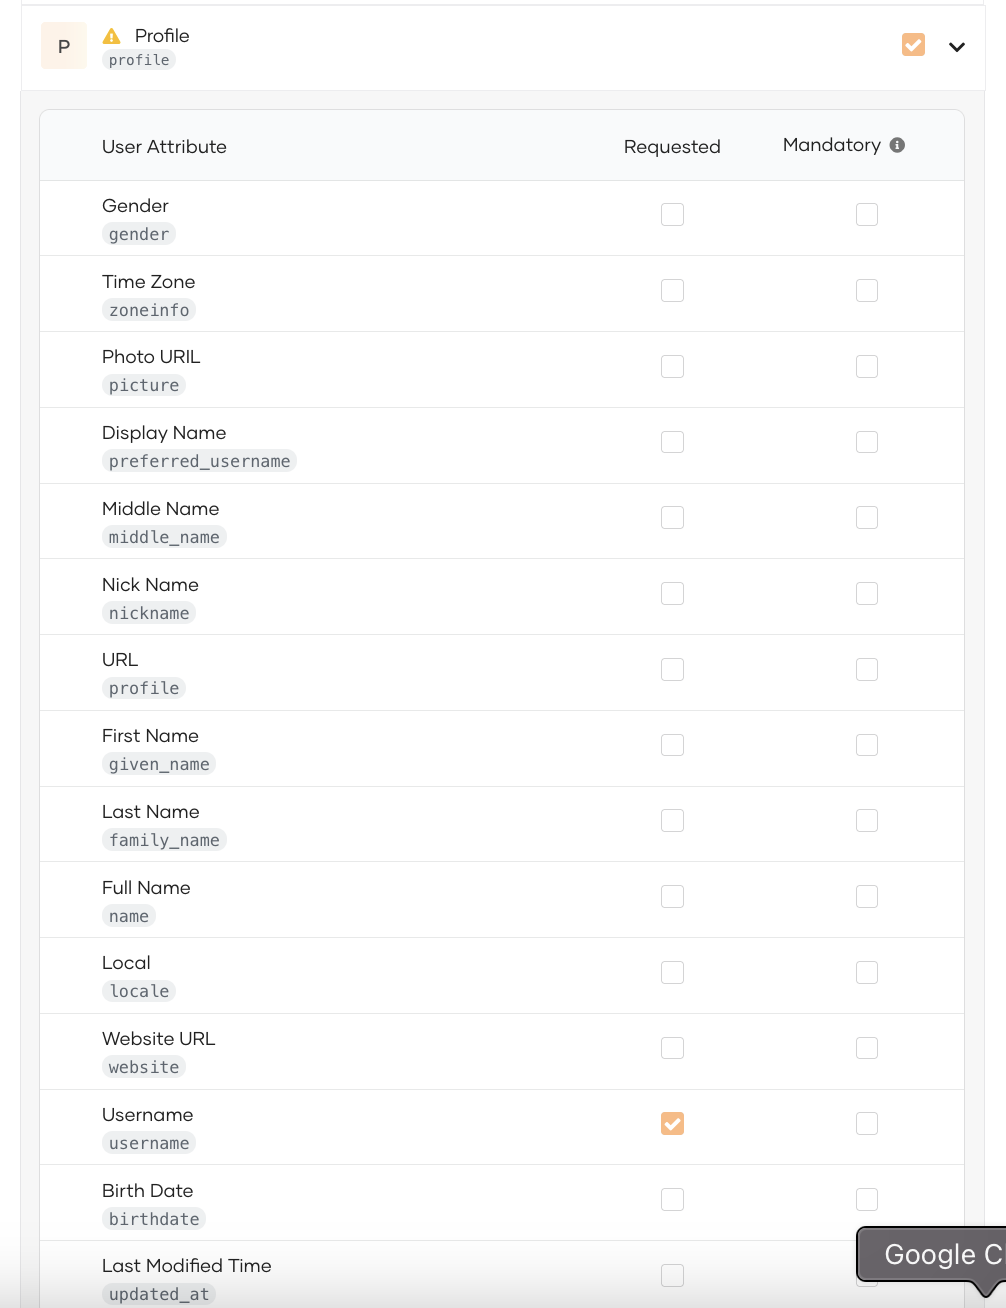
Go to the User Attributes tab under the application.

-
Expand the Profile attribute and tick the Username attribute under it as a Requested attribute.
-
Go to Subject section and tick on Assign alternate subject identifier.
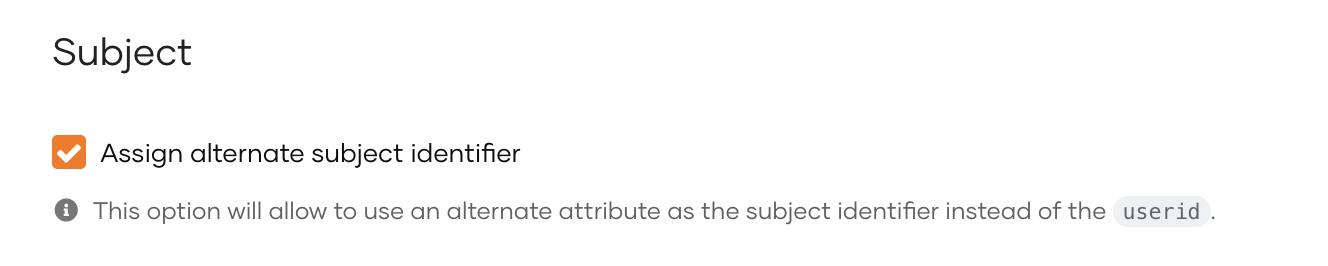
-
Select the Username as the Subject attribute.
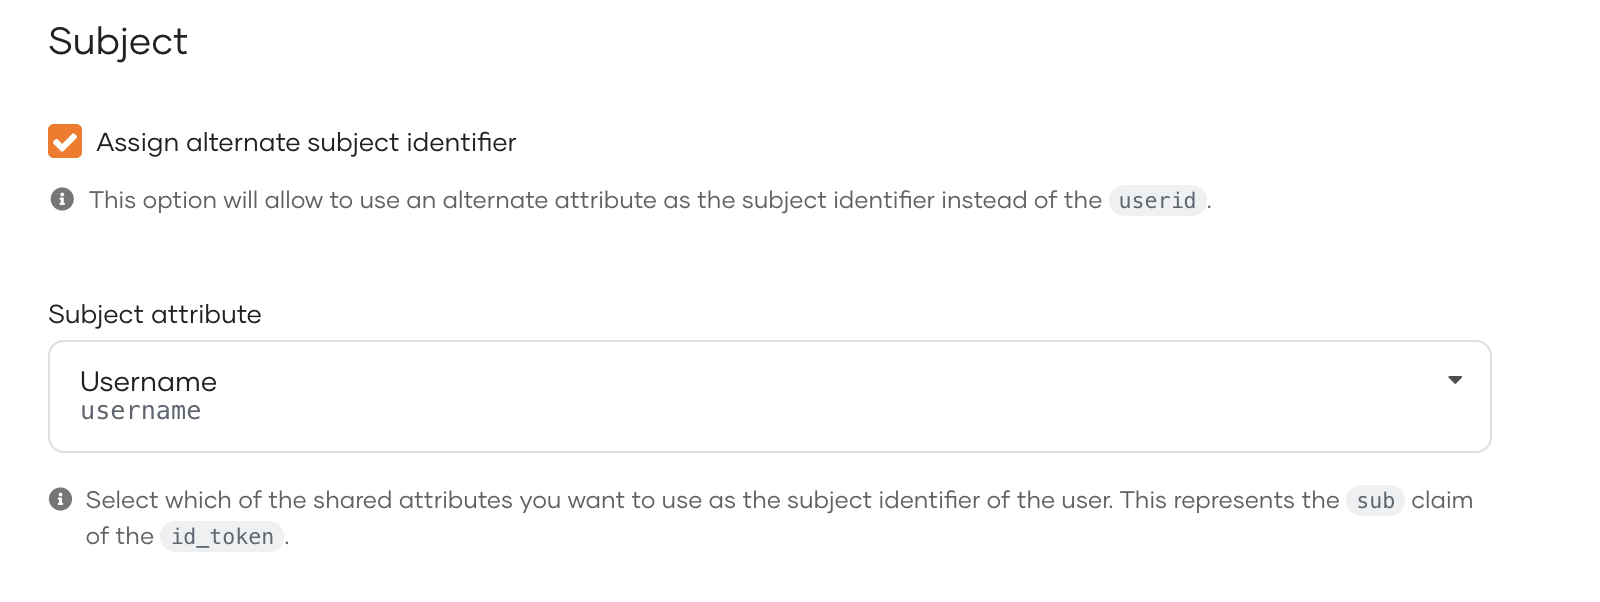
-
Click Update.
Configuring Consent Manager
-
Open the
<IS_HOME>/repository/deployment/server/webapps/consentmgr/runtime-config.jsfile. -
Follow the below instructions.
-
If the Consent Manager Portal is deployed on the WSO2 Identity Server, use the default configuration given below.
window.env = { `USE_DEFAULT_CONFIGS: true, SERVER_URL: 'https://localhost:9446', SPEC: 'Default', TENANT_DOMAIN: 'carbon.super', NUMBER_OF_CONSENTS: 20, VERS`ION: '3.0.0' }; -
If you are using a different server instance for the Identity Server, update the above configurations as follows. a. Set the
USE_DEFAULT_CONFIGSparameter to false. b. Update theSERVER_URLparameter with the URL of the Identity Server.
-
-
Open the
<IS_HOME>/repository/conf/deployment.tomlfile and update the configurations.Configuration Description client_id The Consumer Key of the application created. client_secret The Consumer Secret of the application created. identity_server_base_url The hostname of the Identity Server. application_name_param This is the parameter name to extract the consumer application name to display in the consent manager portal. The value should be stored during application creation to retrieve here. application_logo_uri_param This is the parameter name to extract the consumer application logo to display in the consent manager portal. The value should be stored during application creation to retrieve here. For example,
[financial_services.consent.portal.client_credentials]
client_id="2zB5s9wGHWVwmlrvHdWa6Mwc4vsa"
client_secret="cqblprasAniVfi02IXGFvp8VREAa"

[financial_services.consent.portal.params]
identity_server_base_url="https://localhost:9446"
application_name_param="client_name"
application_logo_uri_param="software_logo_uri"
Using Consent Manager
-
Go to the Consent Manager application at
https://<IS_HOST>:9446/consentmgr. -
Sign in with the credentials of the users created in Create Users section.
-
The consentmgr application requests access to your profile. To grant access, click Continue.

-
You are redirected to the homepage of the Consent Manager portal.
The three tabs are as follows:
- Active: Lists active consents that can access your account/payment information.
- Expired: Lists expired consent that cannot access your account/payment information anymore.
- Withdrawn: Lists the consents that you have revoked.
Tip
Use the Search button to search consents.
Viewing consent details
-
To view consent details, click the respective
Actionbutton.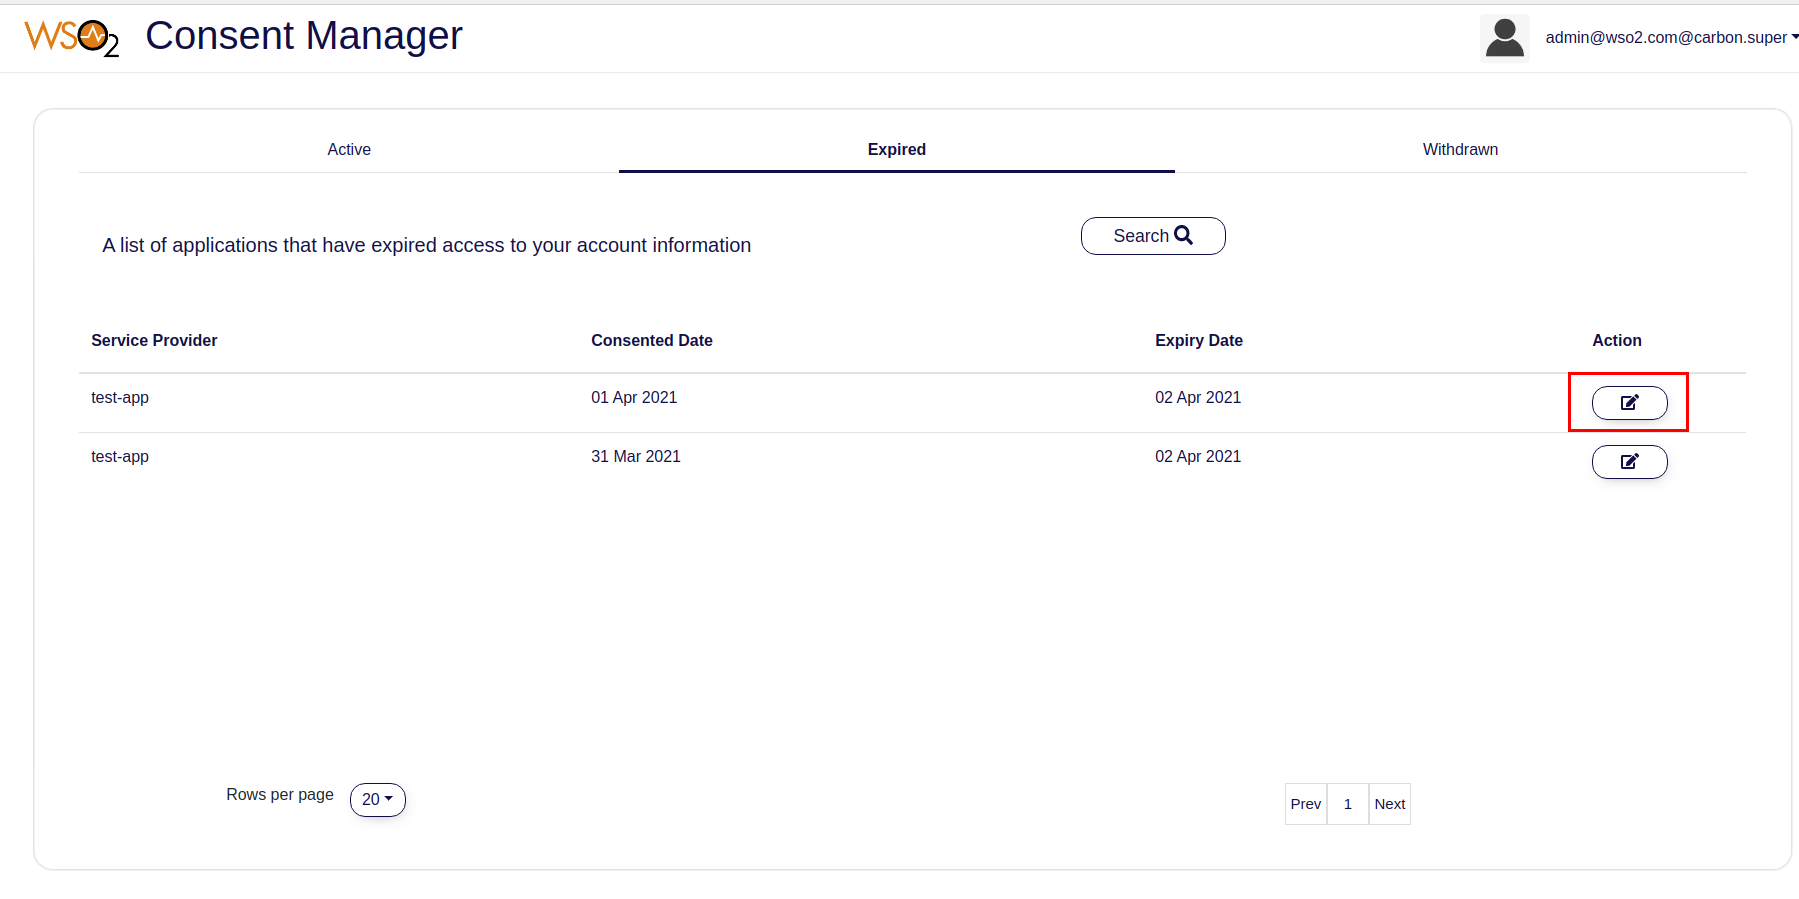
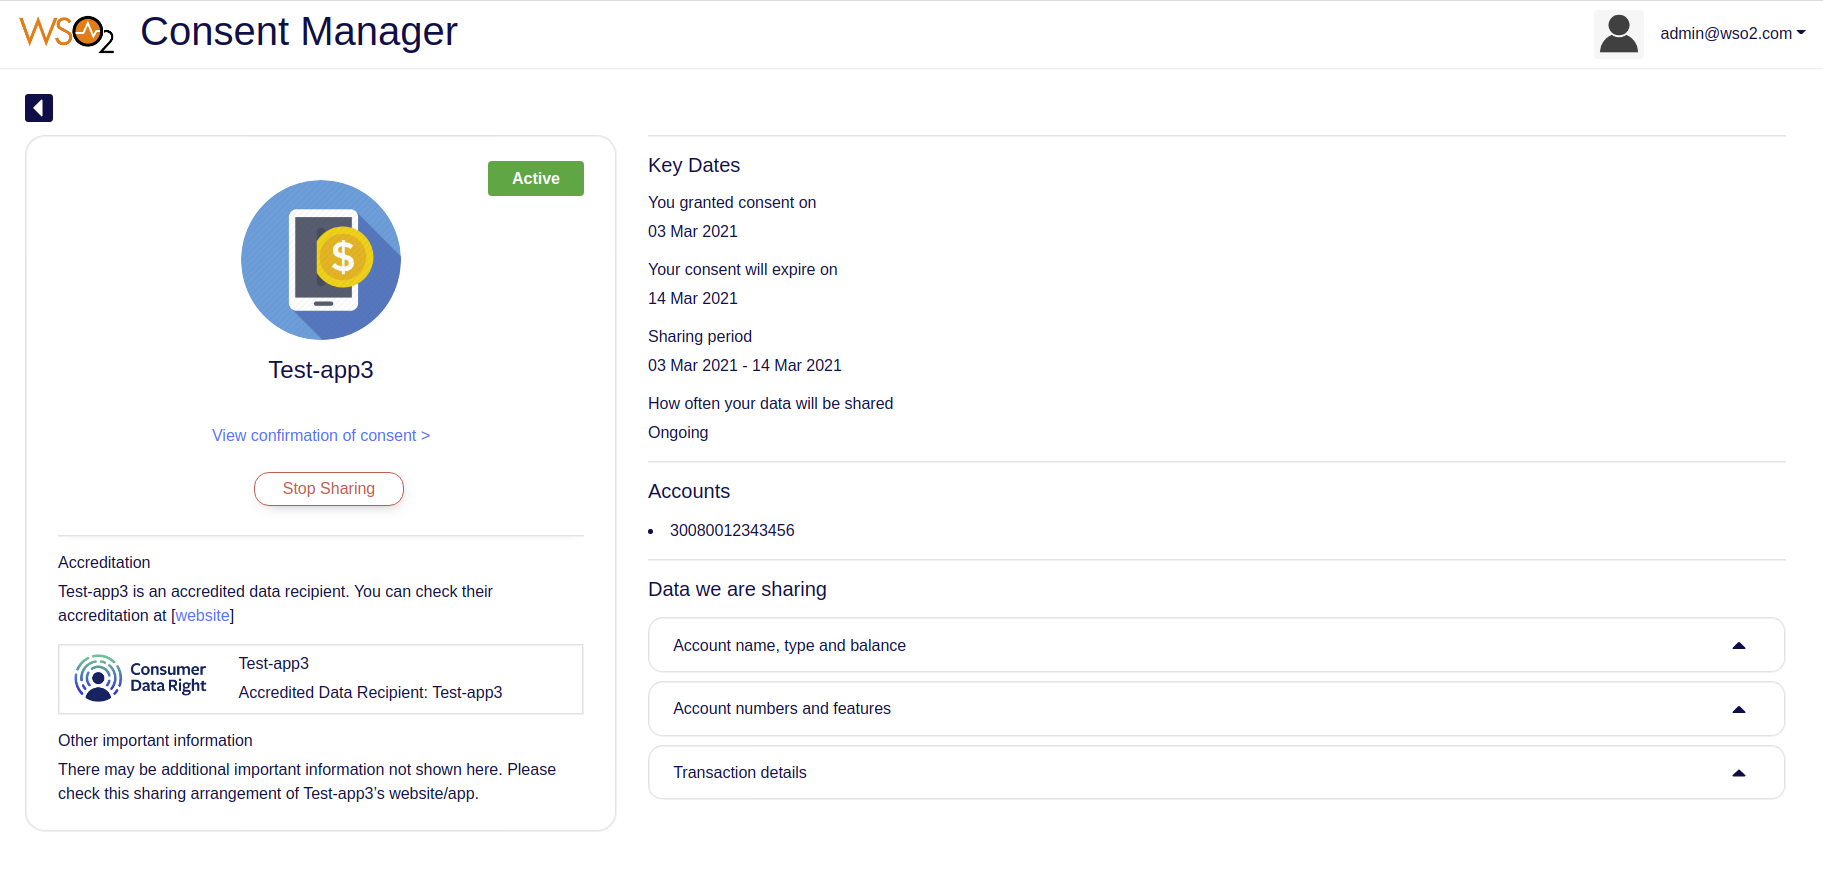
-
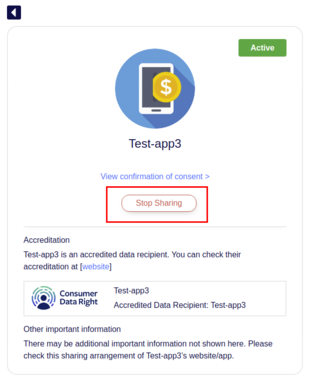
You can view the details such as the associated API consumer application, consent granted date, consent expiry date, account numbers, and permissions that you have granted.
Revoking a consent
-
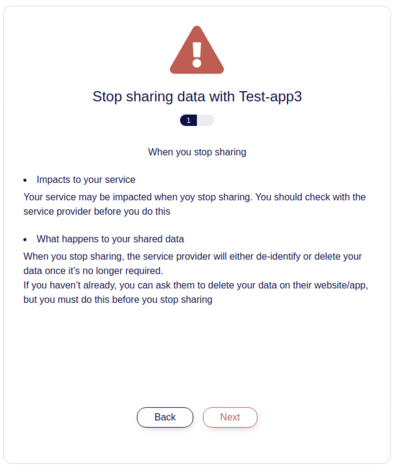
To revoke a consent, review the details and click Stop Sharing.
-
Revoking a consent consists of 2 steps:
-
Step 1: The first step shows the impact of withdrawing the consent.
-
Step 2: Displays the information the consent has access to.

-
-
Once you click Stop Sharing, the status of the consent changes to
withdrawn. You can find this consent in the Withdrawn tab now.