Identifier first
Identifier-first authentication allows identifying the individuals prior to authenticating them. It retrieves the identity of the user without using authentication information and uses that identity to control the authentication flow.
You can implement identifier-first authentication using a custom local authenticator. For more information, see Identifier-first Flow Handler. WSO2 Open Banking consists of an identifier-first authenticator by default. Configure identifier-first authentication in two stages as given in the below instructions:
- Before server start
- After server start
Before server start
If you have not started the Identity Server and API Manager servers, follow the below instructions to configure identifier-first authentication.
-
Locate the following configuration in
<IS_HOME>/repository/conf/deployment.tomland update the value of theparameters.authRequestURL
configuration with the host name of the Identity Server:[[authentication.custom_authenticator]] name = "IdentifierExecutor" parameters.ValidateUsername = true parameters.throttleLimit = 3 parameters.throttleTimePeriod = 300 parameters.authRequestURL = "https://<IS_HOST>:9446/api/identity/auth/v1.1/data/AuthRequestKey/" [authentication.authenticator.sms_otp.parameters] EnableAccountLockingForFailedAttempts = true BackupCode = false TokenExpiryTime = 60 -
Add the following configuration in
<IS_HOME>/repository/conf/deployment.tomlto make the default identifier-first authenticator the primary authenticator:[open_banking.sca.primaryauth] name = "IdentifierExecutor" display = "ob-identifier-first" -
Update the
<IS_HOME>/repository/conf/common.auth.script.jsfile with the following steps:var psuChannel = 'Online Banking'; function onLoginRequest(context) { publishAuthData(context, "AuthenticationAttempted", {'psuChannel': psuChannel}); doLogin(context); } var doLogin = function(context) { executeStep(1, { onSuccess: function (context) { //identifier-first success Log.info("Authentication Successful"); publishAuthData(context, "AuthenticationSuccessful", {'psuChannel': psuChannel}); OTPFlow(context); }, onFail: function (context) { //identifier-first fail Log.info("Authentication Failed"); publishAuthData(context, "AuthenticationFailed", {'psuChannel': psuChannel}); doLogin(context); } }); }; var OTPFlow = function(context) { executeStep(2, { //OTP-authentication onSuccess: function (context) { context.selectedAcr = "urn:cds.au:cdr:2"; publishAuthData(context, "AuthenticationSuccessful", {'psuChannel': psuChannel}); }, onFail: function (context) { publishAuthData(context, "AuthenticationFailed", {'psuChannel': psuChannel}); OTPFlow(context); } }); }; -
If you are using WSO2 Open Banking Identity Server Accelerator Level 3.0.0.78 or above, add the following configuration to the
<IS_HOME>/repository/conf/deployment.tomlfile to set authenticator steps.[open_banking.sca.idp] name = "<IDP_NAME>" step = "<IDP_STEP>"For example, to add the SMS Authenticator IDP named
SMSAuthenticationas the second authenticator step, add the following configuration:[open_banking.sca.idp] name = "SMSAuthentication" step = "2"
After server start
If you have already started the Identity Server and API Manager servers, follow the below instructions to configure identifier-first authentication.
Configuring SMS OTP authenticator
- Sign in to WSO2 Identity Server Management Console at
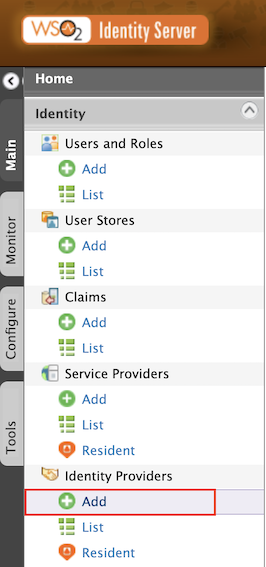
https://<IS_HOST>:9446/carbon. - On the Main tab, click Home > Identity > Identity Providers > Add.
- Give
Identity Provider NameasSMSAuthentication.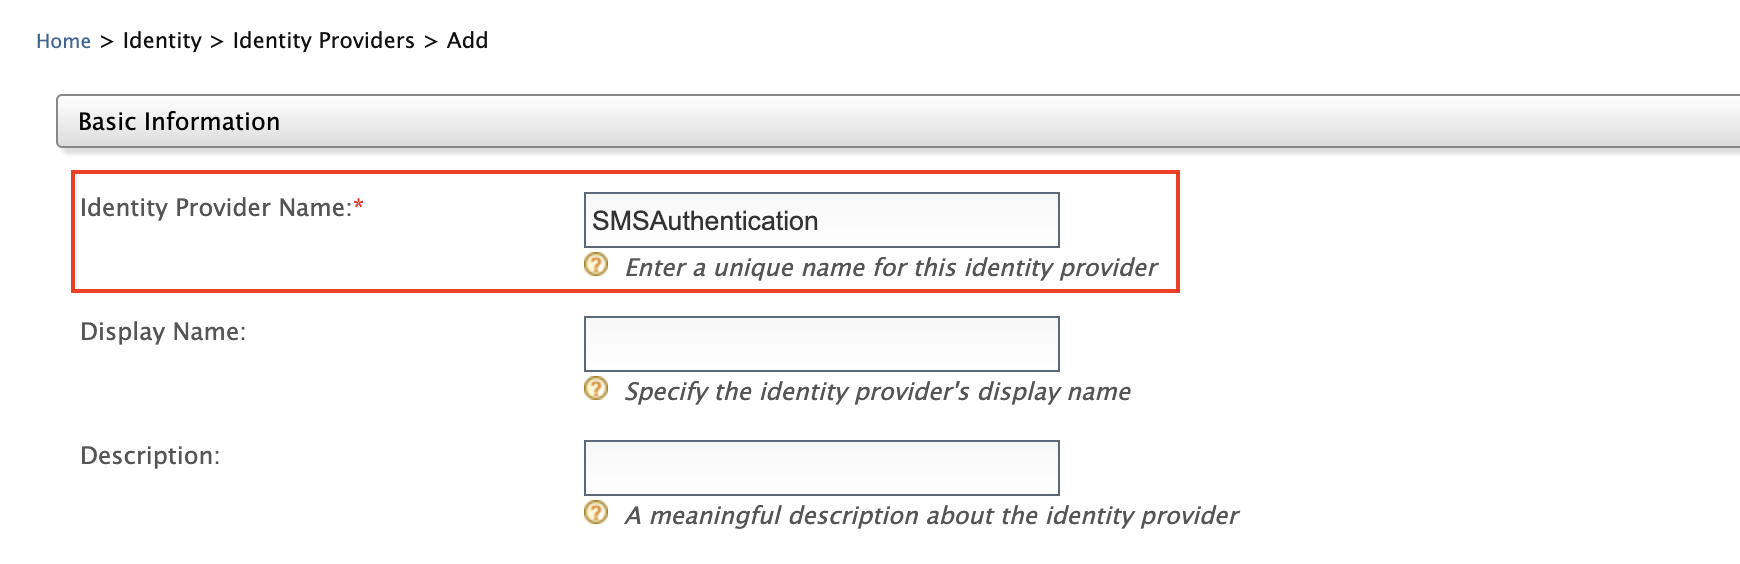
- Expand Federated Authenticators > SMS OTP Configuration.
-
Select both the Enable and Default checkboxes. This is to enable and make the
SMSAuthenticationauthenticator the default one. Based on your SMS provider, fill out the SMS OTP configurations.Note
Currently, WSO2 Identity Server supports only the following SMS providers.
- Twilio
- Nexmo
- Clickatell
- Plivo
- Bulksms
If Twilio is used as the SMS provider,
- Go to https://www.twilio.com/try-twilio and create an account.
- While registering the account, verify your mobile number and click on console home https://www.twilio.com/console to get free credits (Account SID and Auth Token).
- Twilio uses a POST method with headers and the text message and phone number are sent as the payload. So the fields would be as follows:
SMS URL https://api.twilio.com/2010-04-01/Accounts/%7BAccountSID%7D/SMS/Messages.jsonHTTP Method POSTHTTP Headers Authorization: Basic base64{AccountSID:AuthToken}HTTP Payload Body=$ctx.msg&To=$ctx.num&From=urlencode{TrialNumber}Note
If you pass the text message and the phone number in any field, you have to replace them with
$ctx.numand$ctx.msgrespectively. For example,Body=$ctx.msg&To=$ctx.num&From=+12345678.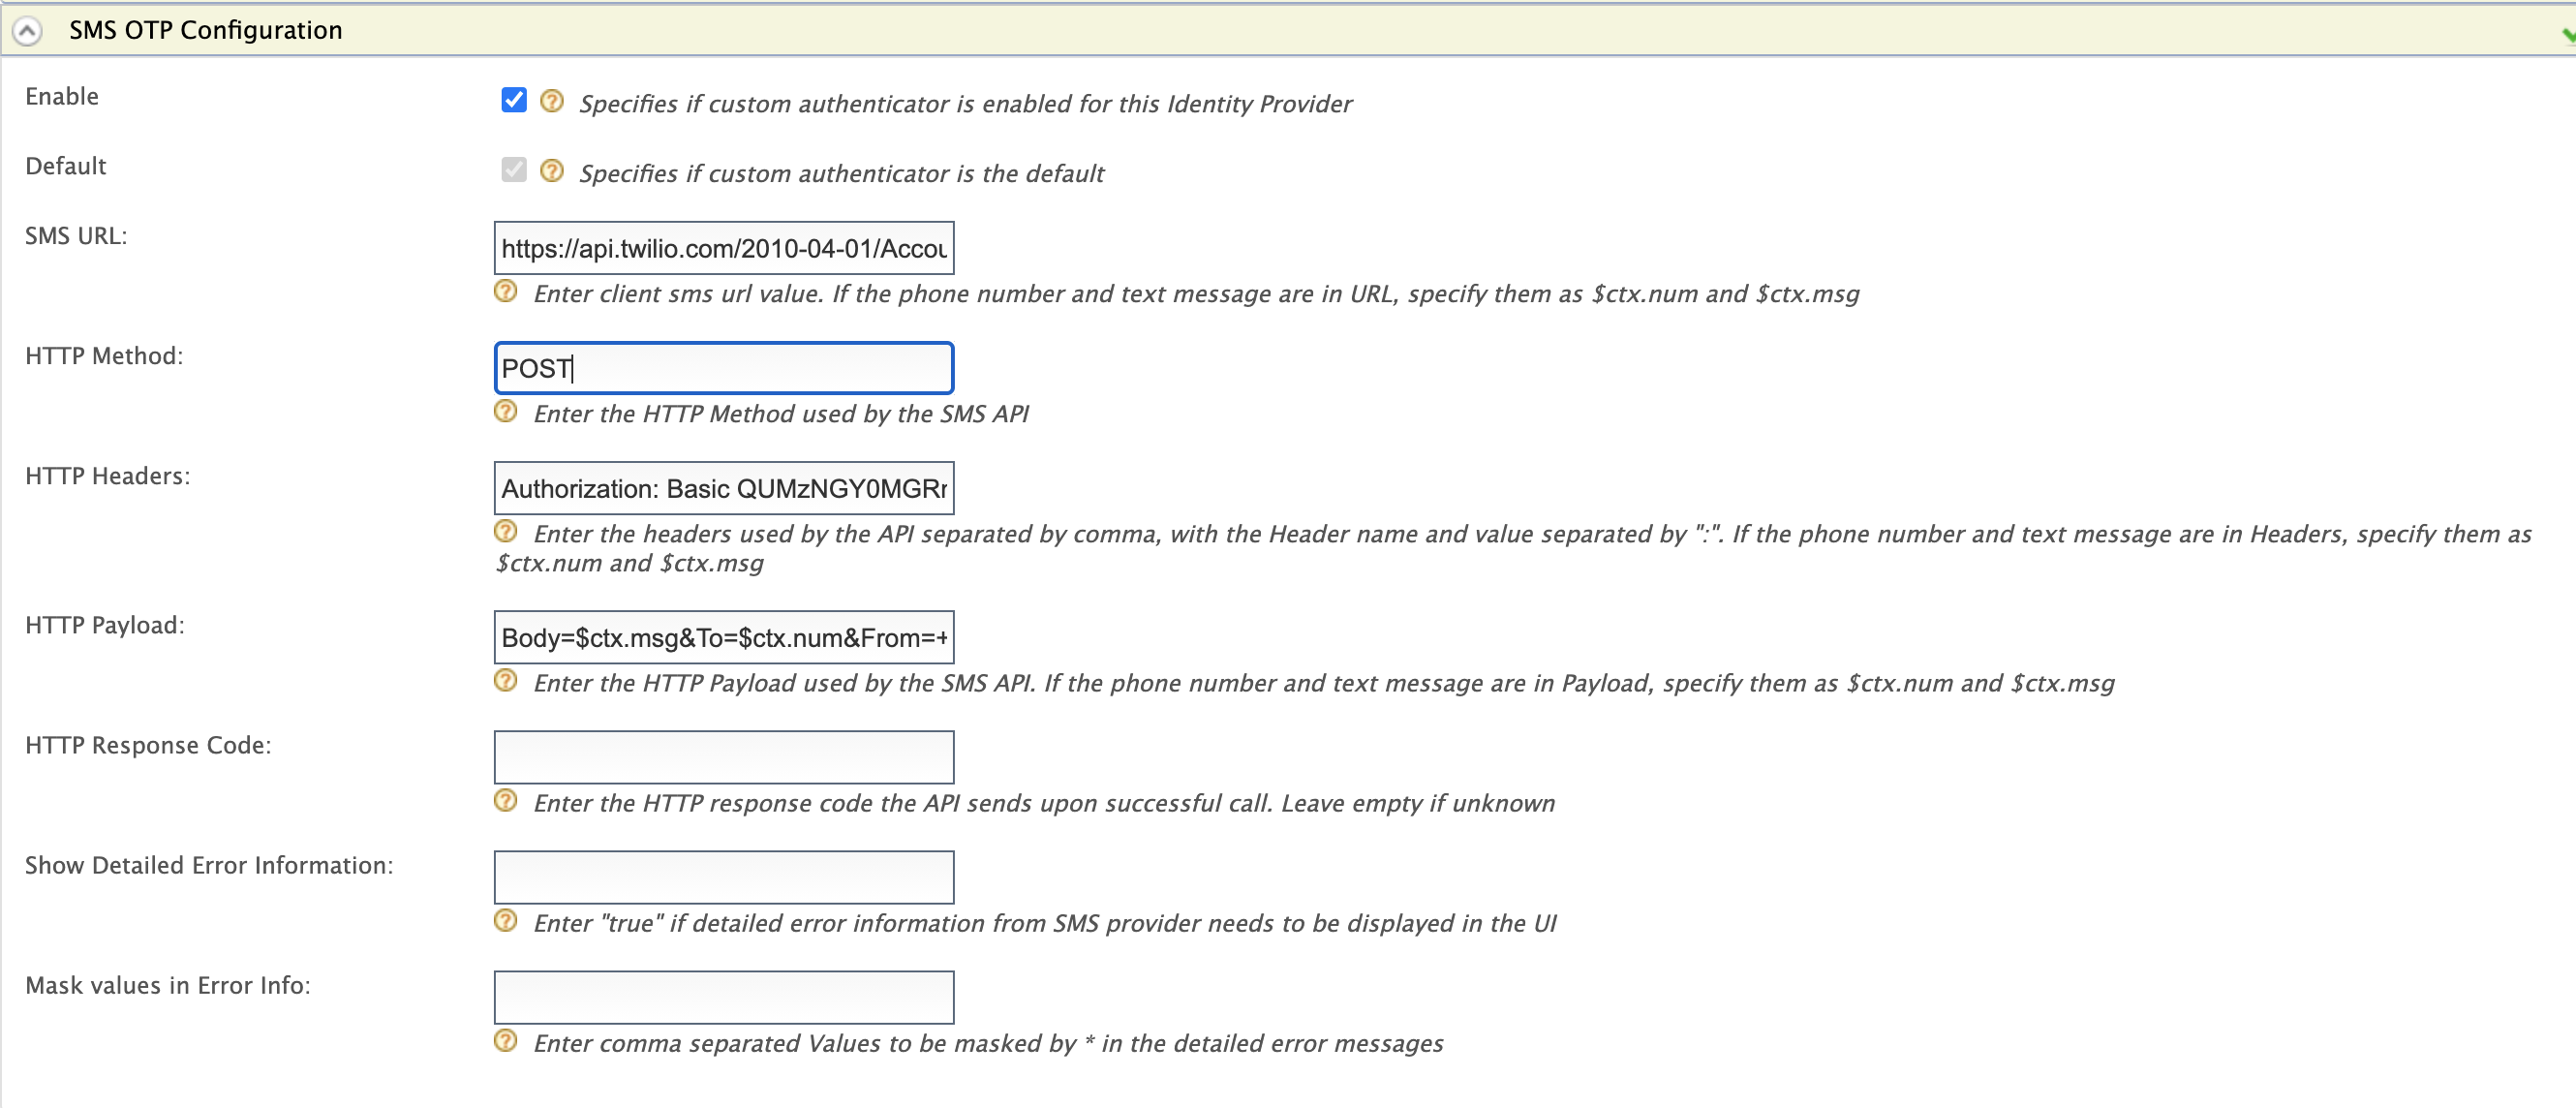
-
Click Register to add the Identity Provider.
Configure account locking
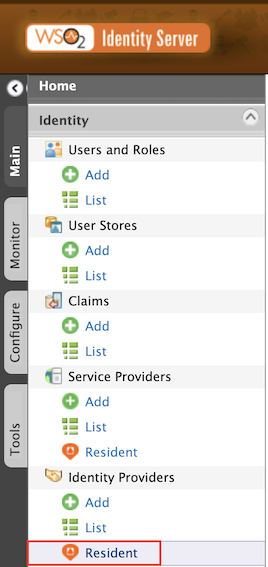
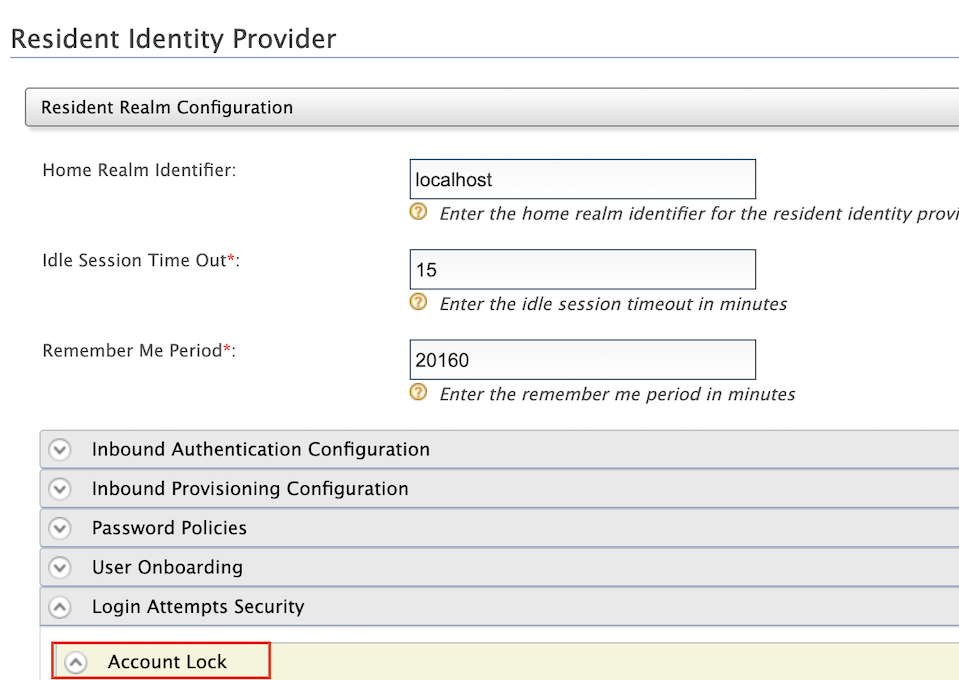
- On the Main tab, click Home > Identity > Identity Providers > Resident.
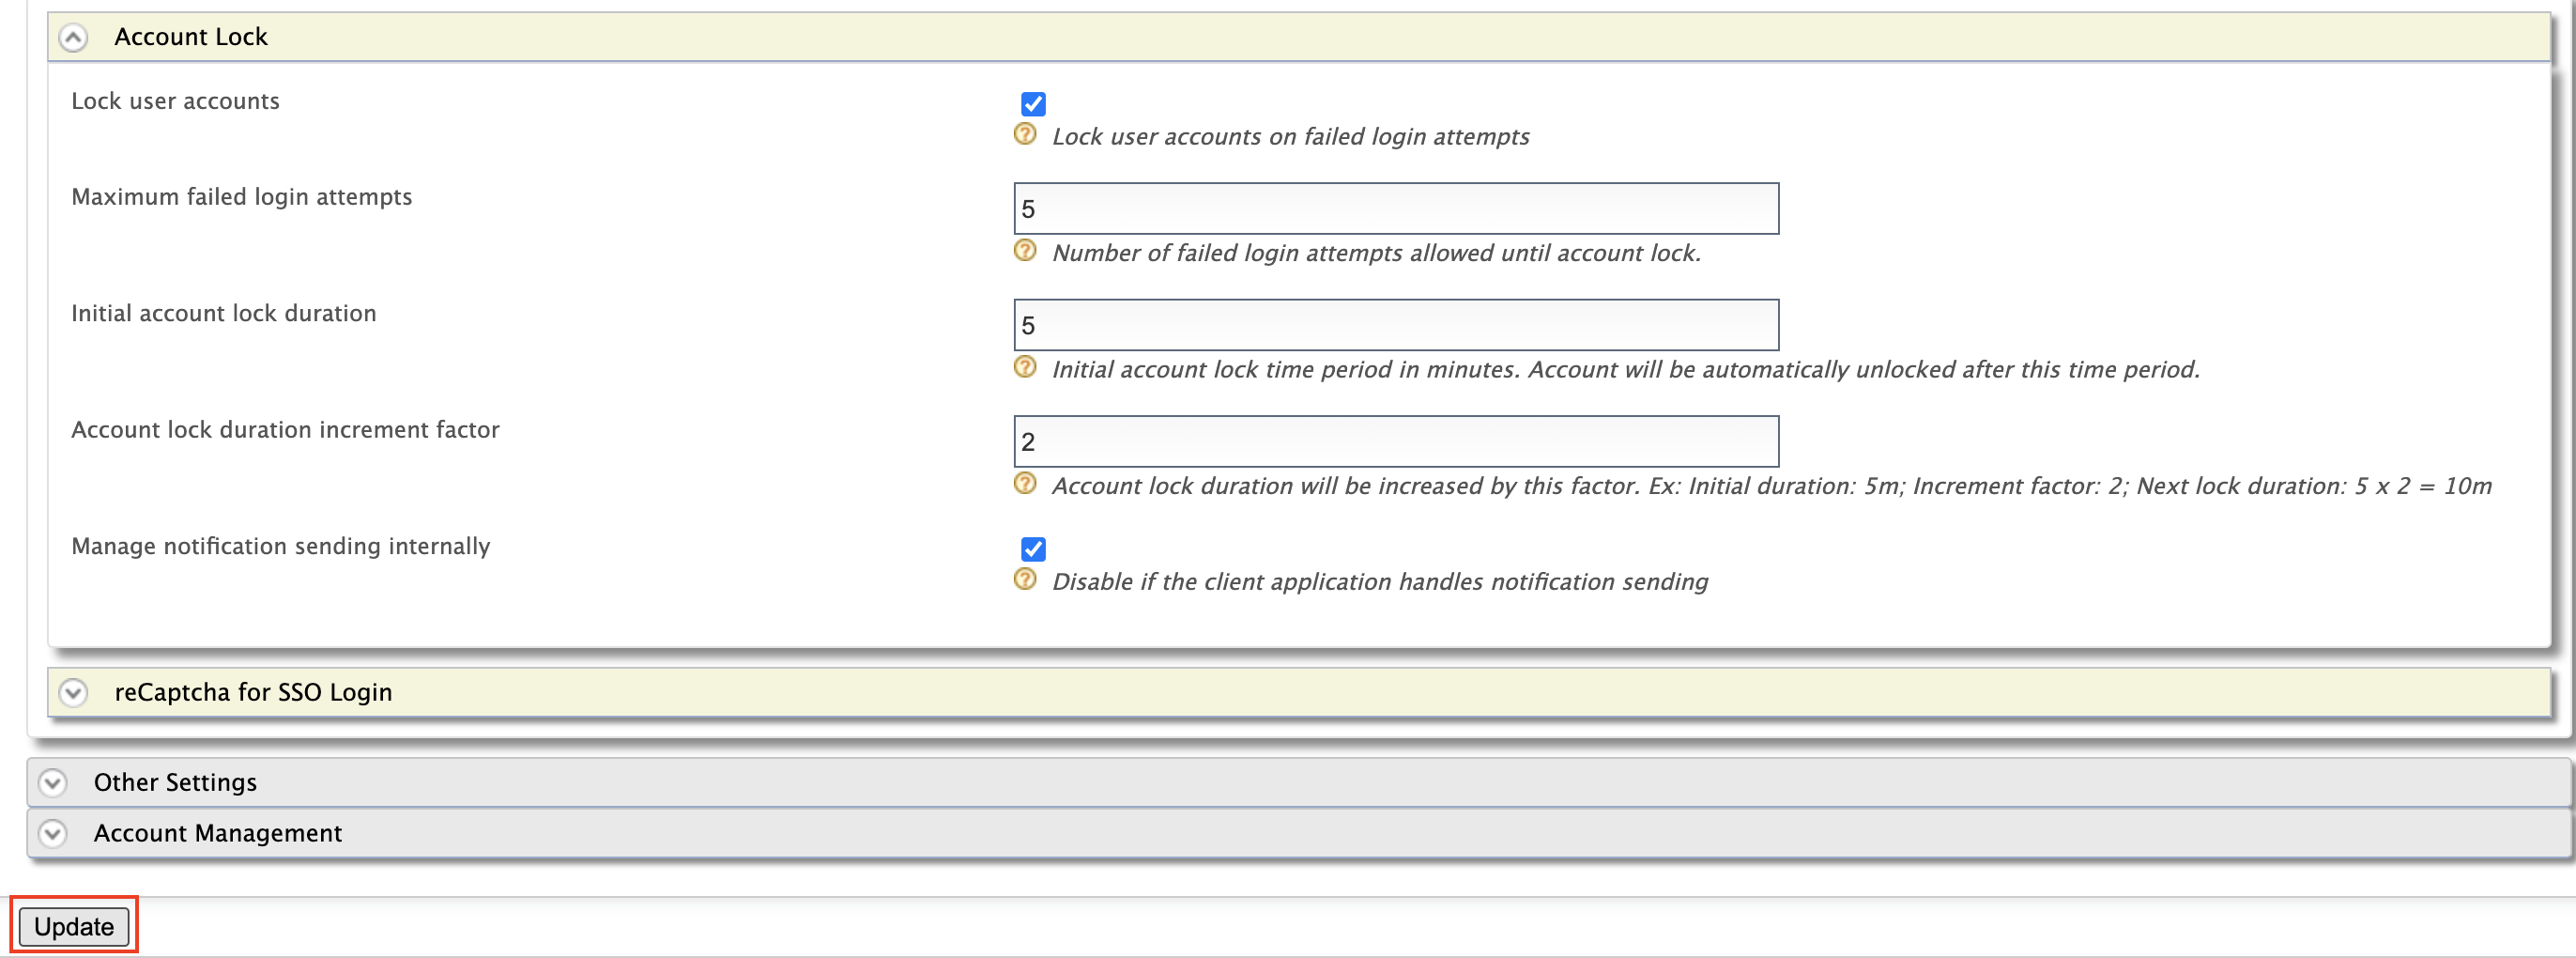
- Expand Login Attempts Security > Account Lock.
- Select Lock user accounts and click Update.
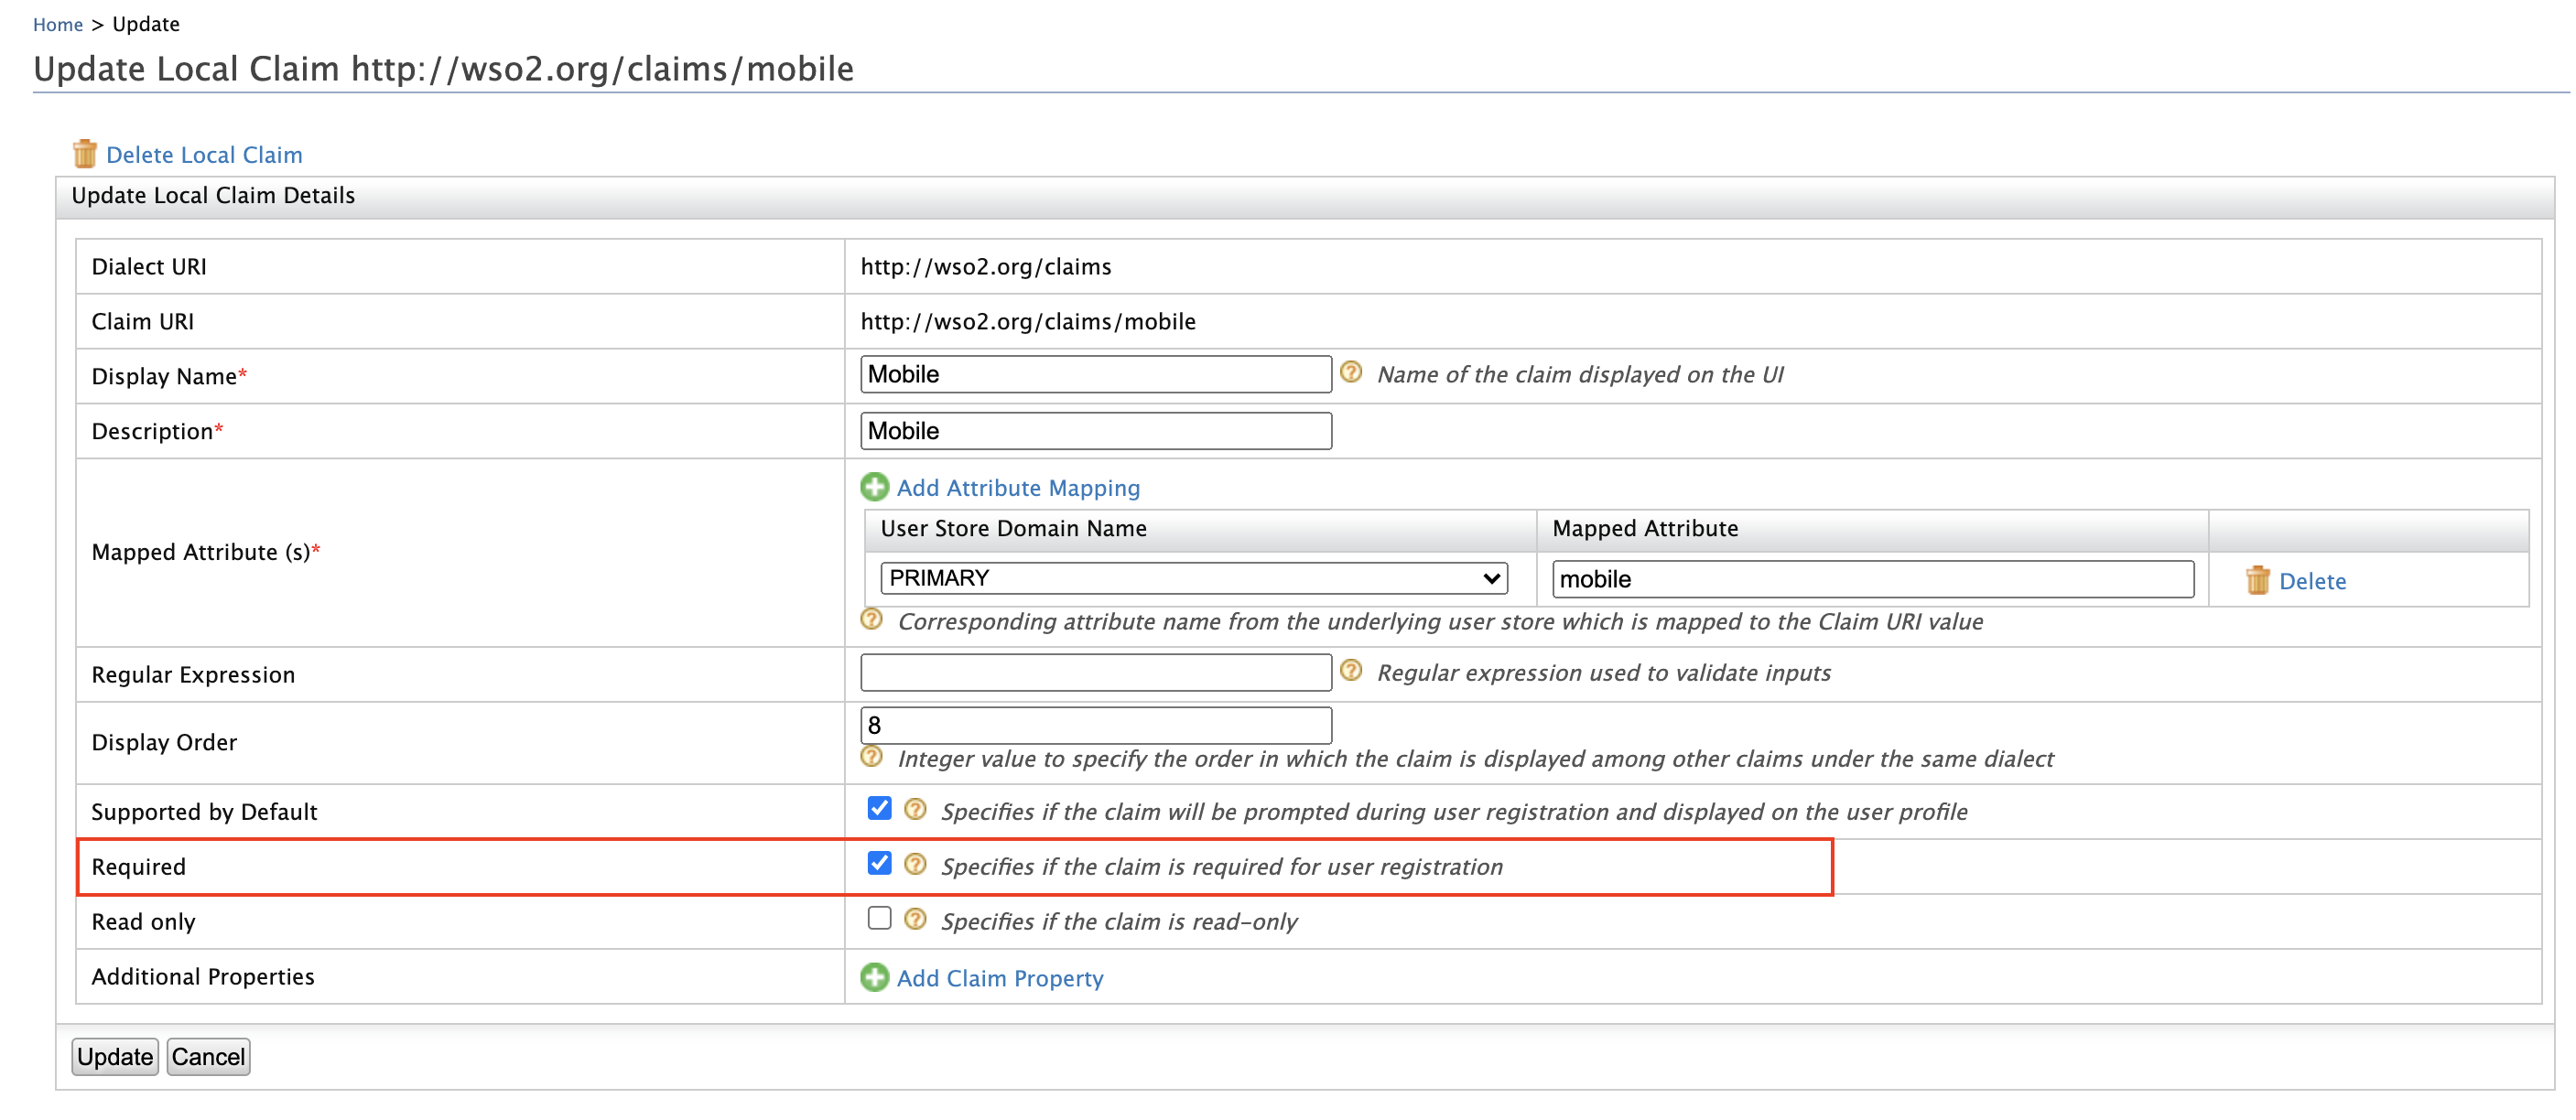
Configure mobile as a mandatory claim
-
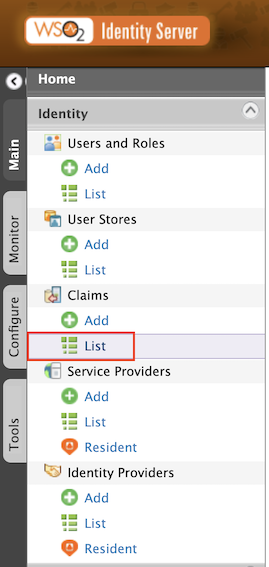
On the Main tab, click Home > Identity > Claims > List.
-
Select
http://wso2.org/claimsfrom the list.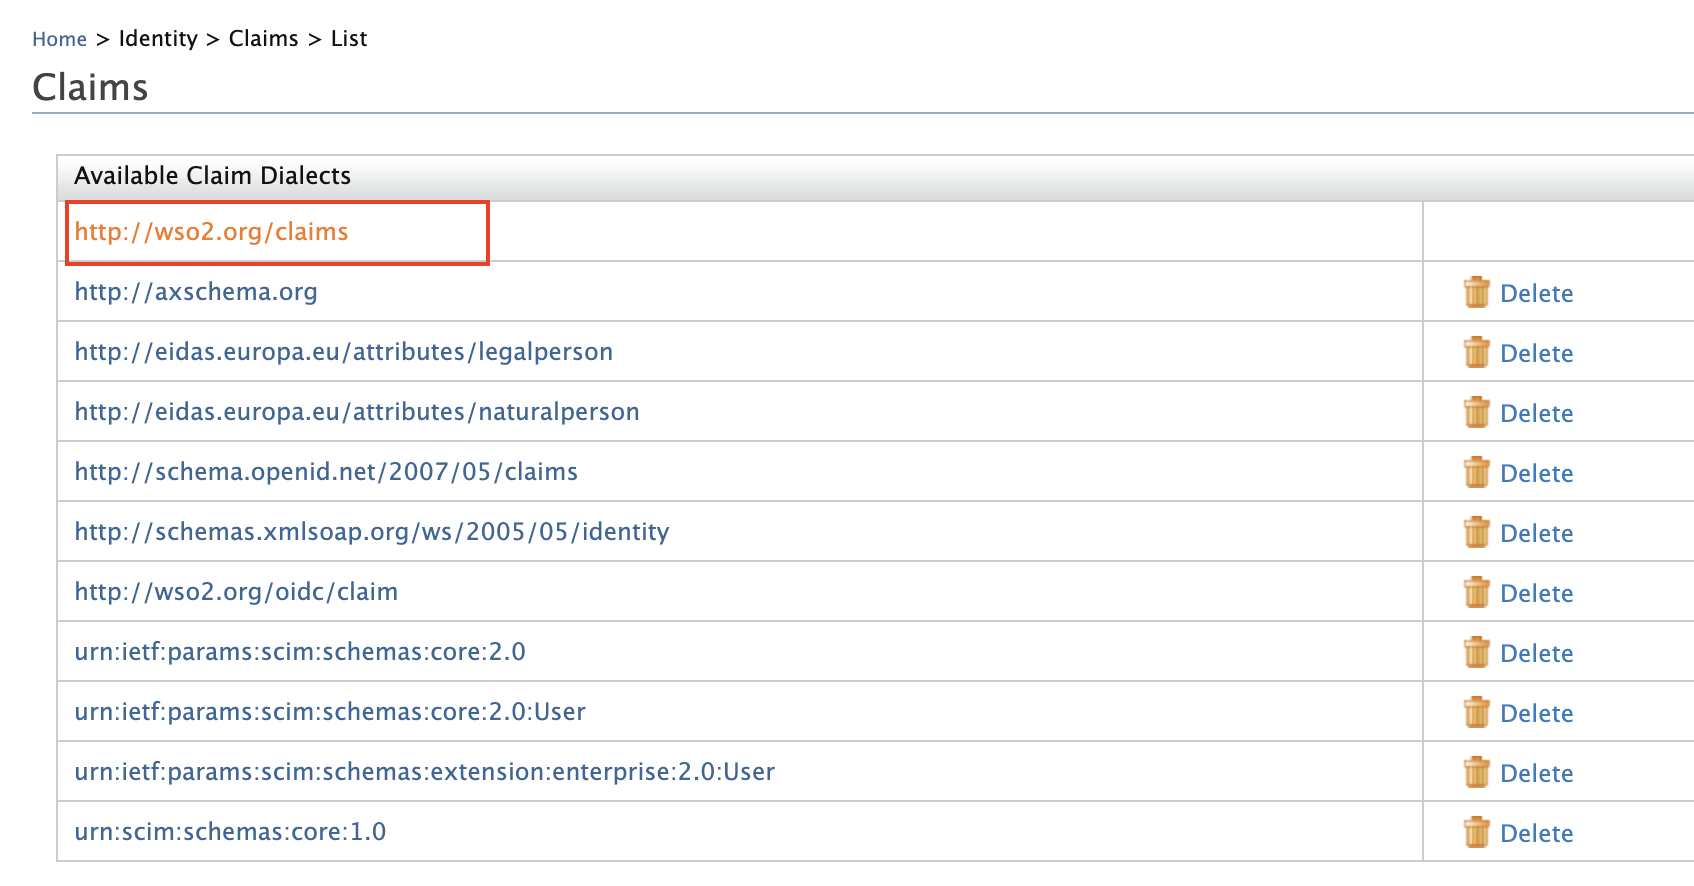
- Locate Mobile from the list and select Edit.
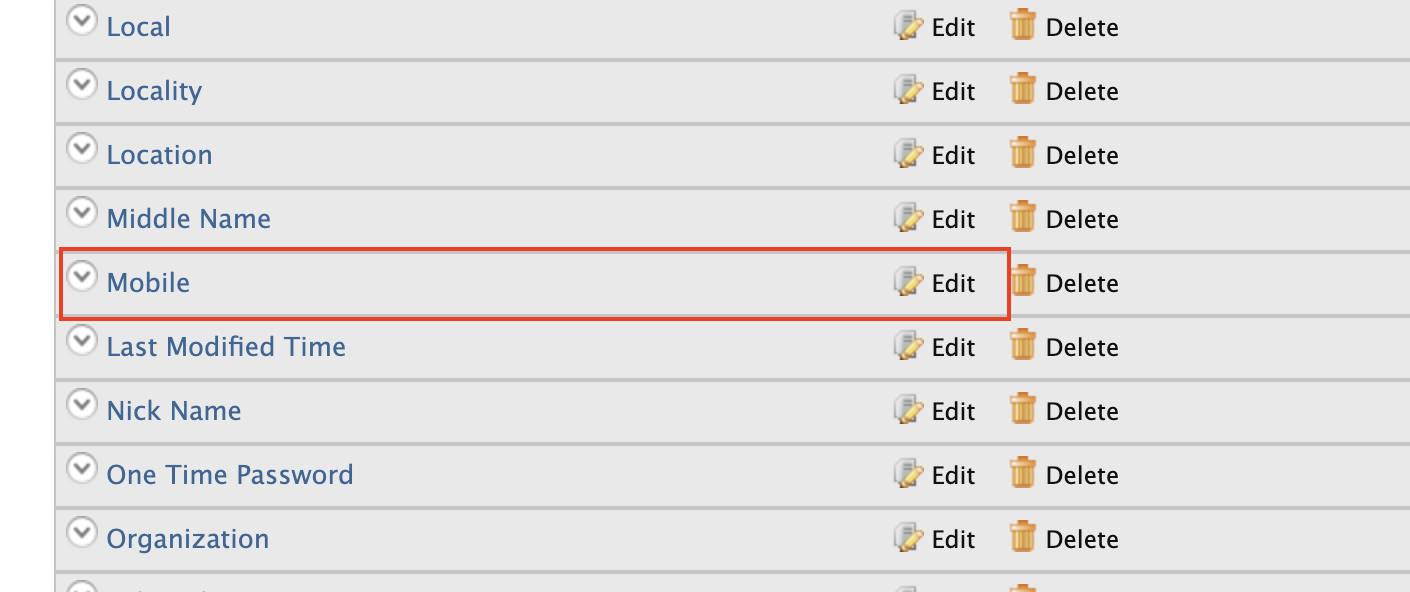
- Select Required and click Update.