Configure API Resources, Users and Roles
Now you have started the servers, let’s create the API resources, users and define their permissions and roles.
Sign in to the Identity Server
-
Sign in to the Management Console of WSO2 Identity Server at https://localhost:9446/console
-
Use the default super admin credentials as follows:
- Username: [email protected]
- Password: wso2123
Note
The above login credentials are for testing purposes only. It is recommended to change the login credentials in a production environment.
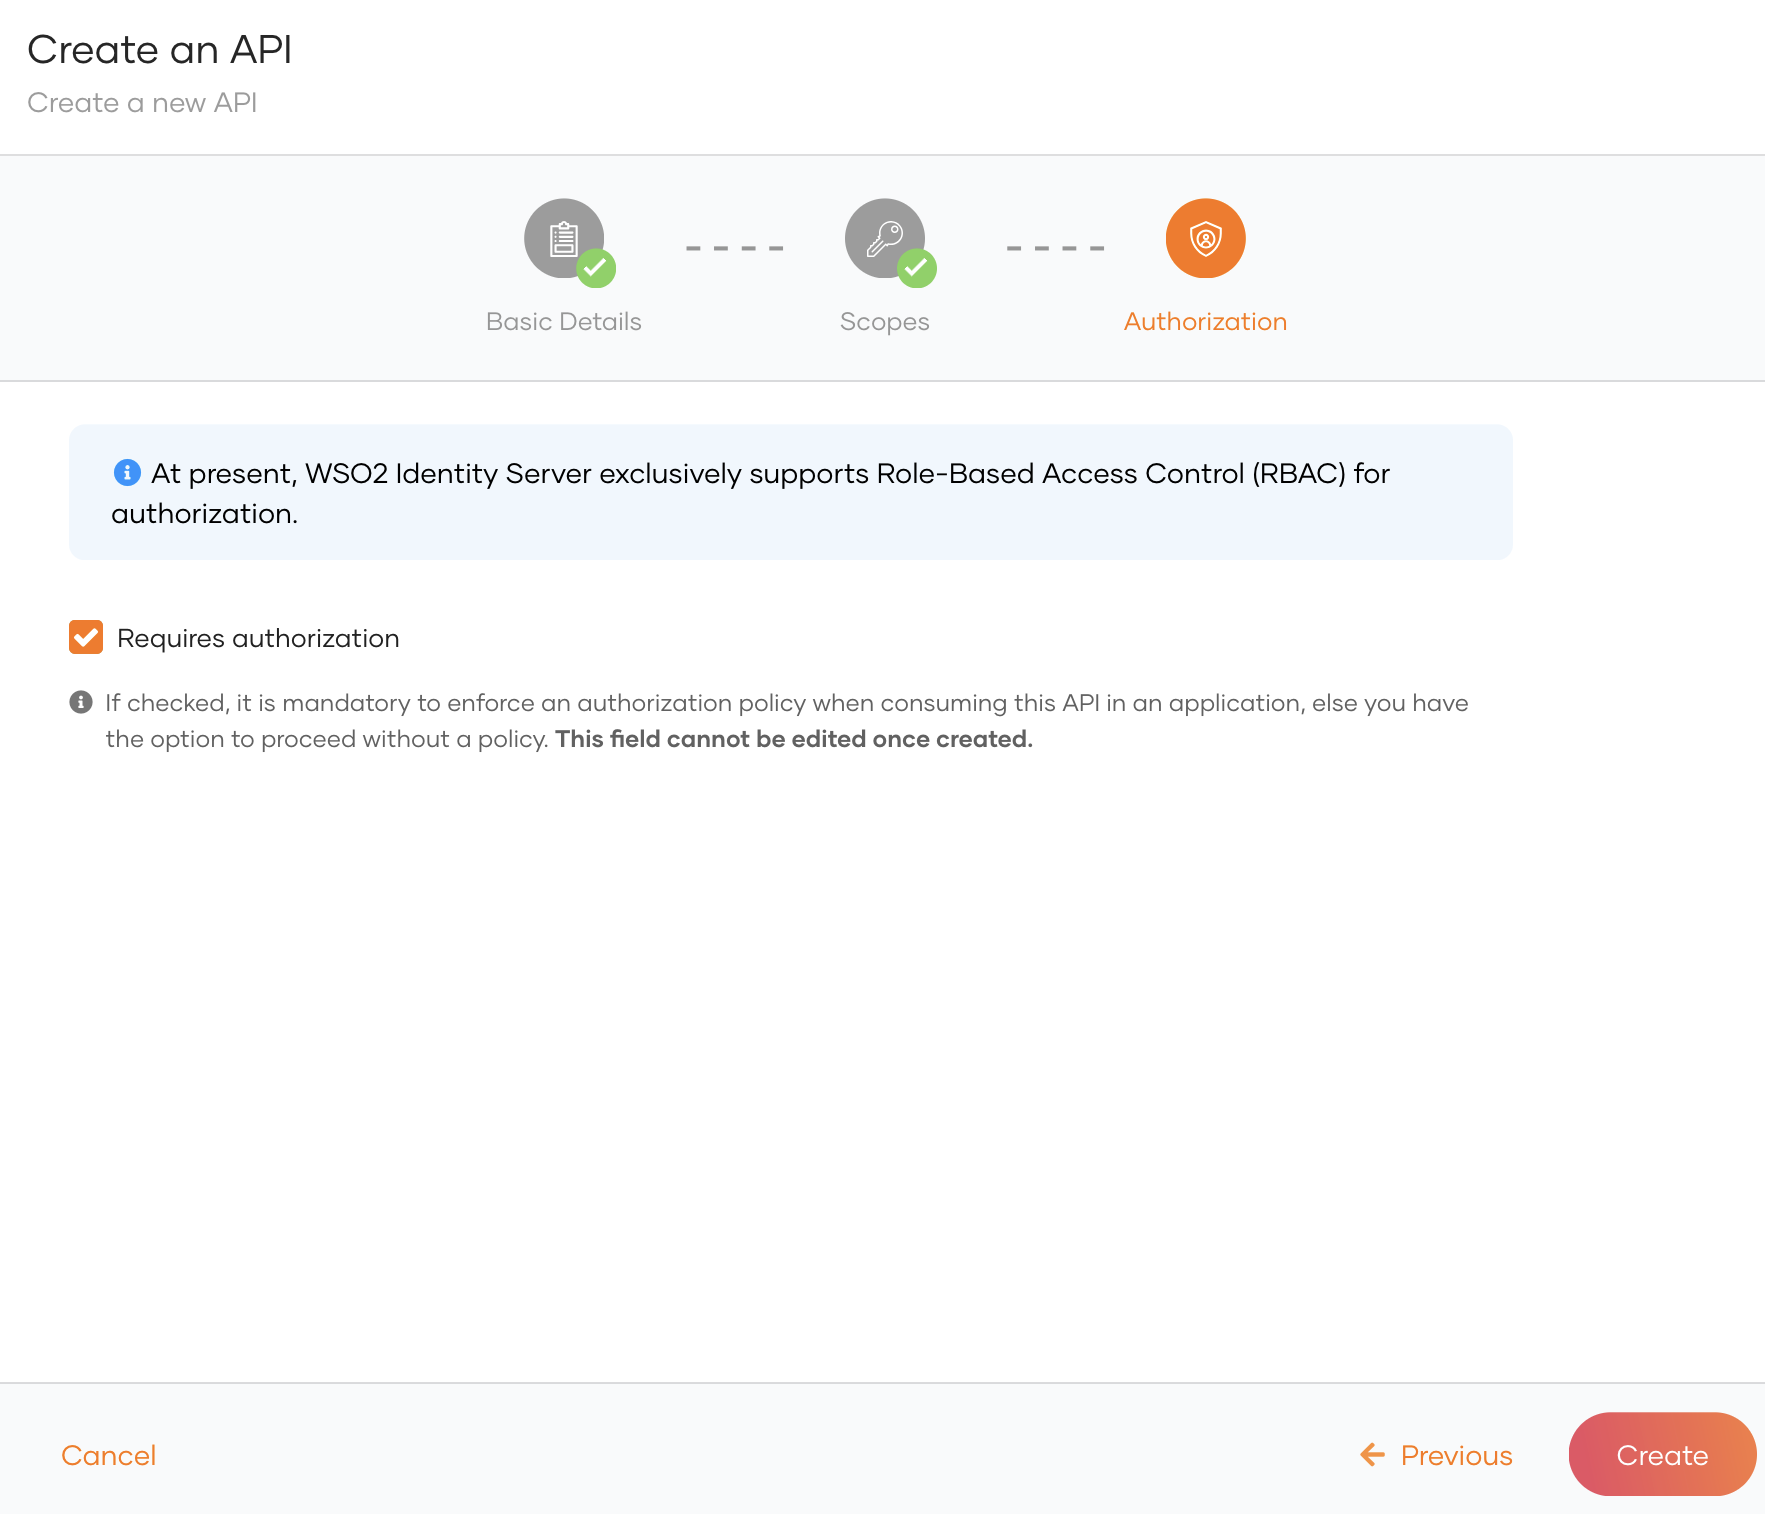
Create API resources
WSO2 Identity Server provides comprehensive capabilities for managing and securing API resources, particularly in the context of authorization and access control. You need to create below API resources in order to successfully invoke Internal Open Banking APIs provided by WSO2.
| API Resource | Identifier | Display Names | Scopes |
|------------- | ---------- | ------------- | ------ |
| API resource to acccess internal Open Banking APIs provided by WSO2 | OB-internal-api-resource | OB-internal-api-resource | ob-internal-api-access |
Follow the below steps to create the above API Resource.
-
Go to the Api Resources tab in the left pane.
-
Click New API Resource.
-
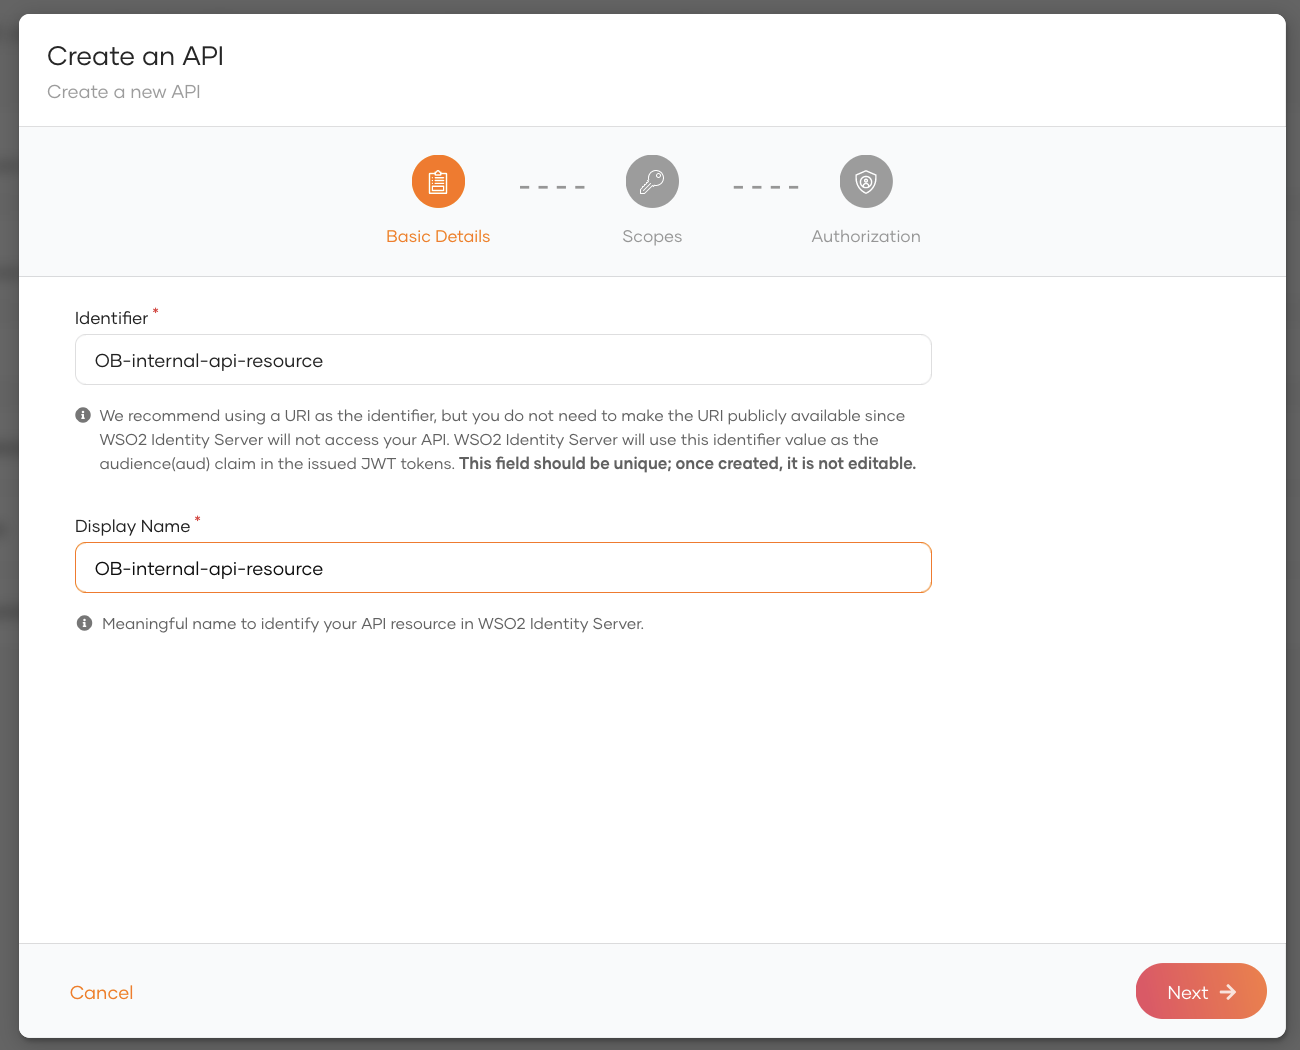
Enter Identifier and Display Names.
Text Field Value Identifier OB-internal-api-resource Display Names OB-internal-api-resource 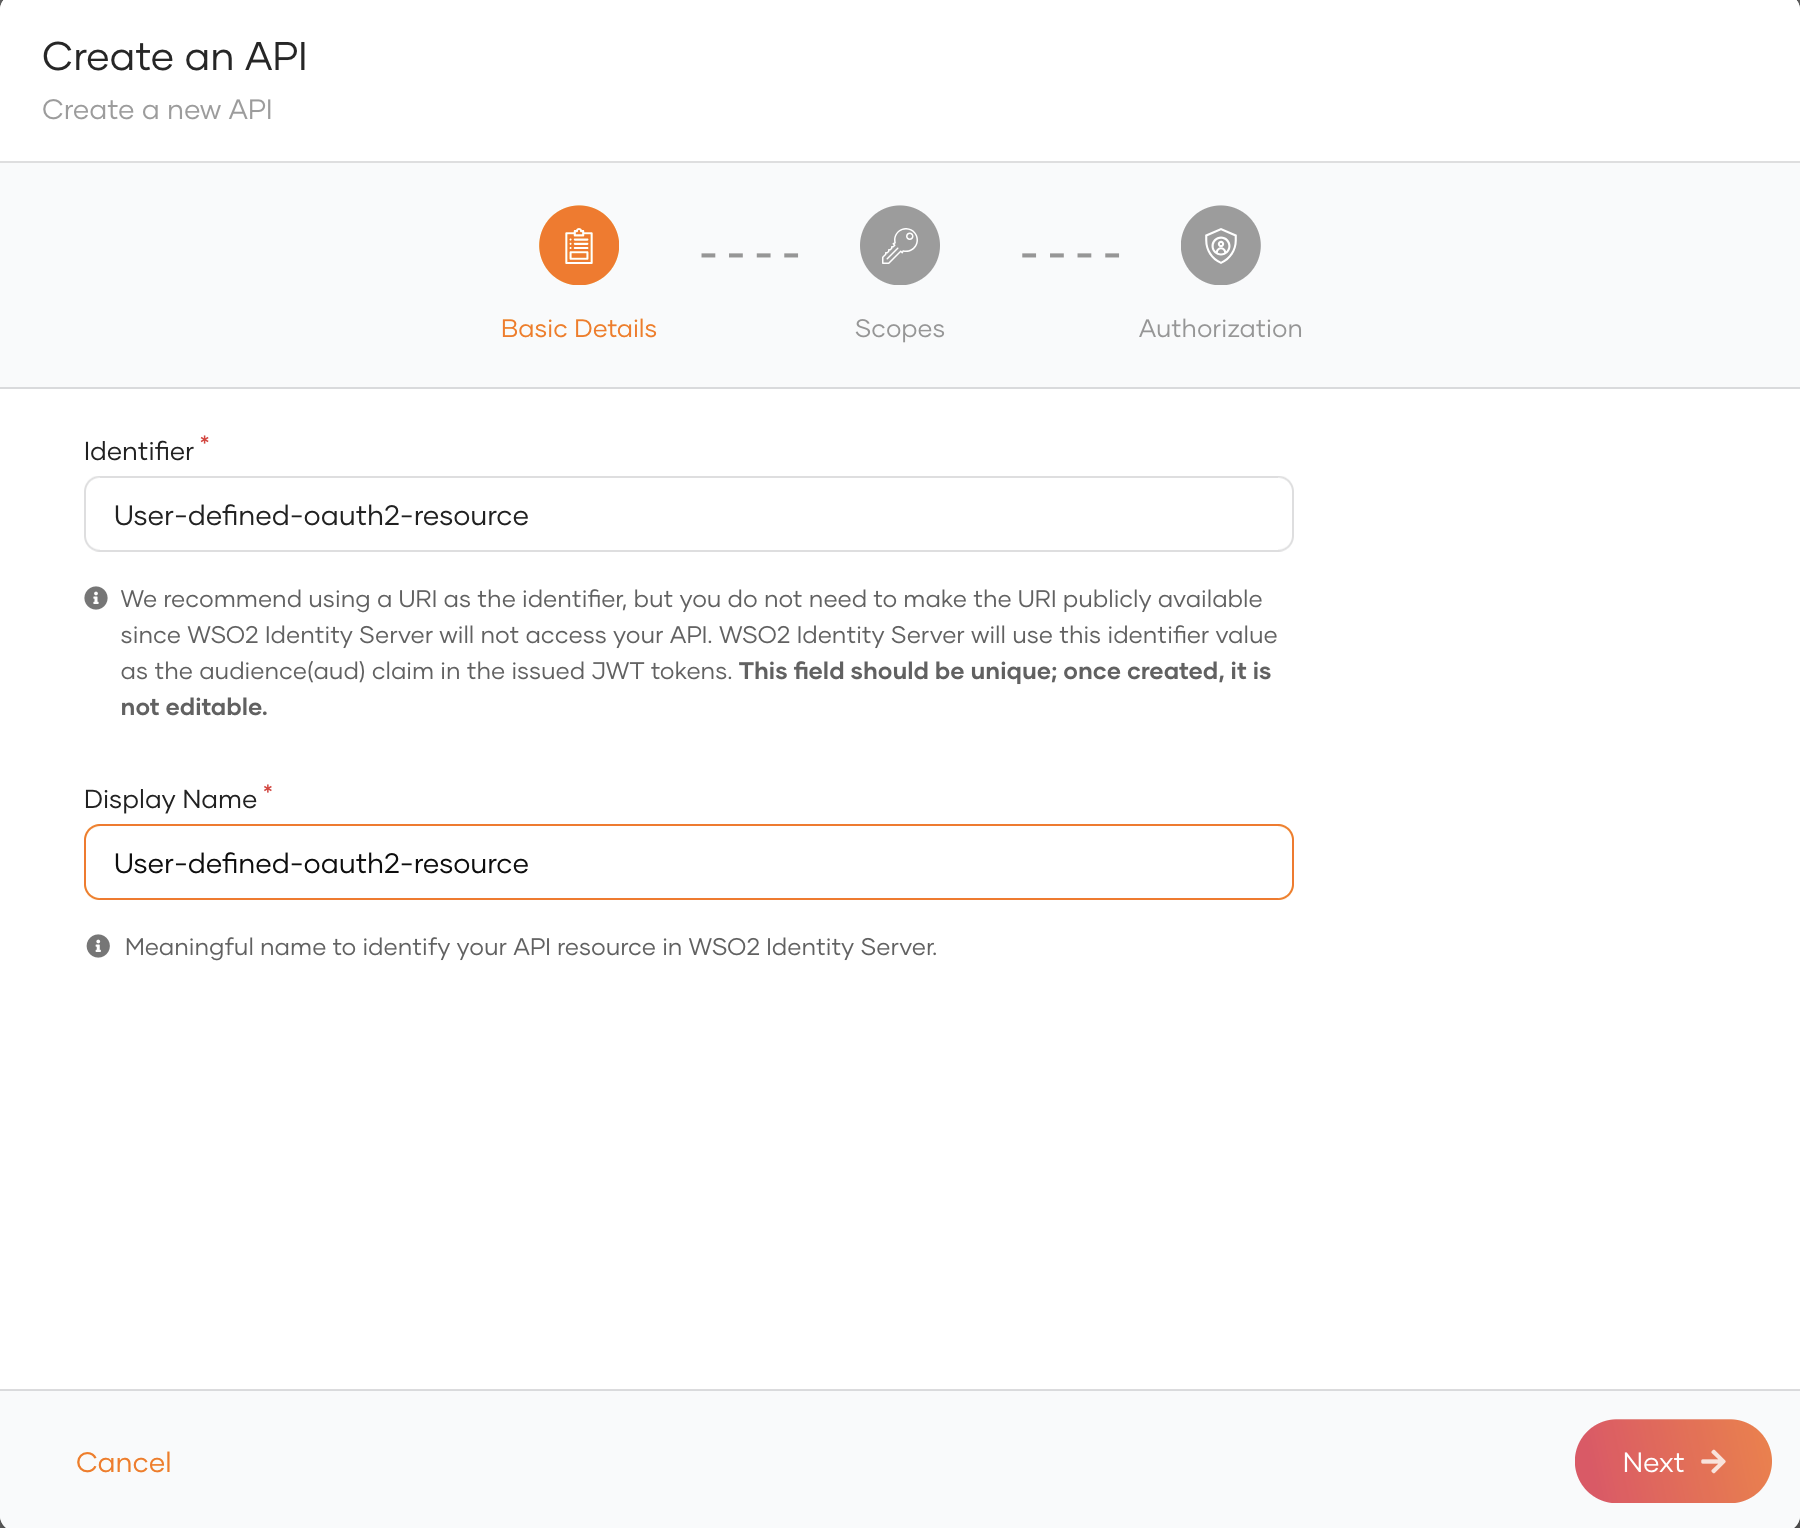
-
Click Next.
-
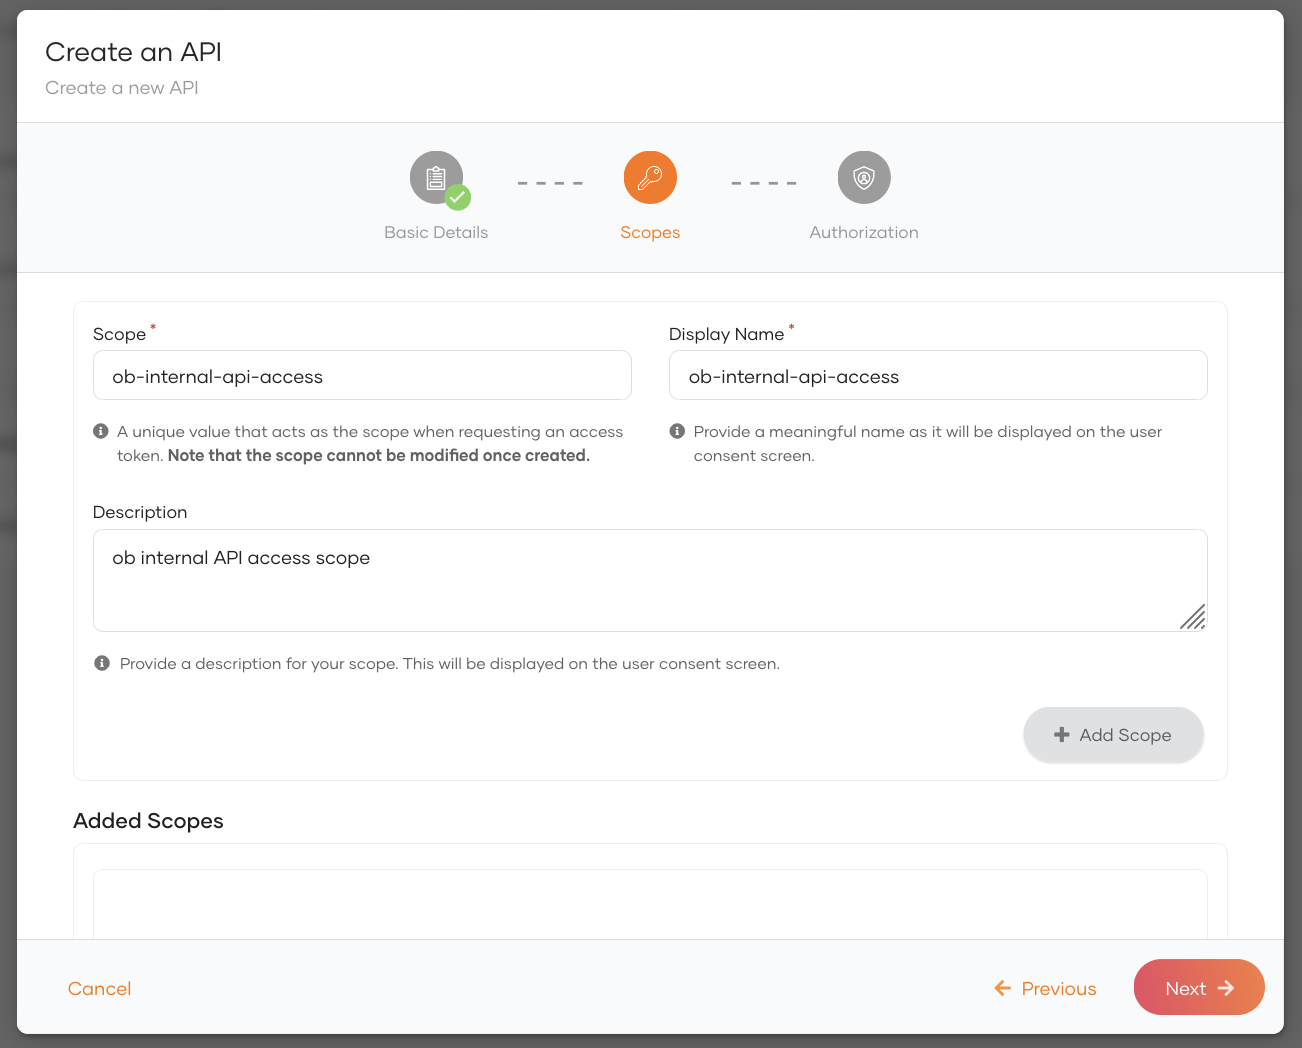
Add the following scope: ob-internal-api-access. For each scope, enter the Scope and Display Name as shown below.
-
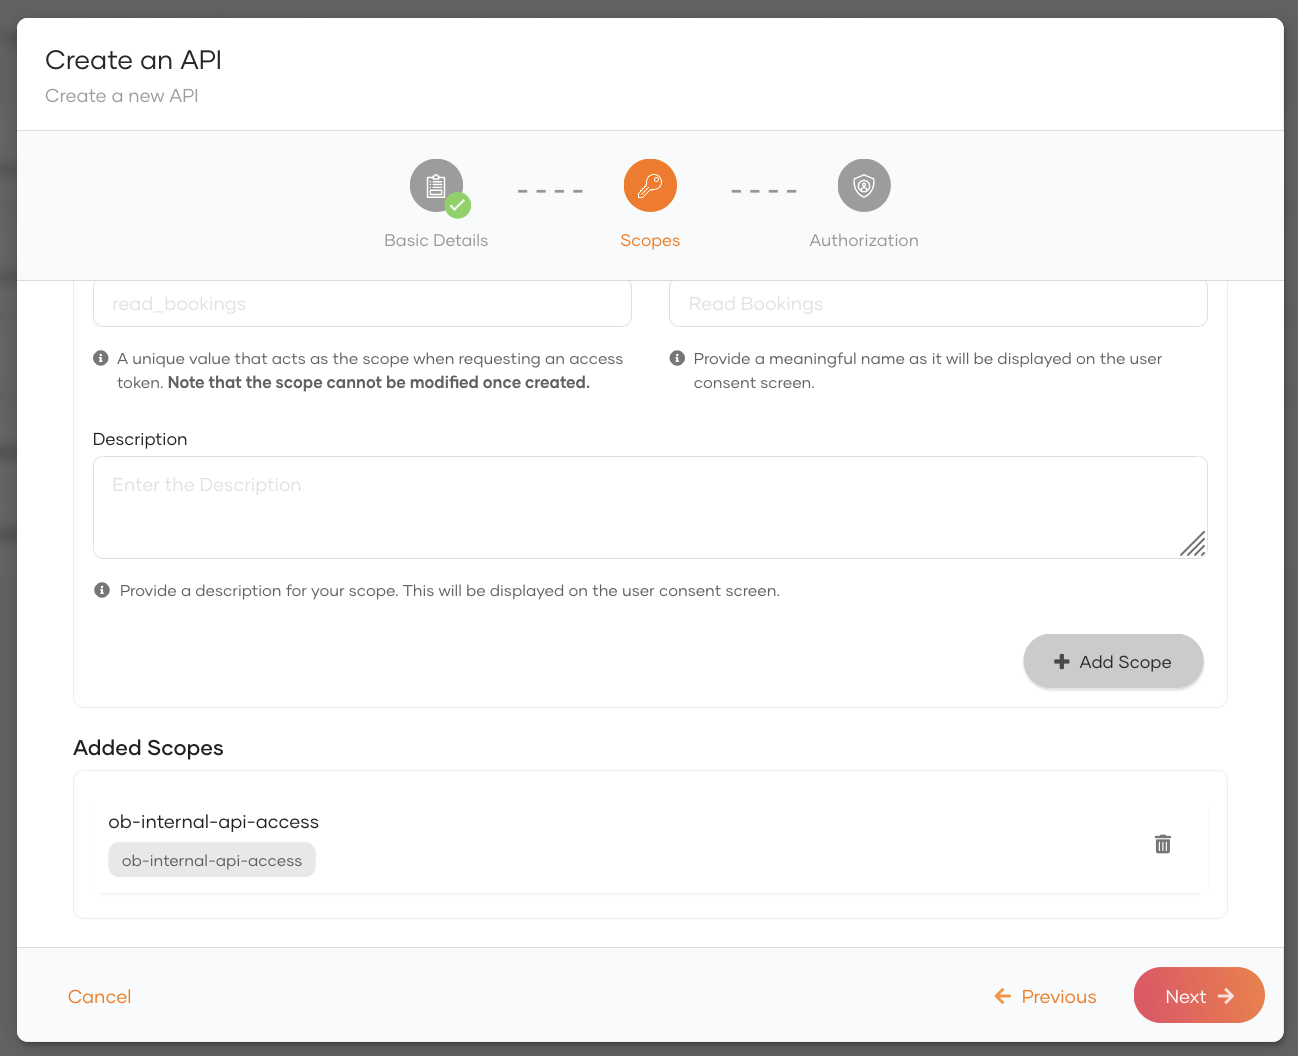
Once all scopes have been added, they will be displayed as shown below.
-
Click Next.
-
Click Create.
Create new user roles
- Go to the User Management tab in the left pane and select Roles.
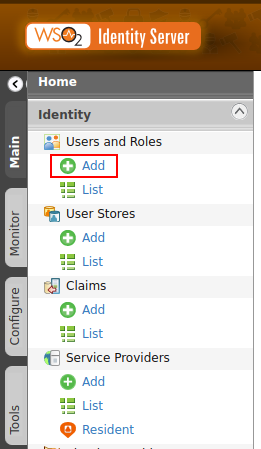
- Click + New Role.
-
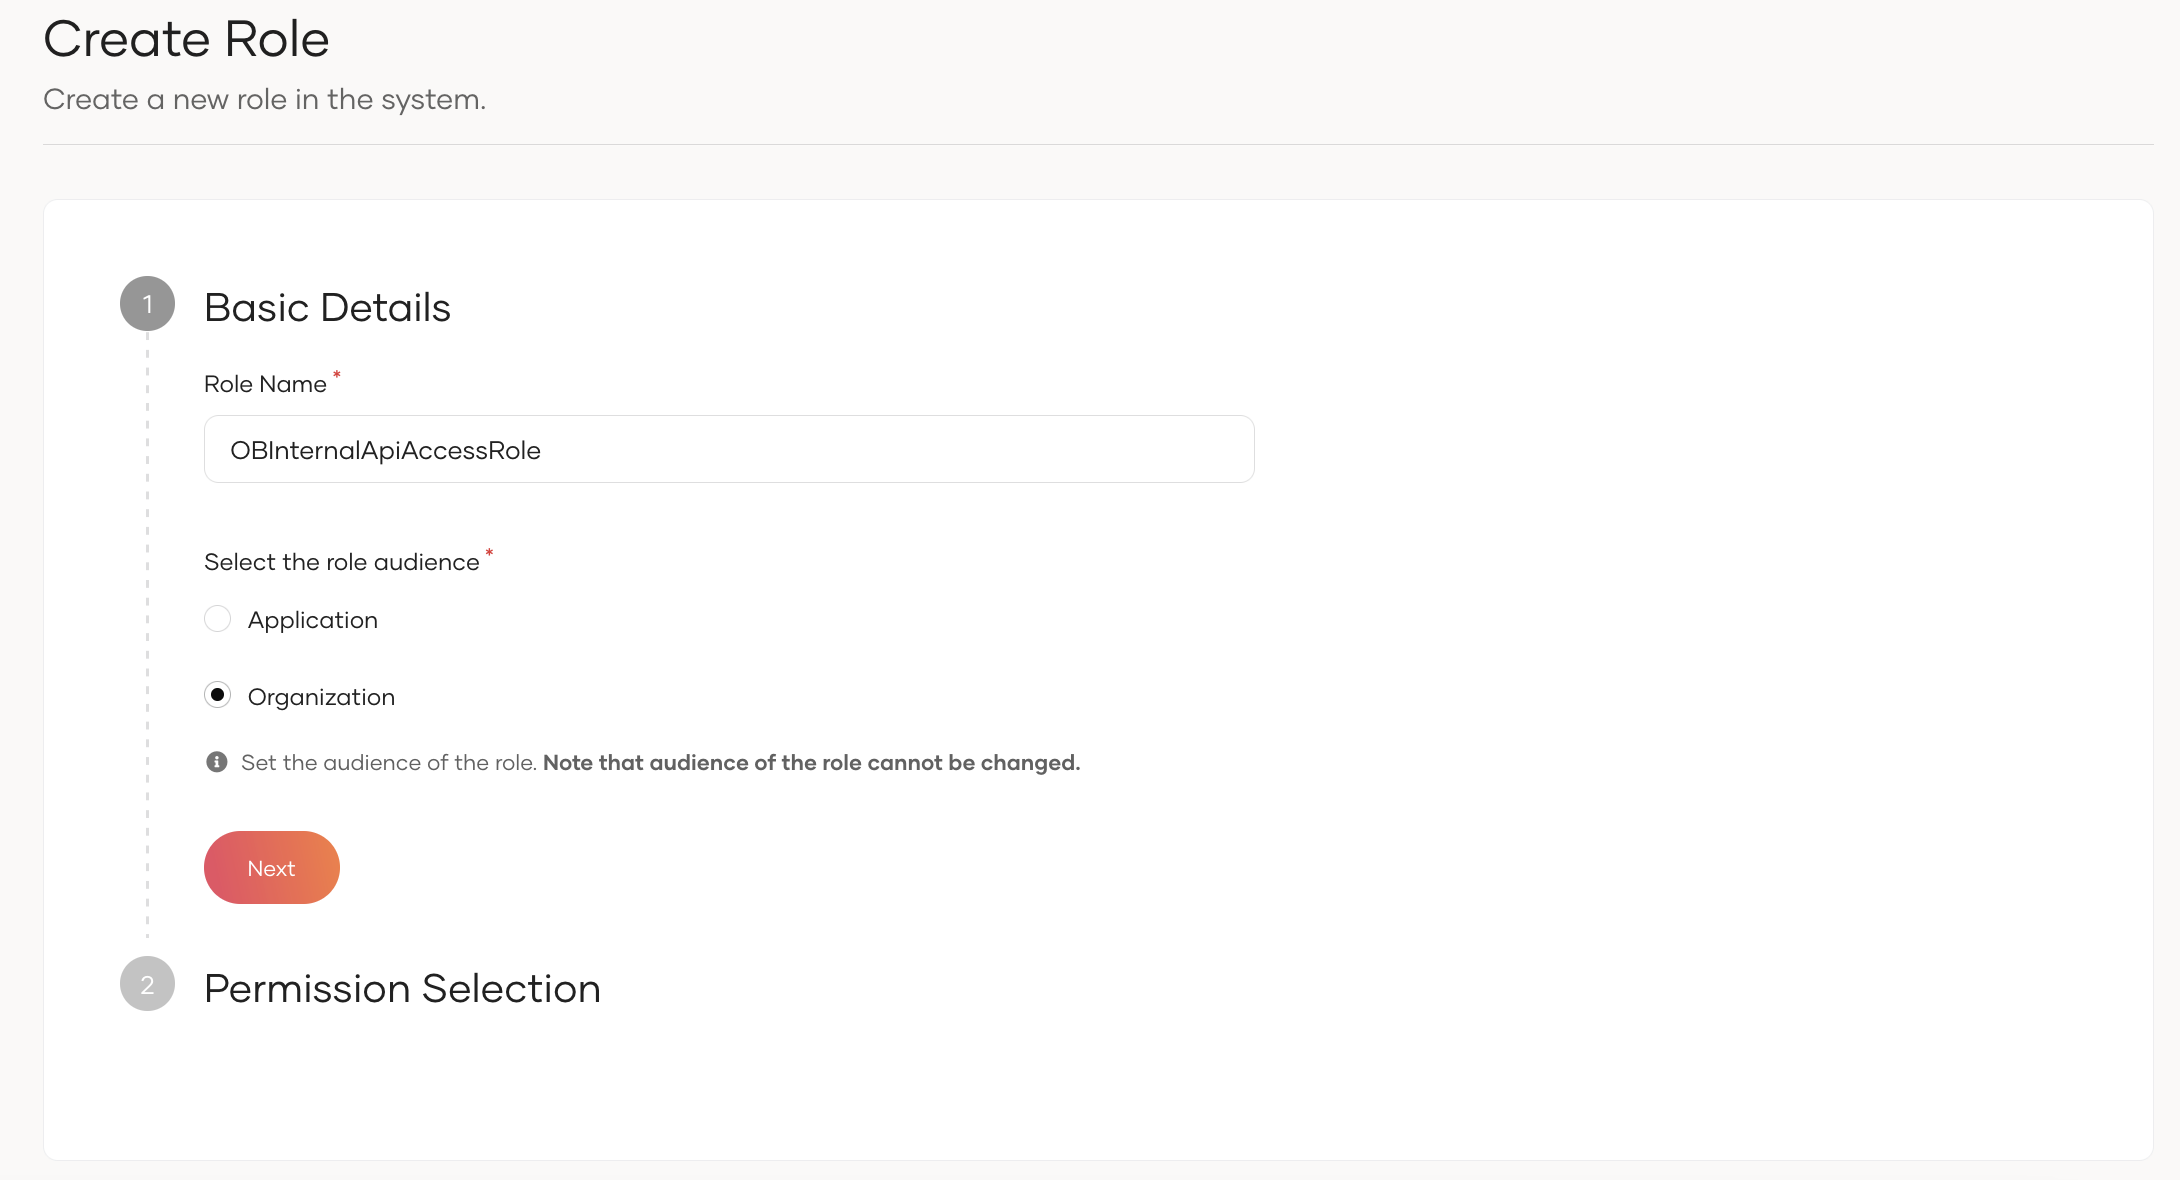
Create the following user role:
Role Name Role audience Permissions Description OBInternalApiAccessRole Organization OB-internal-api-resource Users must have the OBInternalApiAccessRolerole to access internal OB APIs provided by WSO2.i. Creating OBInternalApiAccessRole role:
-
Enter the role name as OBInternalApiAccessRole and select the role audience as Organization:
-
Click Next.
-
Select the API Resource
OB-internal-api-resourcecreated in Create API resources. -
Select all permissions of the
OB-internal-api-resourceresource.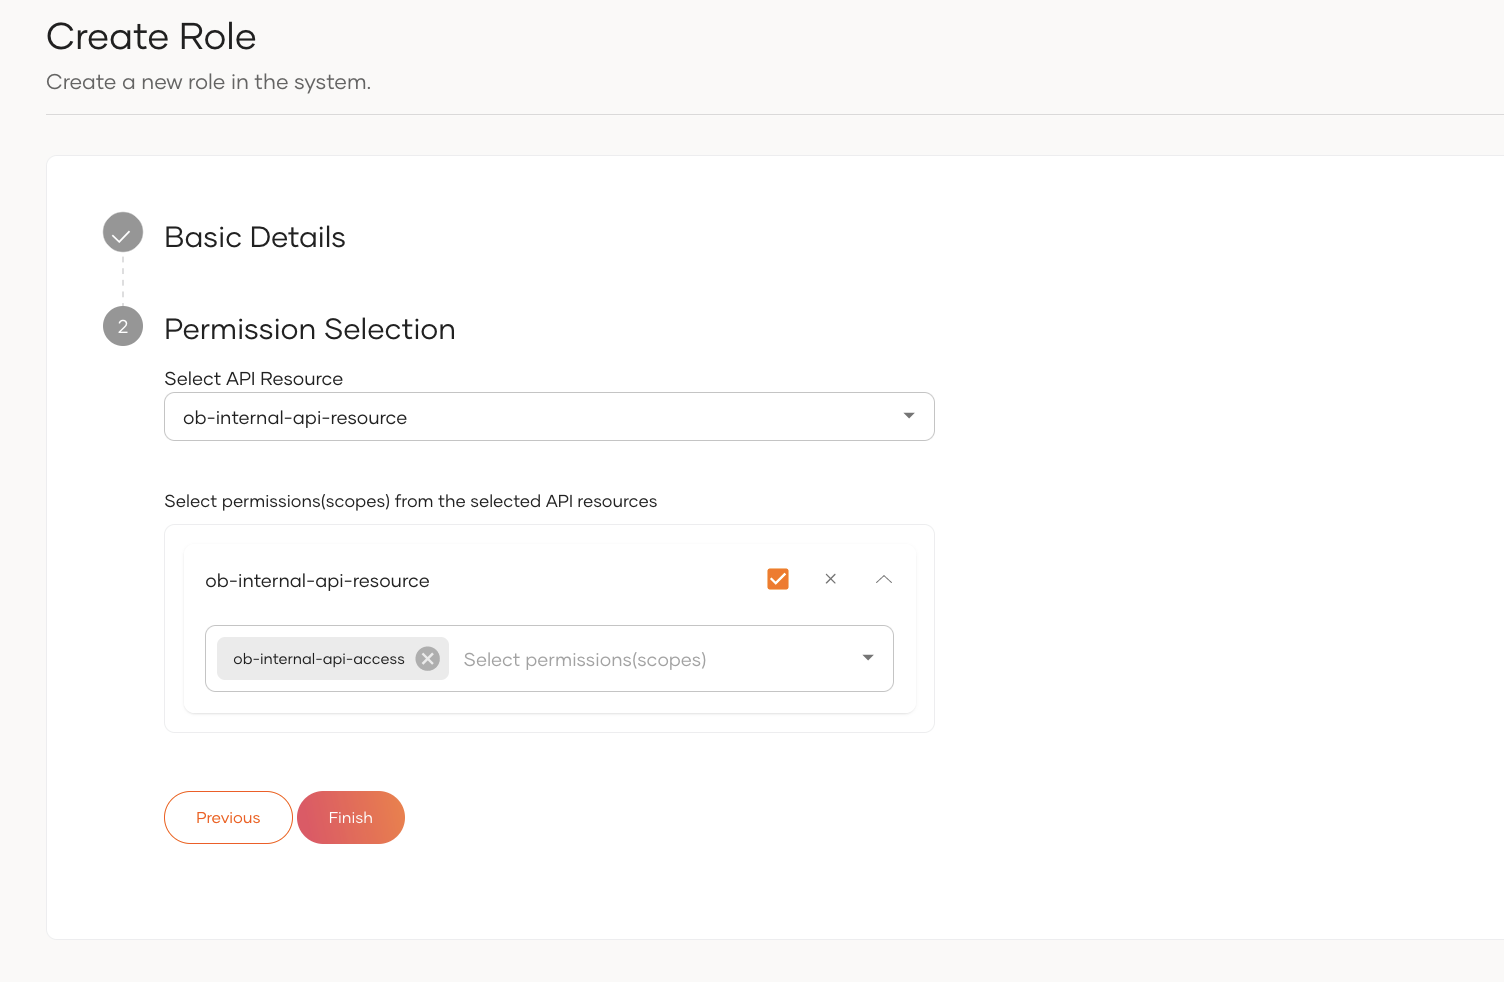
-
Click Finish.
-
Create new users
-
Go to the User Management tab in the left pane and select Users.
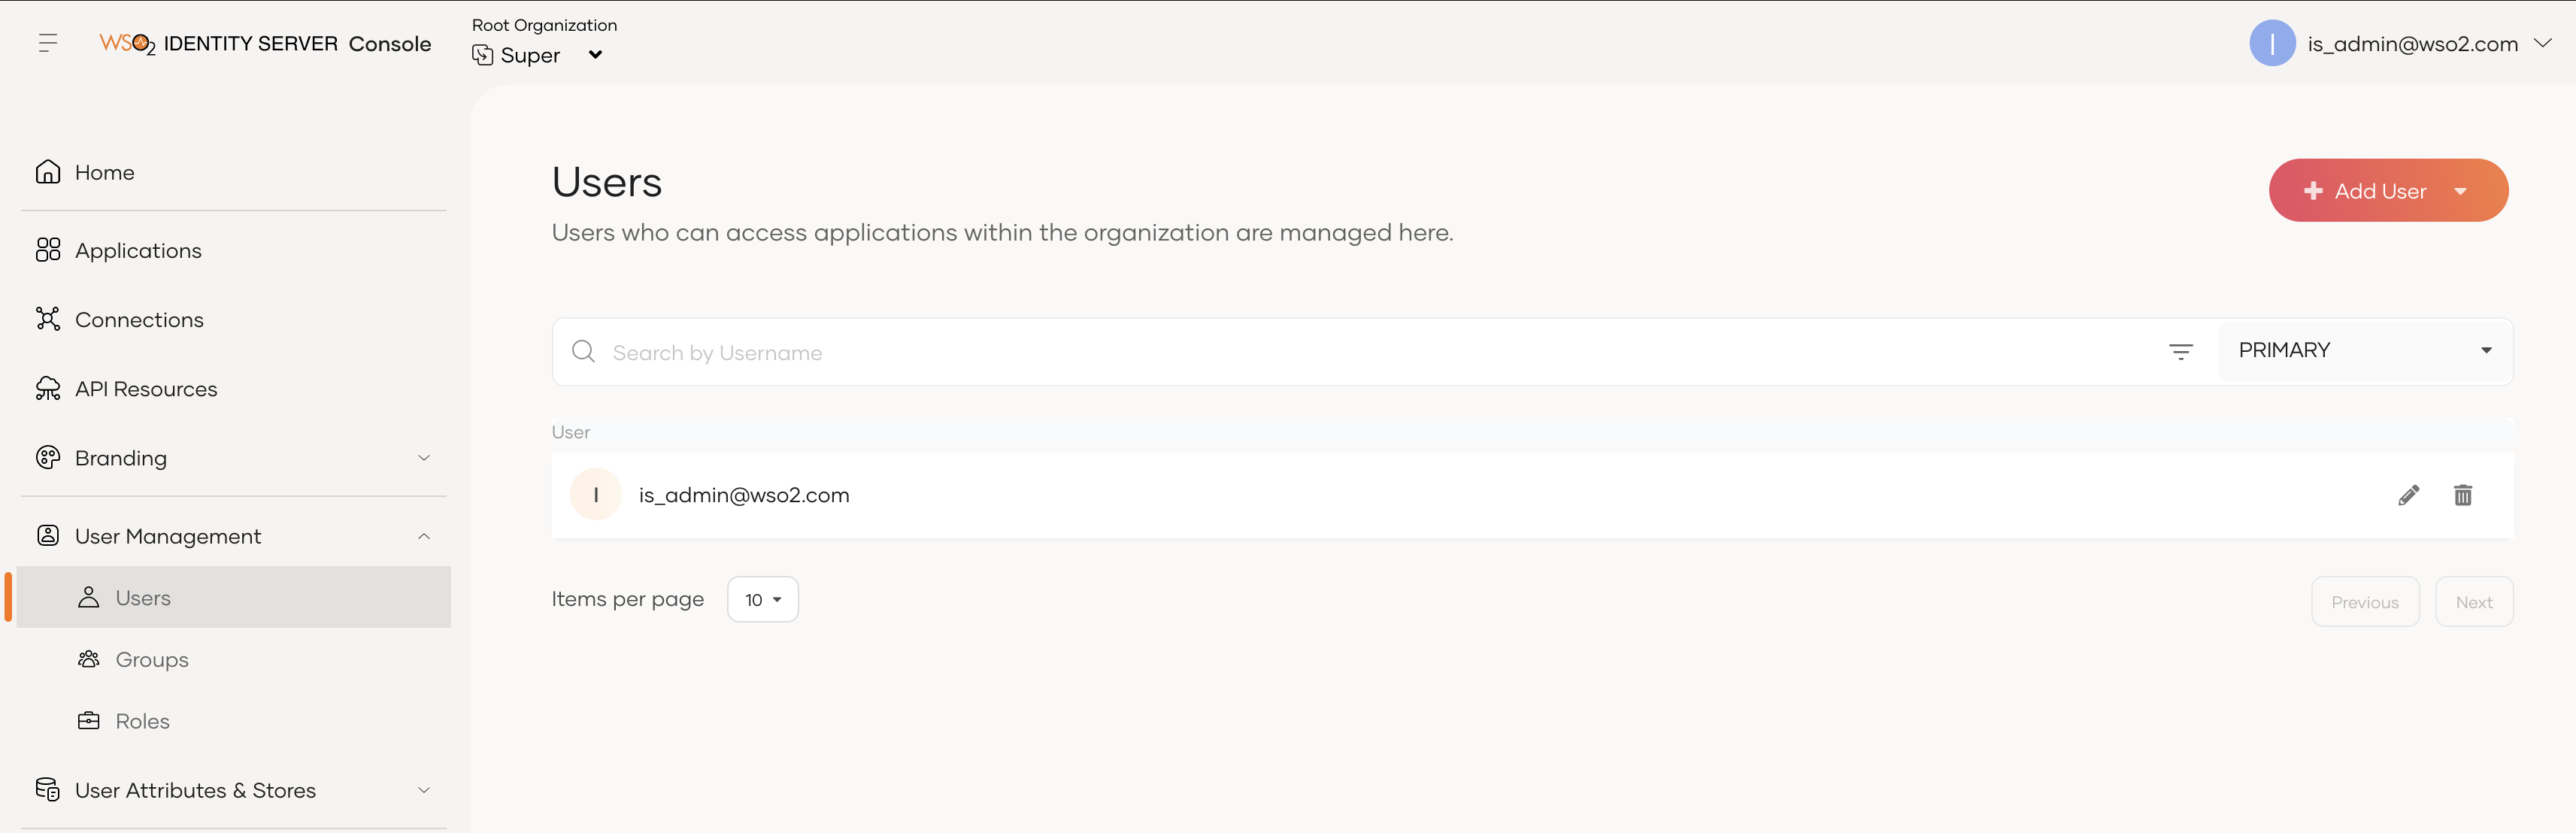
-
Click Add User → Single User.
-
Enter the basic details of the user and set a password. Select
PRIMARYuser store.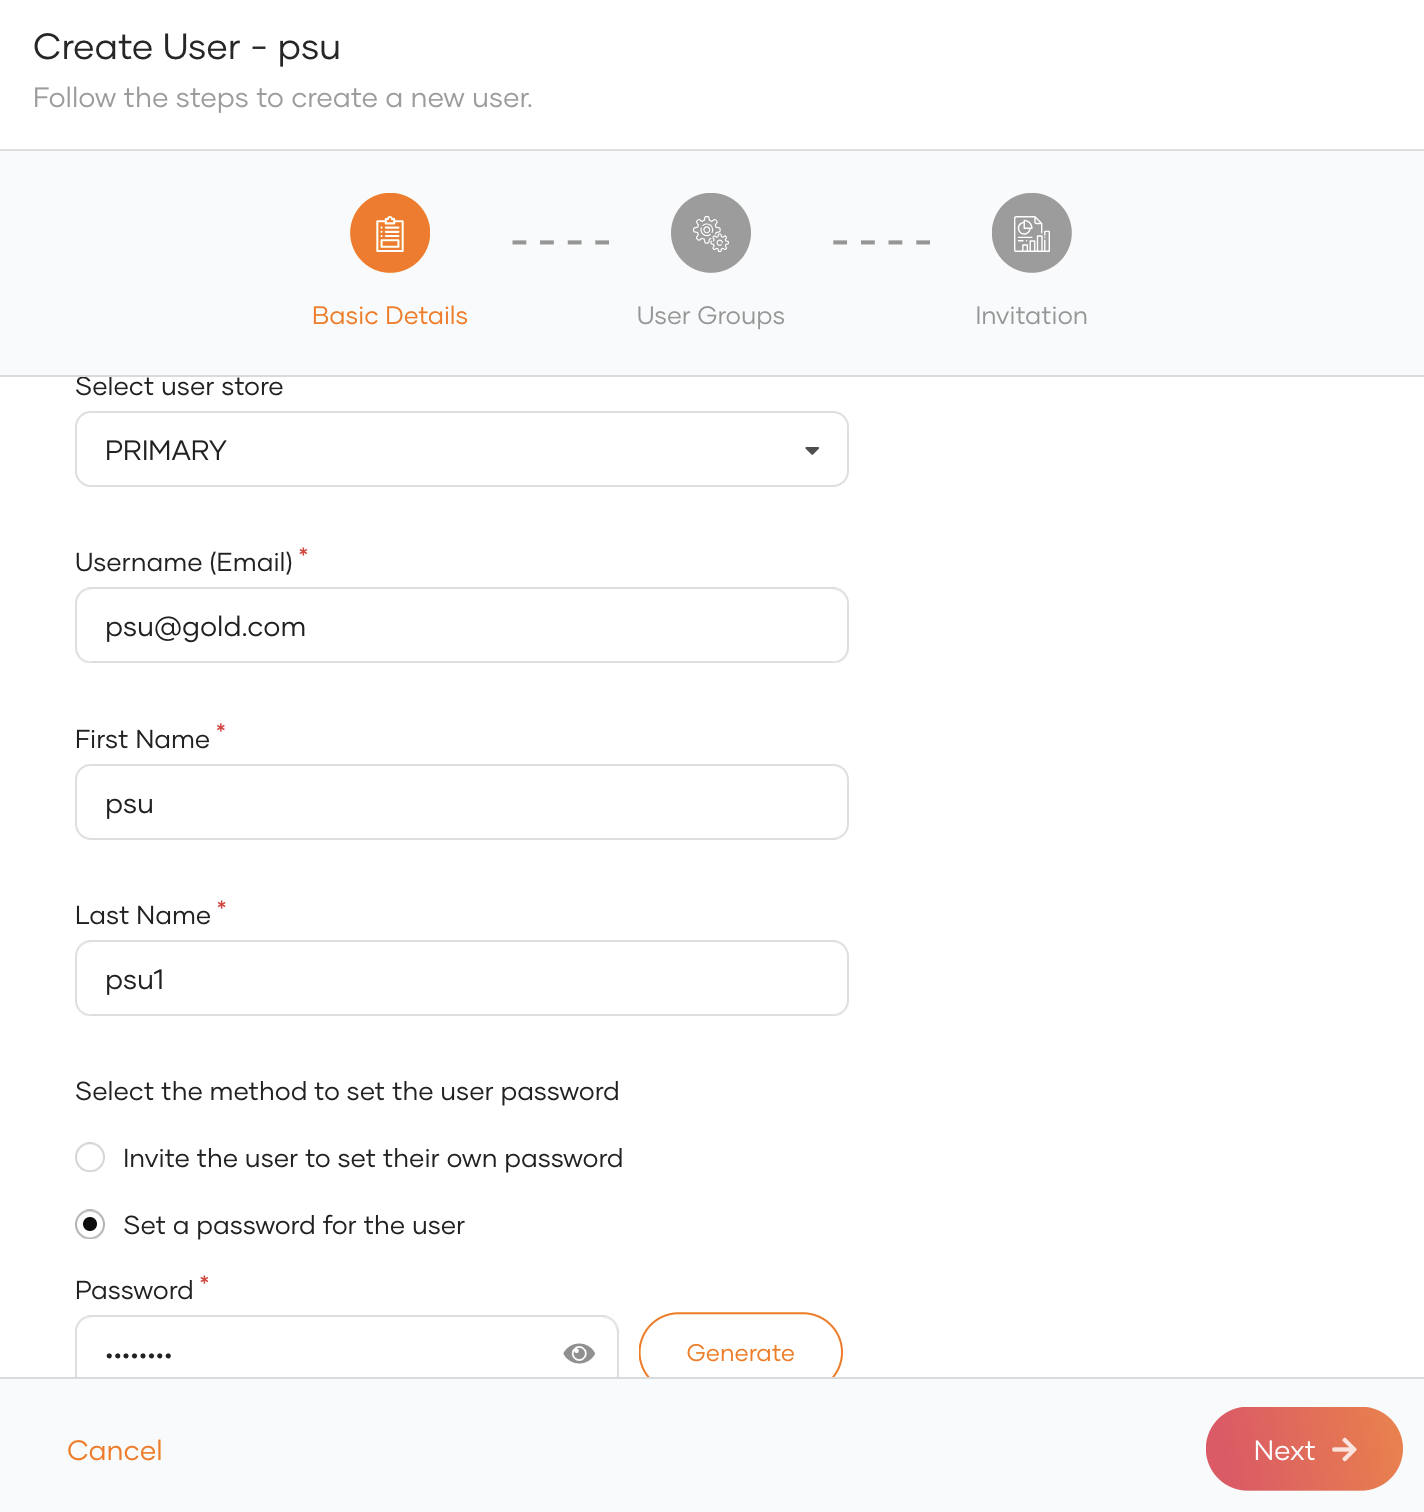
-
Click Next.
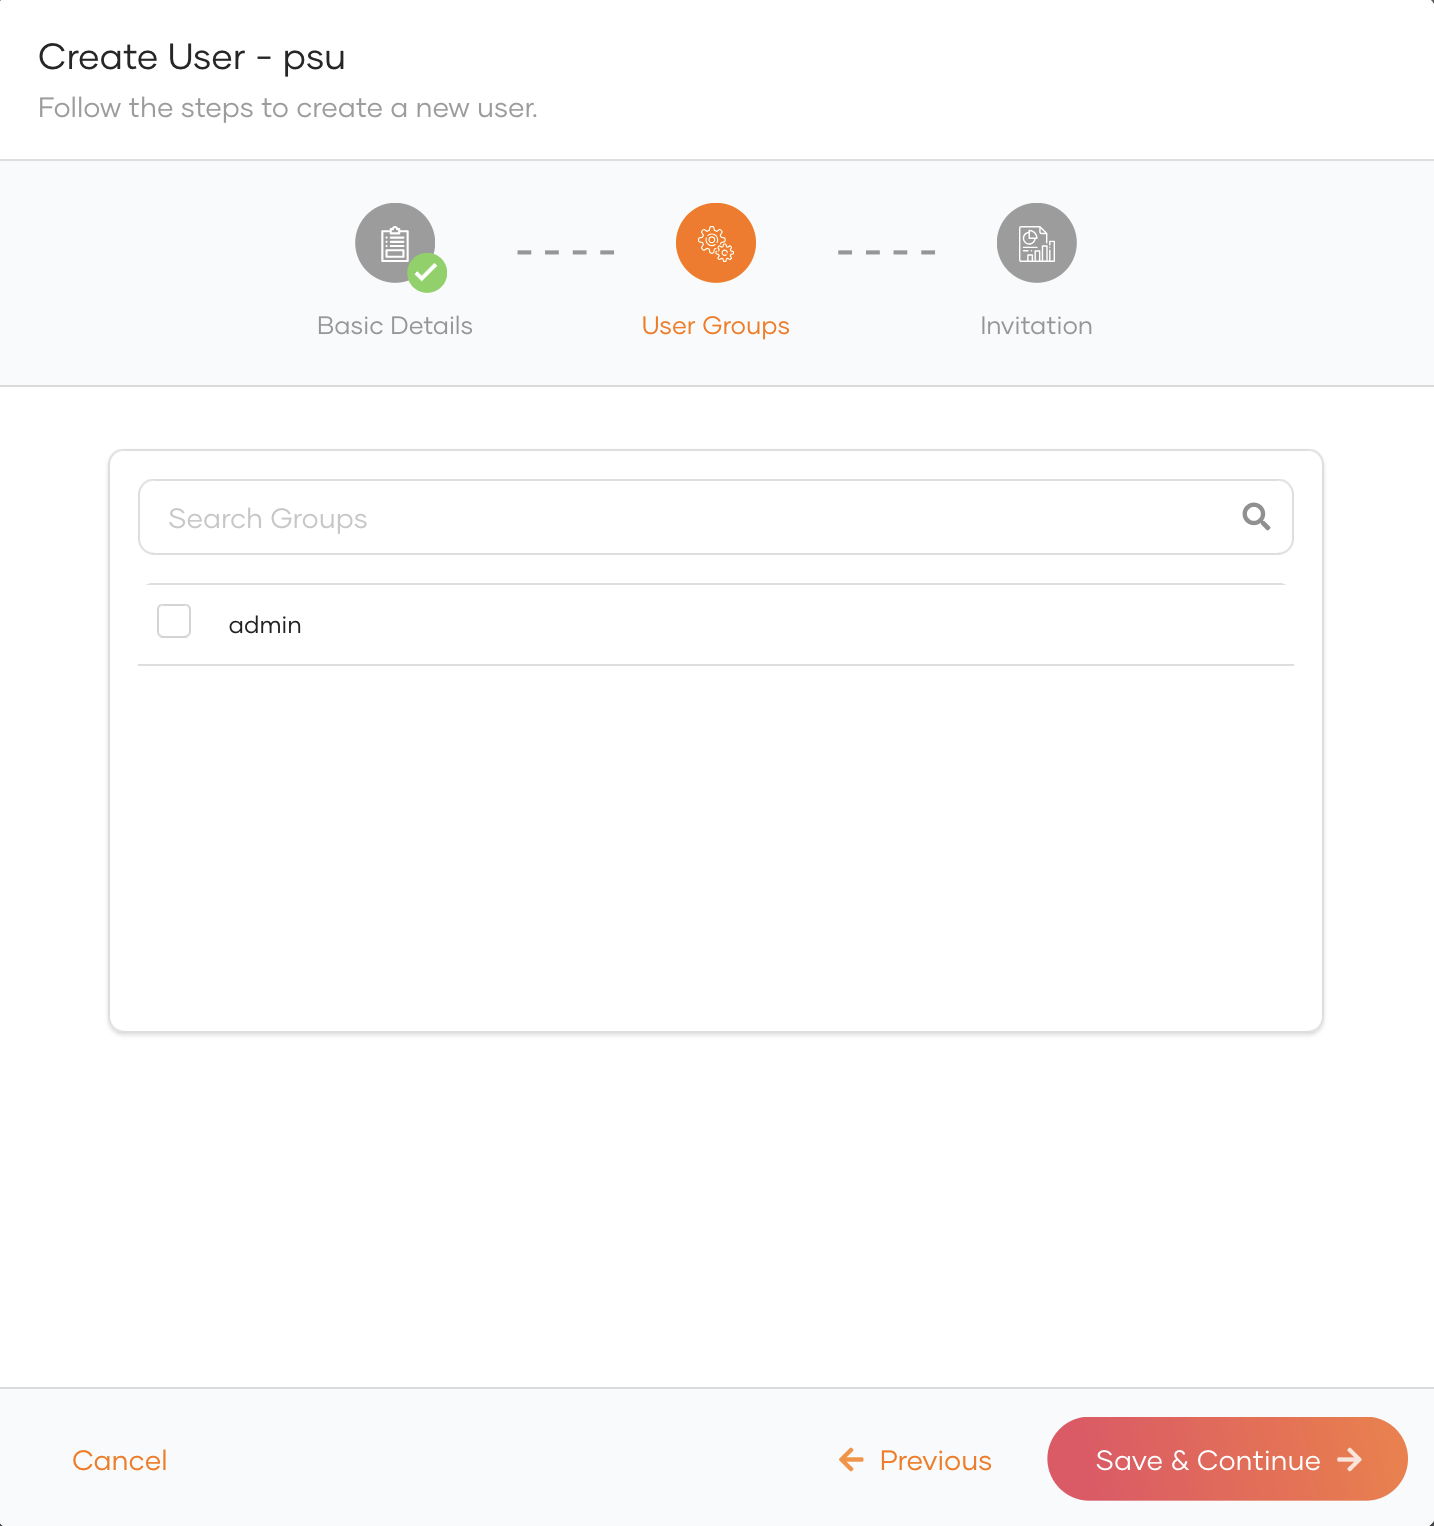
Note
Select the admin group, If you want to add the user to the admin group. Otherwise, continue without selecting the Admin group.
-
Click Save and Continue.
-
Click Close.
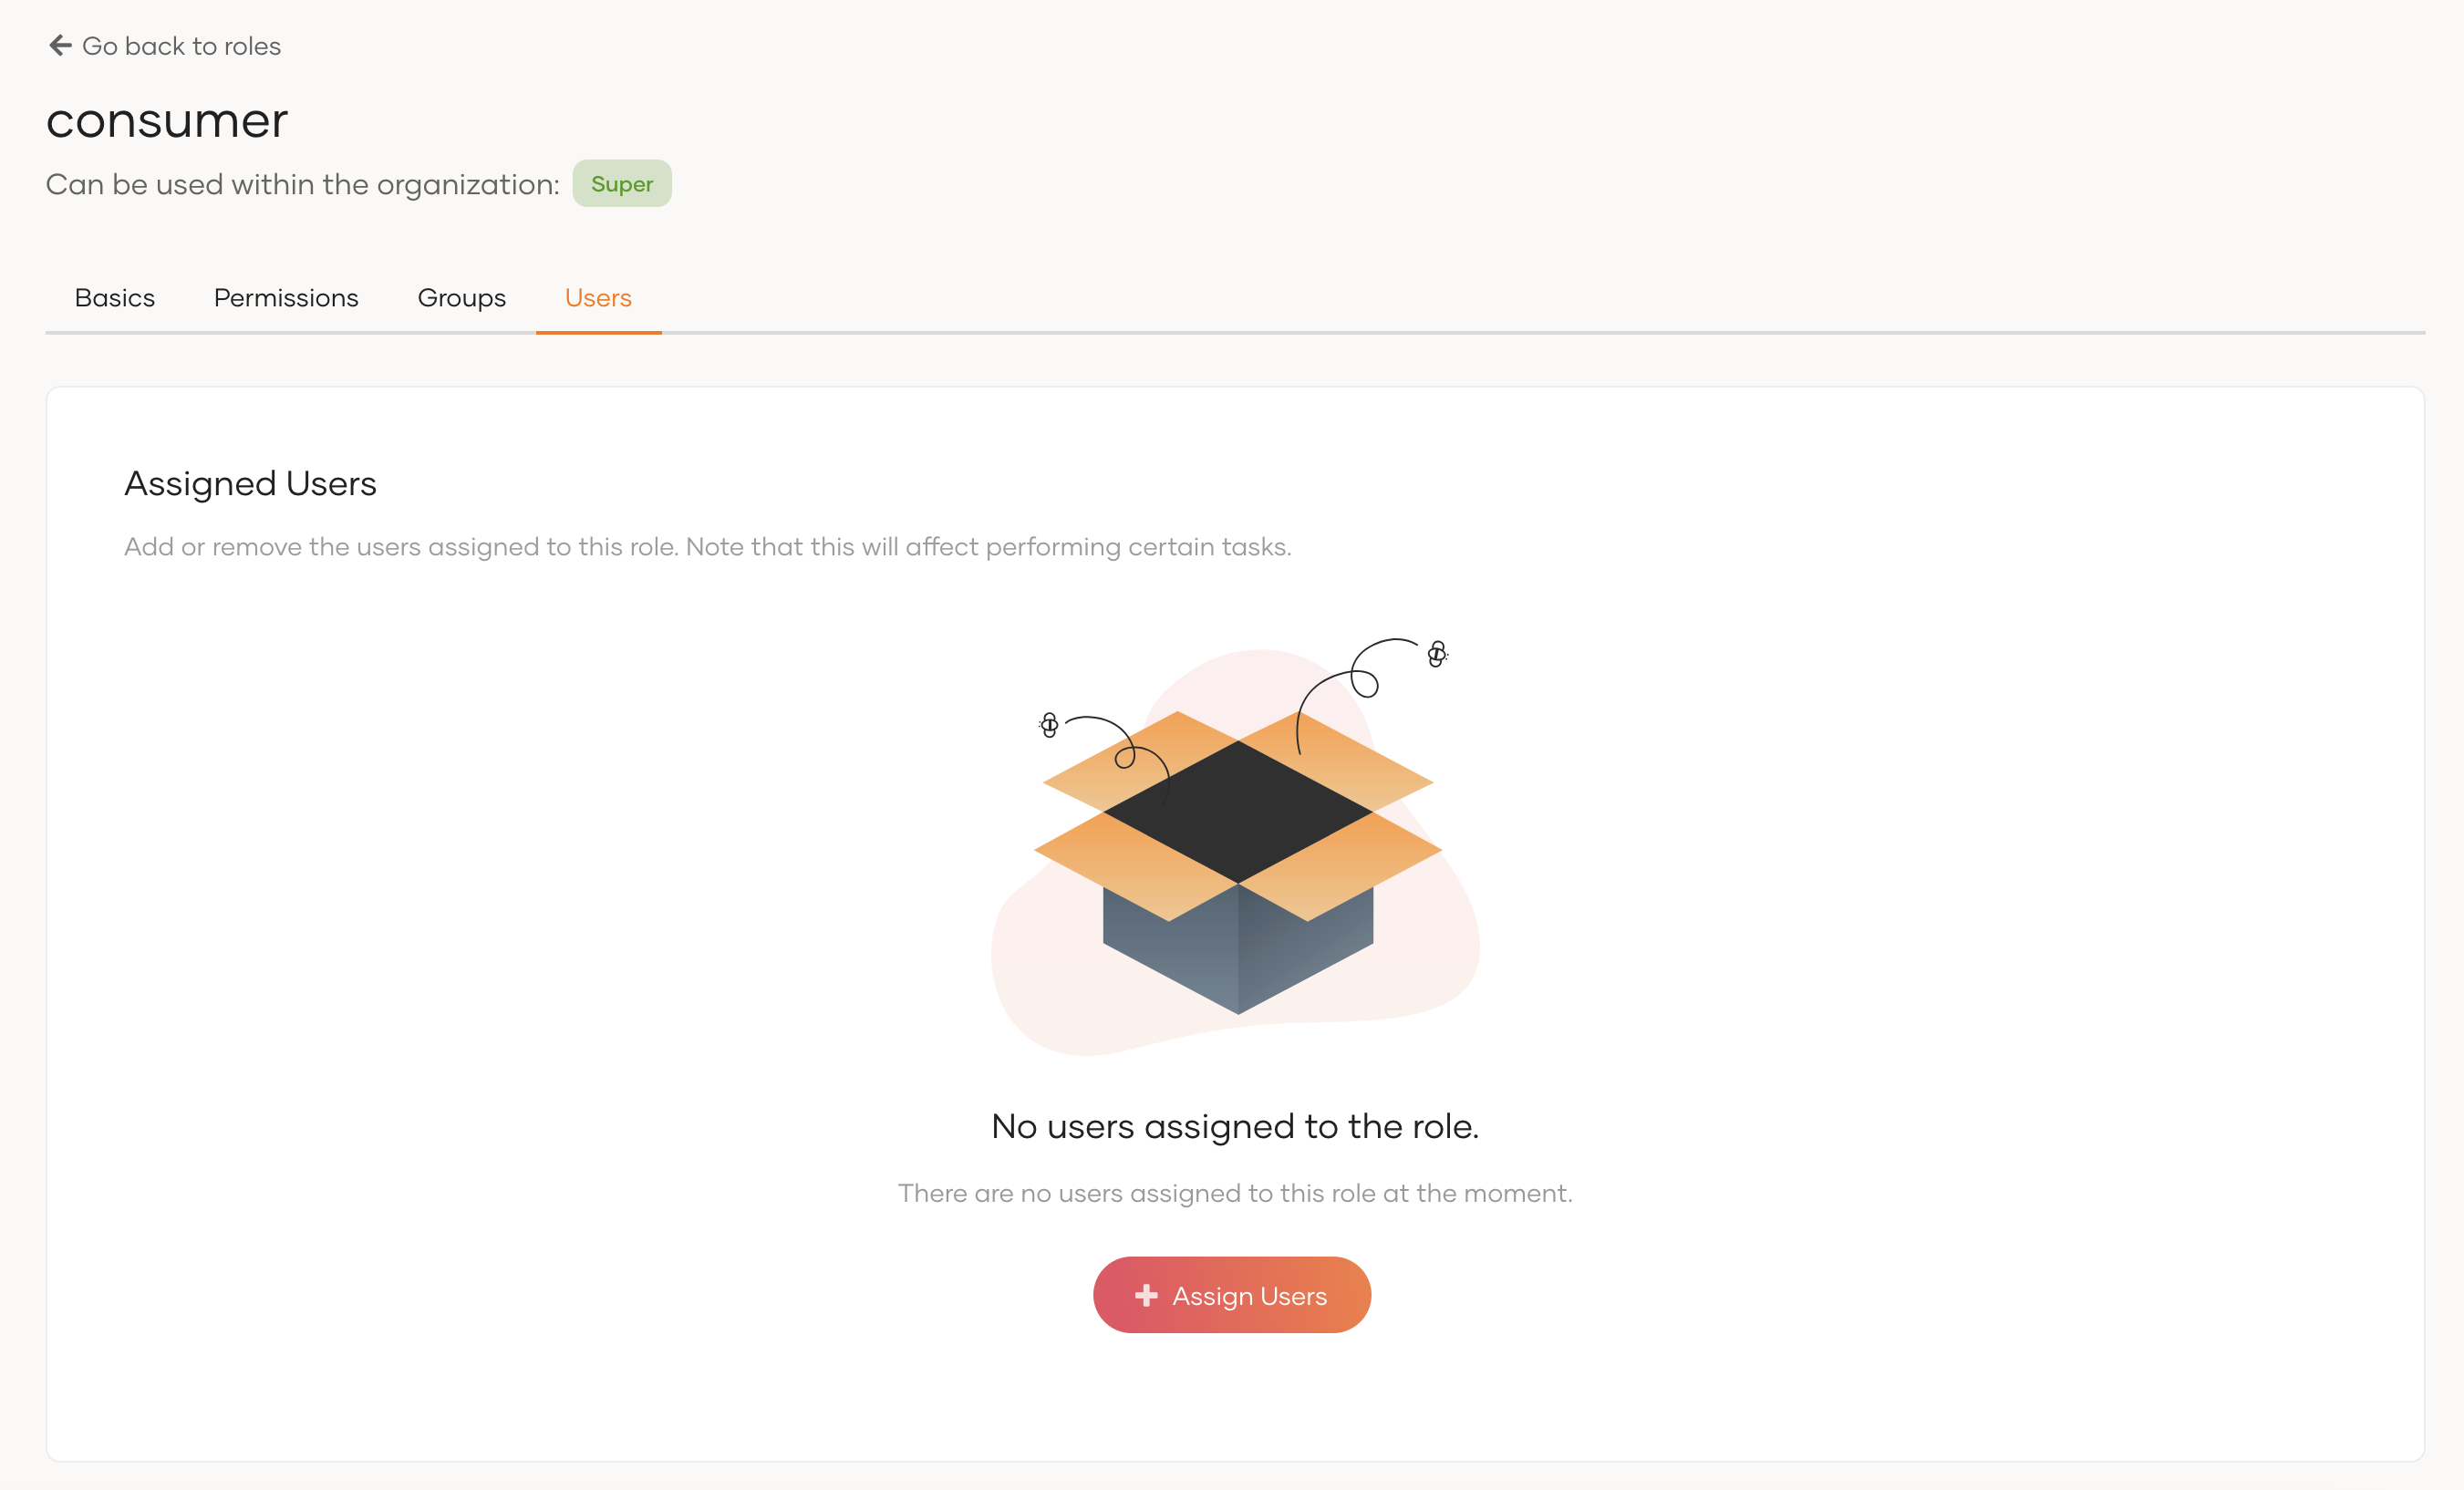
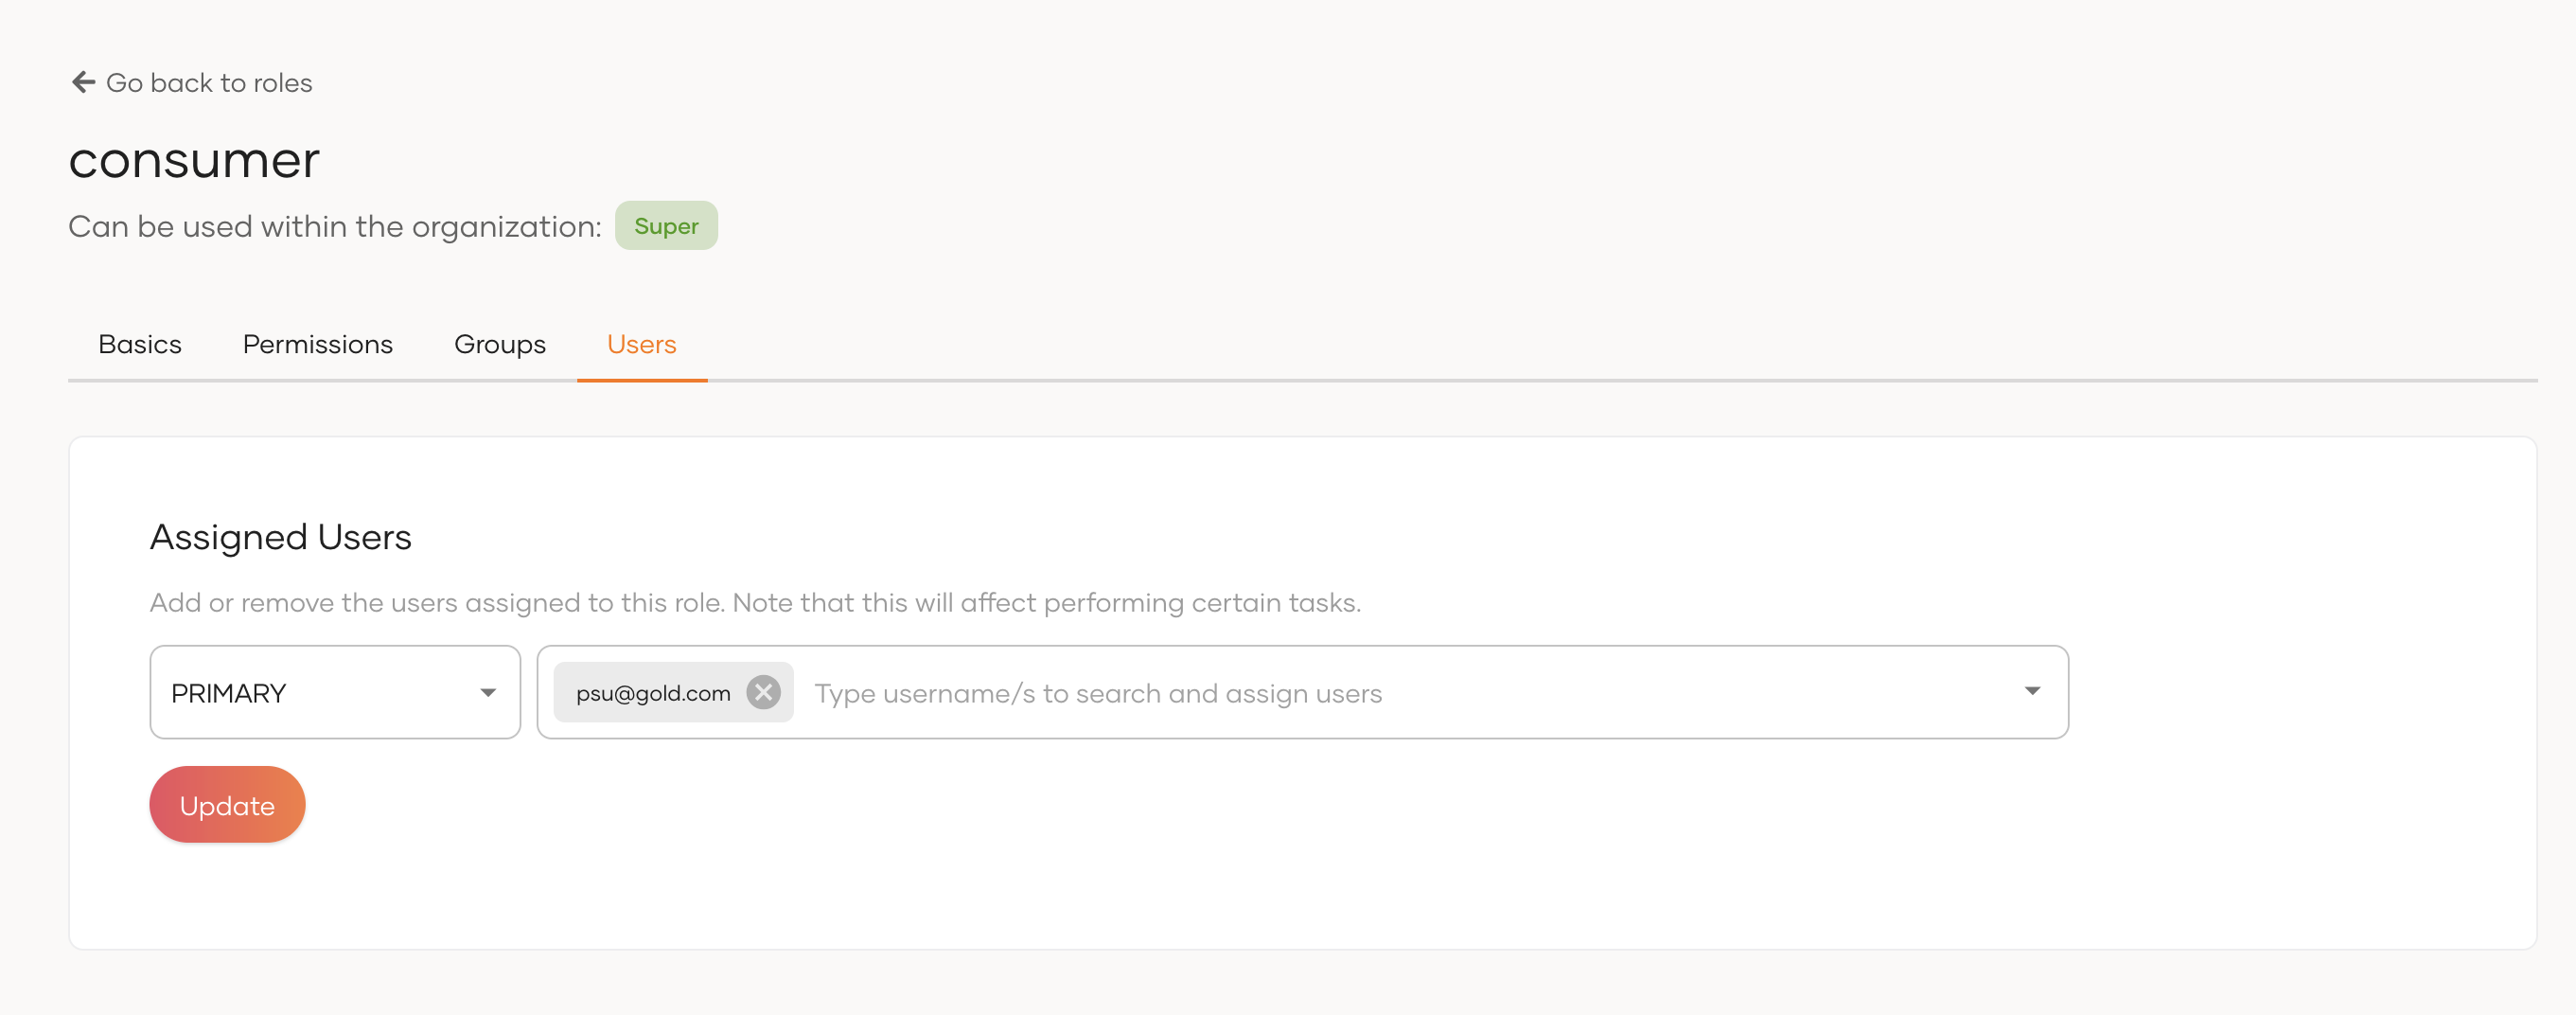
Assign roles to the user
-
Go to the User Management tab in the left pane and select Roles.
-
Click on the consumer role.

-
Go to Users tab.
-
Click Assign Users.
-
Click Assign User drop-down → select user from the drop-down.
-
Click Update.
-
Similarly assign OBInternalApiAccessRole to the admin user in your system.